The project settings dialog can be used to configure additional project settings that are not displayed in the Interactivity Editor. Follow these steps to configure the settings for a project:
- Login to Brightcove Interactivity Studio.
- In the left navigation, click Manage.
- Click on a project to open it.
- Click .
The project settings dialog will open displaying the project settings.
Video settings
Video Source controls the video that is behind the annotations. If the project was created automatically using a Brightcove Player with the HapYak plugin, you can change the video source in the Media module using the replace source feature.
Typically, this value is only changed with manually created projects. This is useful when you'd like to manually create a project that is similar to one you've already created. You can copy the original, then simply replace the video source of the copy.
Dimensions can be used to change the video size.
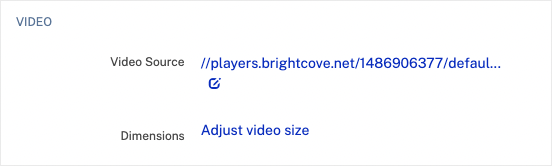
To change the Video Source, follow these steps:
- Click the current video link next to Video Source.
- Edit the URL OR EMBED CODE field.
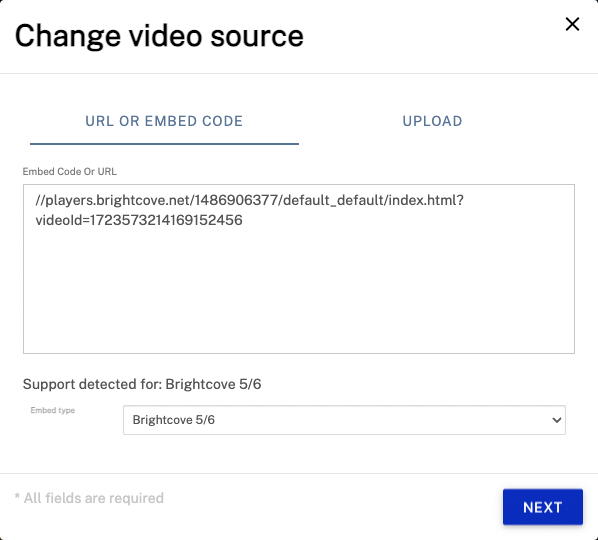
- If the player provider is different and an error is thrown, update the Embed type.
- Click .
Project settings
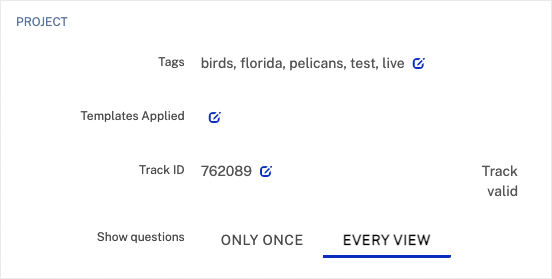
Tags are commonly used for:
- Organizing projects into groups. You can more easily search your projects and more easily filter in reports based on tags.
- Automatically adding annotations to videos, for information see Applying Templates to Projects
Tags should be:
- All lower case
- Contain no spaces
- Separate multiple tags with a comma
After adding or editing tags, click and then to save the tags.
Templates Applied is used to apply templates to a project. For information see Applying Templates to Projects.
Track ID - The track is the set of annotations on a video. This field is for reference.
Show questions - Controls when to show quiz questions to the viewer, only once on the first view or every view (including repeated viewings).
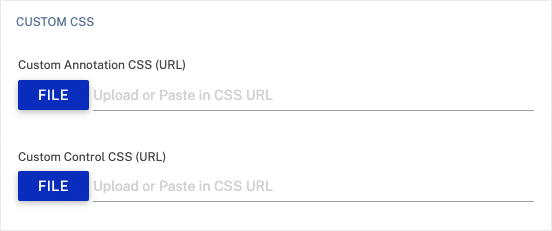
Custom CSS
Custom Annotation CSS URL - Many customers apply a custom CSS to their project to change the colors, fonts or other styles of their annotations. You host the CSS file (just as you would for your web pages) and then paste in the URL for the CSS file here. Brightcove wants your interactive videos to be beautiful and reflect your branding and style. For all Pro customers and up we provide an initial CSS file based on your guidelines. Contact Brightcove Support.
Custom Control CSS URL (Available with Enterprise License)
This is rarely used. When it is, it is to completely redesign the style of the HapYak player. For small changes and tweaks to the HapYak player (like removing the annotation markers), we recommend using the Custom Annotation CSS field.
Language
String Resource URL - Used for localizing the buttons and prompts of the video.
Integrations
Published - When checked, displays the annotations in the associated video when published using a HapYak-enabled Brightcove player. If unchecked, annotations will not appear in published videos. Typically this is used to test interactivity on a video that is already live without risking an end viewer seeing a "half baked" version.
Import Cue Points? - When checked, will import any existing cue points that are configured on a Video Cloud video and convert them into chapter markers.
Control Bar Style
These settings can be used to hide or show skip buttons, logo, timeline, or annotation markers.
Thumbnail
Images
Can be used to upload a thumbnail image for the project.
Converting a project to a template
Select Convert project to template to convert the project into a template.