Using Auto Sync to Synchronize Videos to Social Media Accounts
Brightcove Social provides an Auto Sync feature which can be used to automatically synchronize videos to social media channels based upon the tags that are associated with a video.
Before configuring Auto Sync, you should have some publishing destinations created. For information on creating publishing destinations, see Creating Social Media Publishing Destinations.
Note that using Auto Sync and manually publishing videos using the Social module are independent operations. Auto Sync is not aware of which videos have been manually published using the Social module. If a video is tagged in a way that causes Auto Sync to publish it to one of your social destinations, it will do that regardless if that video has previously been manually published using the Social module.
Configuring Auto Sync
To configure Auto Sync, follow these steps.
- Open the Social Module.
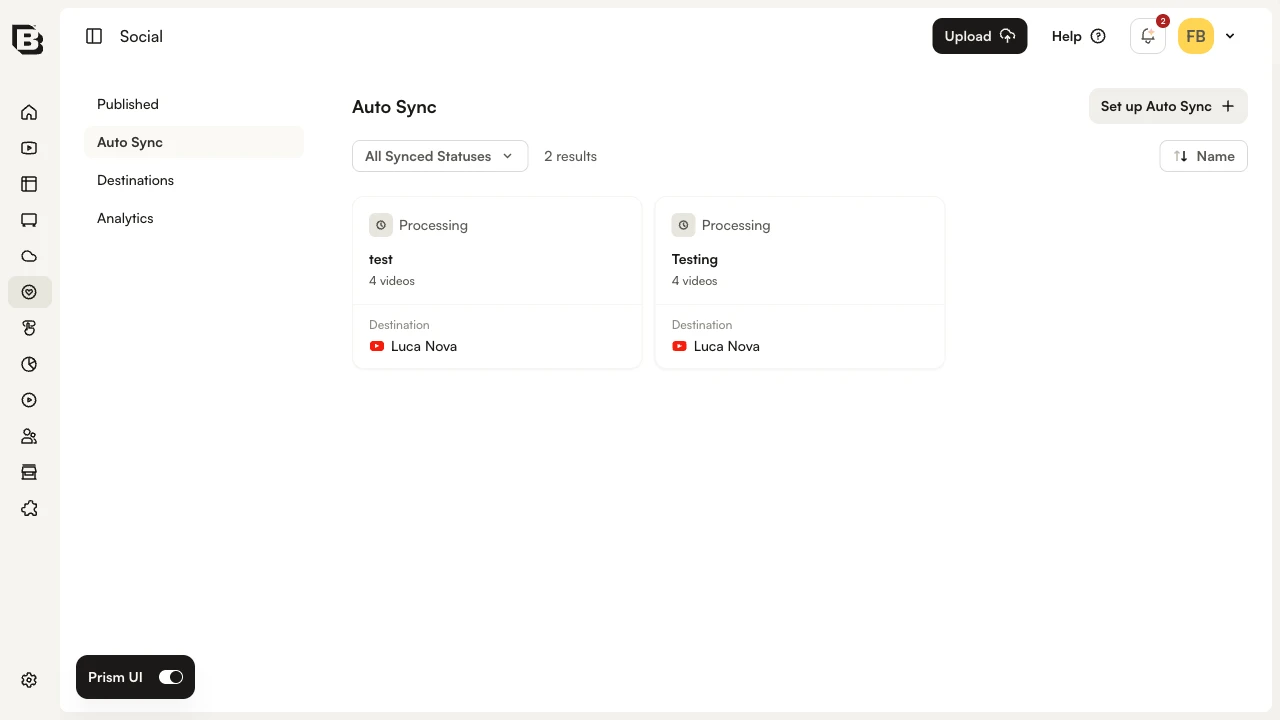
- Click Auto Sync in the left navigation. A list of all Auto Sync names that have been created will be displayed.
- Click Set up Auto Sync.
- Enter a Name for the sync.
- Select the videos to distribute.
- Videos with all these tags - Videos with ALL of the tags listed should be synced
- Videos with any of these tags - Videos with ANY of the tags listed should be synced
- All videos in this account - All videos in the account should be synced
- Unless All videos in this account was selected, enter a comma separated list of tags. After tags have been entered, the number of videos with these tags will be displayed.
- Select any videos that should be excluded.
- Inactive - Inactive videos will not be synced (default)
- Schedule restricted - Scheduled videos will not be synced
- Geographically restricted - Videos with gauge-restrictions will not be synced

- Click Next.
- Choose a publishing destination to synchronize the videos to. Click Manage Destinations to create new destinations or edit any existing ones. Clicking on a destination will display the destination defaults.
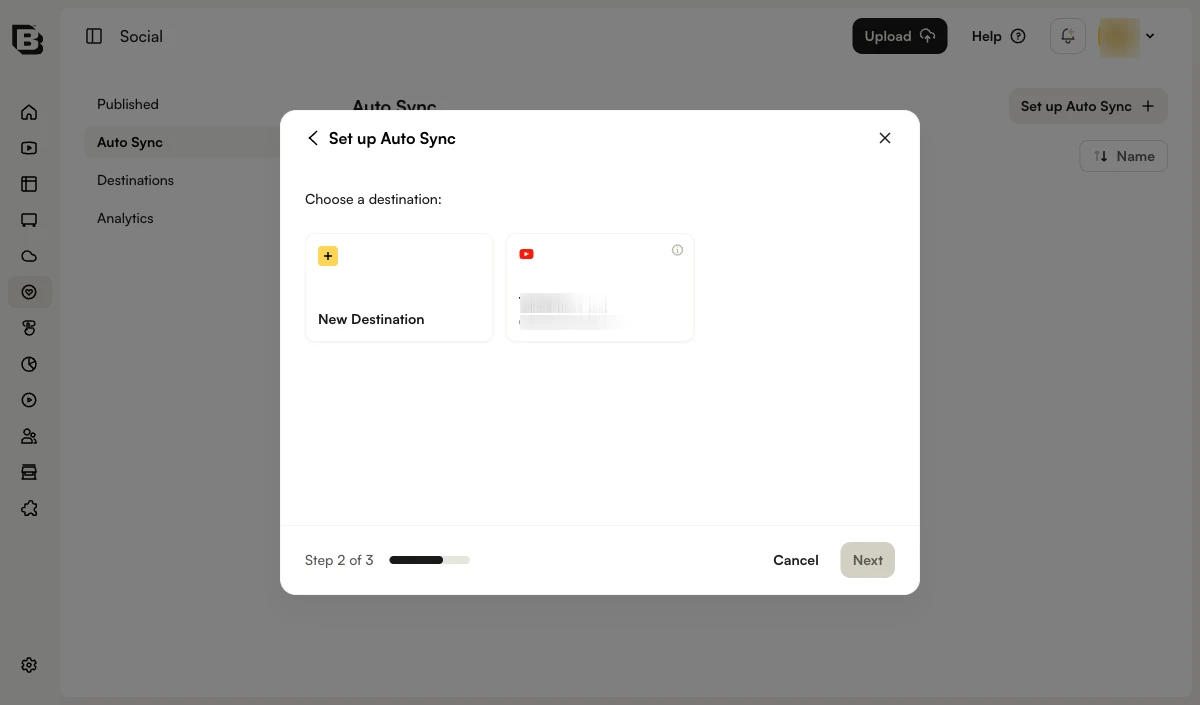
- Click Next.
- Configure the Auto Sync rules. The options available will change based upon the social platform that was selected.
Configuring Auto Sync rules
When configuring Auto Sync, rules can be configured to handle what happens to videos on the social media site. This includes what to do when the video is removed from the list (video is deleted from or the tags change) or how video metadata updates are handled. The rules are based upon the social media platform that was selected:
Configuring YouTube rules
When using Auto Sync with YouTube:
- YouTube has a 100-character limit for titles so the Social module will truncate video titles to 100 characters.
- If the Update video metadata on YouTube option is selected, if the video is upload without captions, and then captions are added, the captions will be passed to YouTube.
- If the Update video metadata on YouTube option is selected, if the video is upload with captions, any changes to the captions info in will cause the updated captions to be passed to YouTube.
- Select what happens when a video is untagged or deleted from :
- Delete distributed video on YouTube - The video will be removed from YouTube
- Make distributed video - Make the YouTube video Private or Unlisted
- No action - Nothing happens to the YouTube video
- Select what happens when the video metadata is changed:
- Update video metadata on YouTube - Changes to video metadata on the side will be synchronized to YouTube
- No action - No action is taken

- Click Next.
- Confirm the Auto Sync settings and then click Create.
Configuring Facebook rules
- Select what happens when a video is untagged or deleted from :
- Delete distributed video on Facebook - The video will be deleted from Facebook
- Expire distributed video on Facebook - The video will be expired on Facebook
- No action - Nothing happens to the Facebook video
- Select what happens when the video metadata is changed:
- Update video metadata on Facebook - Changes to video metadata on the side will be synchronized to Facebook
- No action - No action is taken
- Click Next.
- Confirm the Auto Sync settings and then click Create.
Configuring X (formerly Twitter) rules
- Select what happens when a video is untagged or deleted from :
- Delete distributed video on X - The video will be removed from X
- No action - Nothing happens to the X video
- Click Next.
- Confirm the Auto Sync settings and then click Create.
Configuring LinkedIn rules
- Select what happens when a video is untagged or deleted from :
- Delete distributed video on LinkedIn - The video will be removed from LinkedIn
- No action - Nothing happens to the LinkedIn video
- Select what happens when the video metadata is changed:
- Update video metadata on LinkedIn - Changes to video metadata on the side will be synchronized to LinkedIn
- No action - No action is taken
- Click Next.
- Confirm the Auto Sync settings and then click Create.
Configuring Sprinklr rules
- Select what happens when a video is untagged or deleted from :
- Delete distributed video on Sprinklr - The video will be deleted from Sprinklr
- Expire distributed video on Sprinklr - The video will be expired on Sprinklr
- No action - Nothing happens to the Sprinklr video
- Select what happens when the video metadata is changed:
- Update video metadata on Sprinklr - Changes to video metadata on the side will be synchronized to Sprinklr
- No action - No action is taken
- Click Next.
- Confirm the Auto Sync settings and then click Create.
Viewing and editing Auto Sync jobs
To view and edit the Auto Sync jobs that have been created, follow these steps:
- Open the Social Module.
- Click Auto Sync in the left navigation. A list of all Auto Sync jobs that have been created will be displayed.
- Click the links in the Tags column to open the Media module and search based upon those tags.
- Click the Destination column to open the publishing destination settings.
- Click Delete to delete the sync job.
- Click the link in the Auto Sync Name & ID column name to open the sync properties.
- The STATUS can be set to:
- ACTIVE - Videos will be synchronized
- PAUSED - No videos will be synchronized
- The SHOW list can be used to filter what is displayed.
- Click the settings icon to edit the Sync Settings. Click Update to save the changes.
- Click the delete icon to delete the sync job.