In this topic you will learn how to create a branching experience.
The Branching Experience allows you to quickly string together multiple videos and add annotations that let the viewer jump from video to video. This creates a "choose your own adventure" type experience for your viewers.
The Branching Experience editor dramatically streamlines the editing process, cutting work time from hours to minutes and is available out-of-the-box to all plans.
Working sample
The following video is an example of a Branching Experience. The first video (the "main menu") will loop until a choice is clicked. Clicking on text will branch to that video. When the video is complete, a time triggered action will jump back to the 6 second point of the first, "main menu" video.
Creating a new experience
Follow these steps to create a new Branching Experience:
Login to Brightcove Interactivity Studio.
In the left navigation, click Manage.
At the top of the page click Experiences.
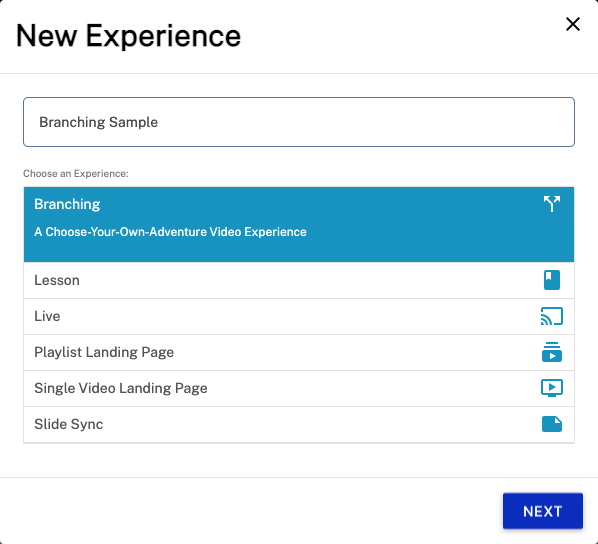
Click New Experience.
Enter a name for the experience.
In the list of experience types, click Branching.
Click NEXT.
Choose a video, there are 4 options:
SAMPLE VIDEO - Use a sample video
URL OR EMBED CODE - Enter the embed code or URL for a video
UPLOAD - Drag and drop or select a new video (must be an .mp4 file)
CHOOSE EXISTING - Choose an existing project
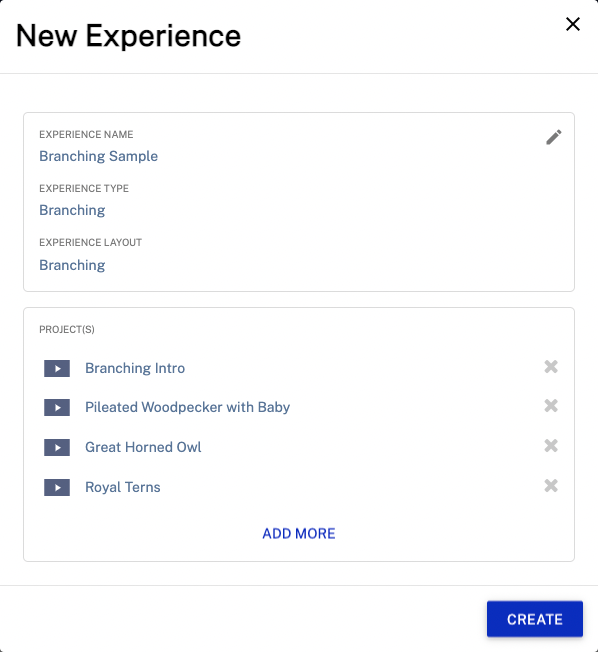
The New Experience confirmation dialog will display.
Click ADD MORE to add more projects.
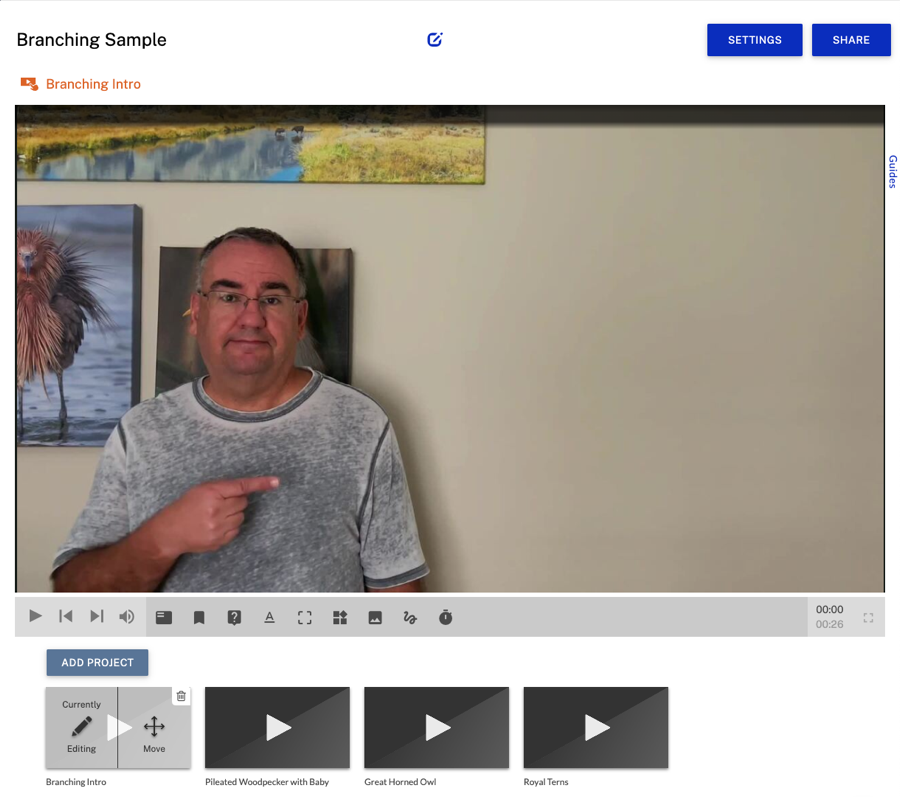
Click CREATE. The Interactivity Editor will open with the first selected video displayed. All videos in the experience will be displayed below the preview player.
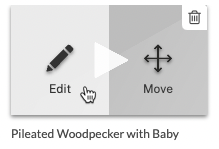
Click ADD PROJECT to add more projects. To change the order of the videos, click and drag a video to a new position. To edit a video, hover over a video and click Edit.
To remove any video from the experience, hover over the video and click delete ().
Adding annotations
Typically, text, image or transparent overlays will be added to the "main menu" video that allow the viewer to branch from video to video.
For each "choice point", add a text, image or transparent overlay annotation. This is what the viewer will click on to jump to the different videos. Make sure the start time and duration for each of these annotations is identical.
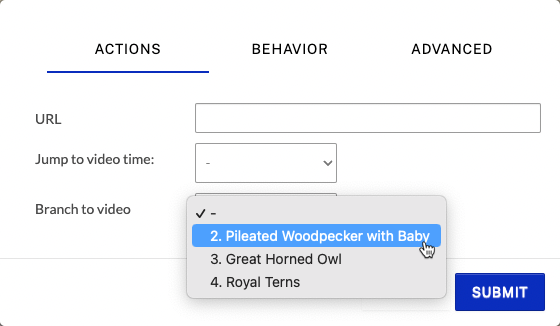
Click Link > ACTIONS > Branch to video and select the video to link to.
Enter a Time to go to a specific point in the video. If no Time is entered, it will jump to the beginning of the destination video.
Click SUBMIT.
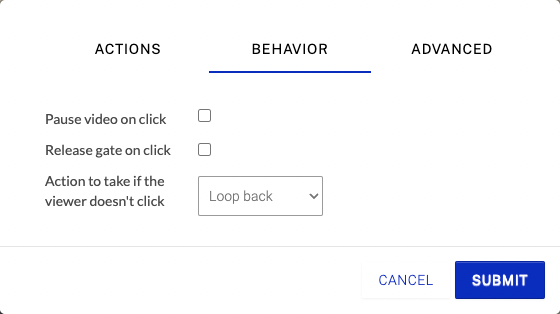
On one of the choice annotations, set Link > BEHAVIOR > Action to take if the viewer doesn't click to Loop back.
This will cause the video to loop and display the "main menu" part of the video until one of the choices is clicked.
At the end of each branch, add a time triggered action and set the Branch to video time to jump to the appropriate place. In this example, the event is set to branch back to the "intro" video at the 6 second point.
Sharing an experience
Sharing an experience will create embed code or a preview URL for the experience. To share an experience, follow these steps:
Click SHARE at the top right of the page.
Select a Share Type.
Embed Only - Generate embed code to place in an existing web page
Landing Page - Create a landing page to host the experience
Select the option to Use Native Controls? Selecting No will display the HapYak controls in the player. Selecting Yes will display the native controls based upon the type of video that is being published. For example, if you are using Brightcove videos, the player will display Brightcove Player native controls (the player will look like a regular Brightcove Player).
Select COPY to copy the embed code or link or click VIEW to open a preview of the experience in another browser tab.
Configuring experience settings
To configure the experience settings, Click SETTINGS at the top right of the page. The following settings are available.
Auto Progress - Automatically progresses to the next video in the playlist when the previous video ends.
Auto Play - Automatically plays each video in the playlist when a viewer clicks to it or when they progress to it automatically.
Custom CSS (URL) - Used to apply custom styling to the entire experience. For information, see Styling Annotations.
If you would like to hide the project titles from the viewer, add this to the Custom CSS (URL) field: //hapyak_demos.s3.amazonaws.com/css/hideExperienceTitles.css
Social Sharing - Social sharing icons are displayed at the top of the page. Select the social icons to display and add an optional message.
Branding - Add a header or footer to the landing page. Include HTML code directly here.