Getting Started with the Players Module
If you are looking to quickly get started creating and publishing a player, check out the Step-by-Step: Using the Players Module to Create and Publish a Player topic.
Using the Players module
To access the Players module, login to Studio and click Players in the primary navigation.
The body of the page will display:
- Player name
- Player ID
- Updated date and time
- Player status
 - Indicates that changes have been made to the player but the changes have not been published
 - Indicates that the player is activated and all changes made to the player have been published
 - Indicates that the player is deactivated
Using the Players module, you can:
Creating a new player
To create a new player using the Players module:
- Click .
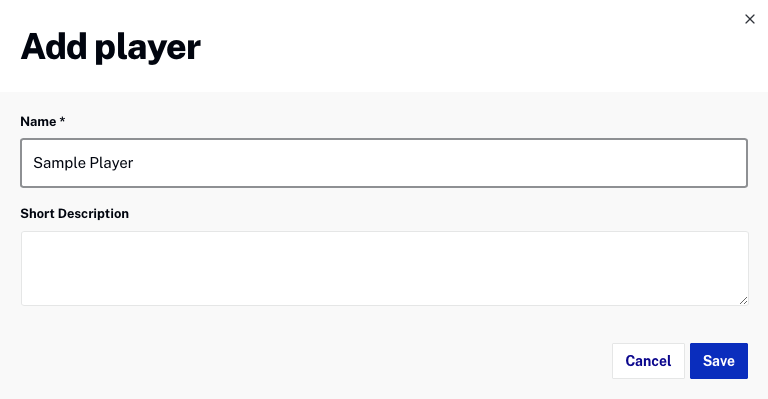
- Enter a name and short description for the player and then click .

- The new player will appear in the list of players.

When a new player is created using the Players module, the player is built using the latest player version as published by Brightcove. The player version appears on the Players module homepage. Note that all players may not be the same version. As Brightcove continues to develop and improve the Brightcove player, new player versions will be released. By default, updates are applied to all players automatically. To prevent auto-updating of a player, you must set the Update Mode setting to Manual (also known as locking a player). For more information, see Setting the Player Update Mode and Version.
Editing player properties
There are numerous player properties that can be configured to customize the look and feel of the player:
- Player Information
- Styling
- Playback
- Controls
- Social
- Plugins
- End Screens
- Advertising
- Content Restriction
- JSON Editor
- Interactivity
- Campaign
- JSON Editor
- Third-Party Analytics
To edit the player properties, click an item in the left navigation menu. For information on configuring player properties, see Setting Player Properties.
Duplicating a player
Duplicating a player allows you to create a new player based upon an existing player. To duplicate a player in the Players module:
- Click the ... next to the player you want to duplicate.
- Click .
- Enter a Name and Short Description for the player.
- Click .
Deleting players
Deleting a player removes it from your account and cannot be undone. To delete a player in the Players module:
- Click More ... > Delete.
- Confirm the deletion by clicking .
Searching for players
The Search field can be used to search the players in your account. When searching, the following fields are searched:
- Player name
- Player ID
- Short description
Previewing a player
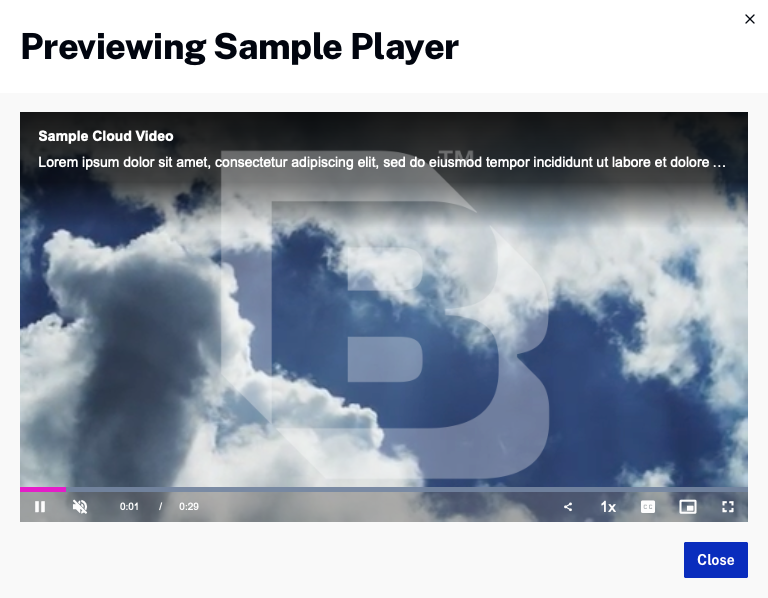
To preview a player, select a player from the list of players and then click Preview player. The player will open in the preview dialog.

Generating the embed code and URL for a player
The Embed Code & URL button can generate the player embed code and URL for the preview player or the published player. Typically, the preview player embed code and URL are used to preview the changes being made to a player. This gives you the ability to see the changes in action before publishing the player out to a production site. Once a player is published, changes will be reflected in all instances of that particular player.
For information on the differences between the preview player and published player and on generating the embed code for a player, see Generating Player Embed Code.
Keyboard shortcuts
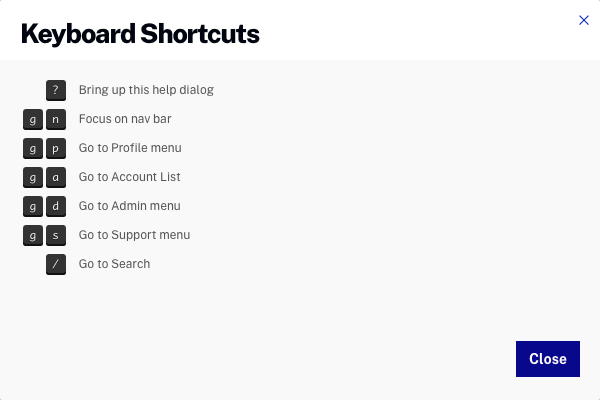
Pressing the ? key in the Players module will open a list of the shortcut keys that are available.

