Ad configurations define various aspects of ad playback, including ad calls, timing, beacons and other ad configuration options. The Server-Side Ad Settings define the ads that can be requested during video on demand (VOD) videos and during live events. Server-side ads take advantage of Brightcove's Server-Side Ad Insertion (SSAI) technology and provide these main features:
- Since ads are stitched into the on-demand or live video stream on the server side, they are not affected by ad blockers
- For live events, ads are inserted at cue points sent from your encoder or you can create an instant cue point using the Live module Control Room
- You can configure fill slates to fill any unused ad time
To learn more about server-side advertising, see Implementing Server-Side Ads with the Brightcove Player.
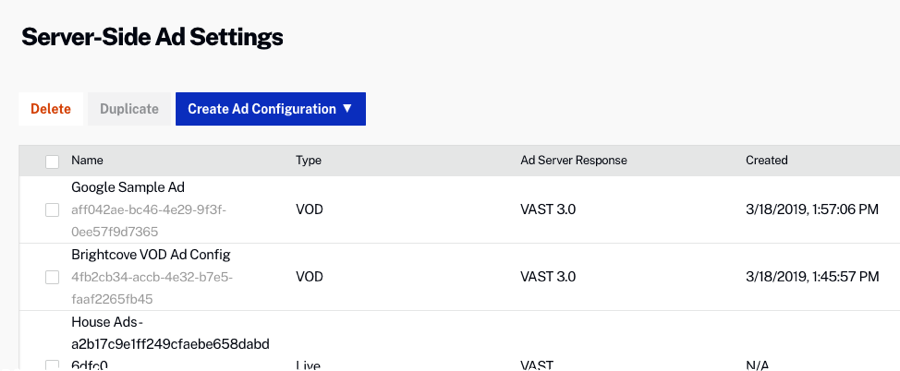
The Server-Side Ad Settings page is used to manage the Live and VOD ad configurations. Note that to access the Server-Side Ad Settings page, you must be a user with the Administrator role.
To access the Server-Side Ad Settings page:
- Log in to Studio.
-
From the primary navigation, click ADMIN and then Server-Side Ad Settings.A list of all ad configurations will be displayed.
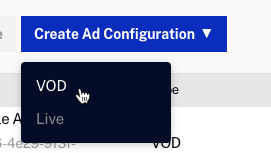
To create a new ad configuration, click Create Ad Configuration and then click the specific type of ad to create:
Creating a Video On Demand ad configuration
To add a Video On Demand (VOD) ad configuration, follow these steps.
-
On the Server-Side Ad Settings page, click Create Ad Configuration > VOD.
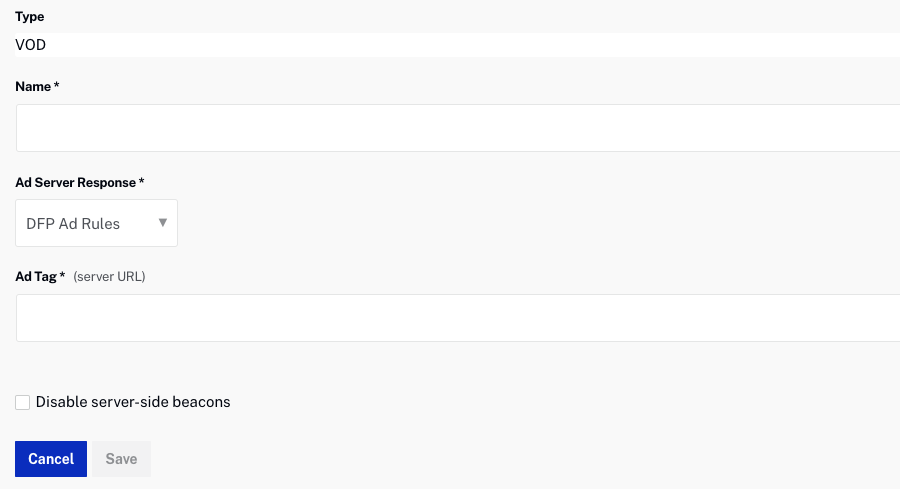
- Enter a Name.
-
Select the Ad Server Response:
- DFP Ad Rules
- DFP VMAP
- Smart XML
- VAST 3.0
- Enter the Ad Tag.
- Check Disable server-side beacons to disable server-side beacons. When disabled, SSAI will not fire any beacons server-side and will include all beacons in the VMAP output.
- Click Save.
To edit an ad configuration, click the ad name, make the changes and then click Save. To delete an ad config, check the box next to the ad and then click Delete. To duplicate an ad config, check the box next to the ad and then click Duplicate.
Once VOD ad configurations have been created, open the Players module and click on a player to view the properties. When the Enable Server-Side (SSAI) advertising property is enabled, an ad configuration can be selected. For information on configuring player advertising, see Configuring Player Advertising using the Players Module (external link).
Creating a Live ad configuration
To add a Live ad configuration, follow these steps.
-
On the Server-Side Ad Settings page, click Create Ad Configuration > Live.
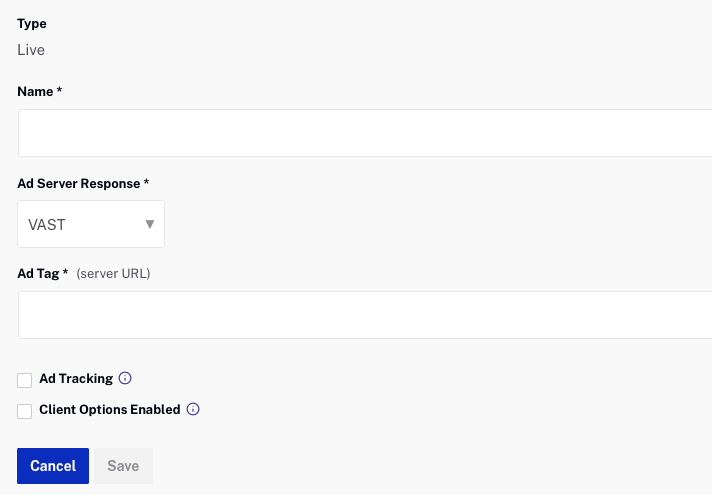
- Enter a Name.
-
Select the Ad Server Response:
- VAST
- DFP (Ad Rules)
- Smart XML
- Enter the Ad Tag.
- Click Save.
To edit an ad configuration, click the ad name, make the changes and then click Save. To delete an ad config, check the box next to the ad and then click Delete. To duplicate an ad config, check the box next to the ad and then click Duplicate.
Once Live ad configurations have been created, when an event is created with the Enable Server-Side Ad Insertion (SSAI) property enabled, an ad configuration can be selected in the Control Room. For information on creating live events, see Creating and Managing Live Events using the Live Module.
Player Enhancements for Live SSAI
Brightcove's Player Enhancements for Live SSAI allows you to add client-side components to live streams, including ad counts, ad countdown timers, click through ads and companion ads. For details, see the Overview: Player Enhancements for Live SSAI document.
To use this feature, contact your account manager to enable your account for:
- Live streams
- Server-Side Ad Insertion (SSAI)
- Player Enhancements for Live SSAI
To add player enhancements, follow these steps:
- On the Server-Side Ad Settings page, click Create Ad Configuration > Live.
- Enter the data as described in the add a Live ad configuration steps above.
- Select Client Options Enabled to see a list of feature options.
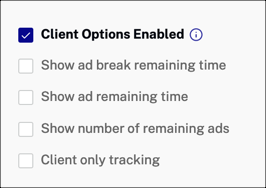
- Select the client-side components that you want to add to your live stream.
- Click Save.