Introduction
You may have an existing Android app, but you need to update it so it will be part of your Brightcove family of apps. This document leads you through that process. A high-level view of the process is:
- Turn on timed publishing (not required, but a recommended best practice)
- Update your app
Turning on timed publishing
When updating an app to become a Brightcove app, it is highly likely you will NOT want changes to go live immediately. You most likely will want to make all the changes for the new Brightcove App, then at a specific time the changes will be pushed live. Android provides a mechanism to do this called timed publishing. The steps below guide you on how to enable timed publishing. For complete details on timed publishing see Google's Publish an app with timed publishing document.
- Sign in to the Google Play Console.
- Select the app you are updating to a Brightcove app.
- On the left menu, select Store presence > Store listing.
- At the bottom of your screen, turn on timed publishing by clicking on the Timed publishing switch.
-
Review details in the Timed publishing dialog.
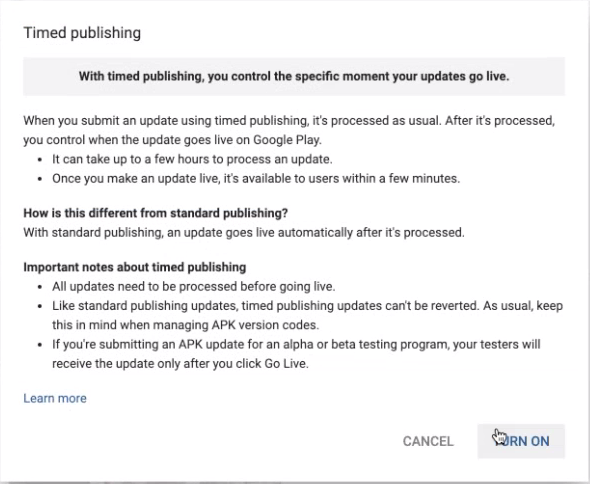
- Click the TURN ON button.
Now, as you make changes you will click the SUBMIT UPDATE button and the following dialog will appear:
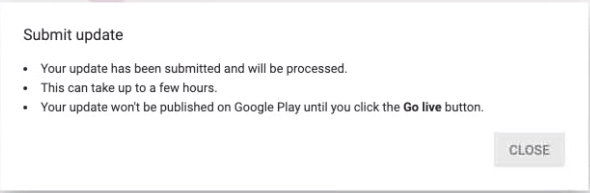
You need to decide if you want timed publishing to be active or not when updating the app, described in the following section.
Updating the app
-
Sign in to the
Google Play Console.
You will see a landing page with your existing app(s) displayed. In the screenshot below, only the BCLS Test app exists.
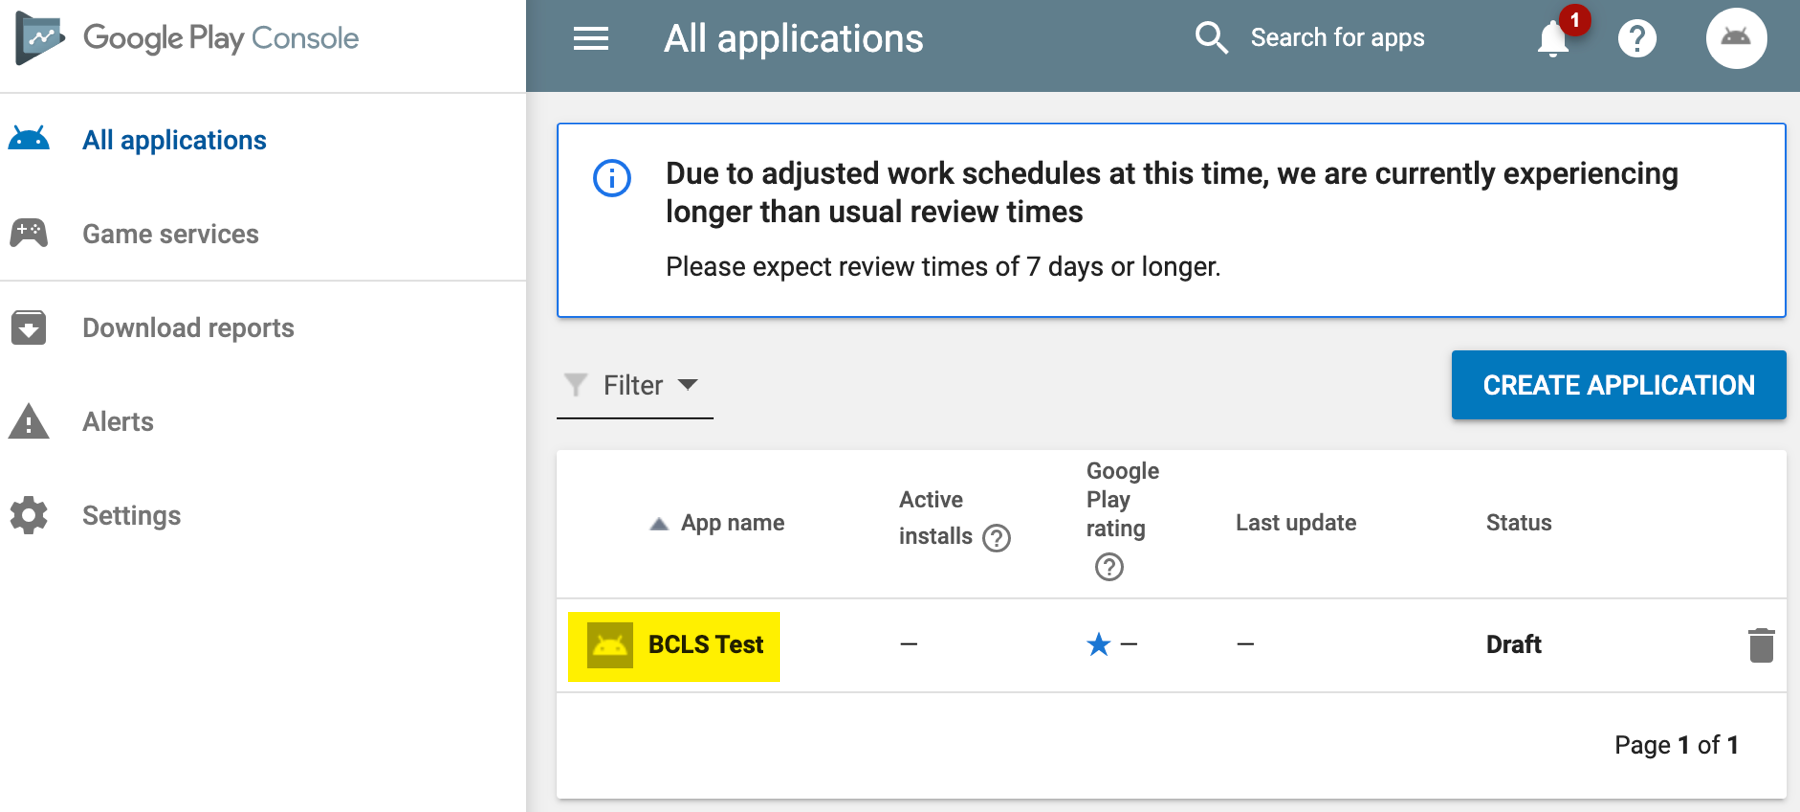
- Click on the app you wish to update.
-
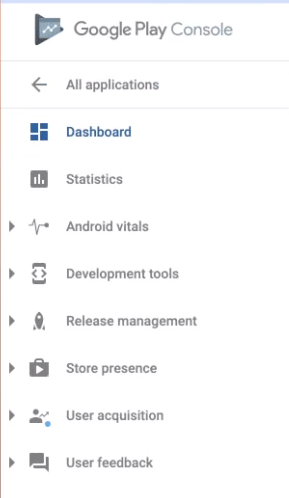
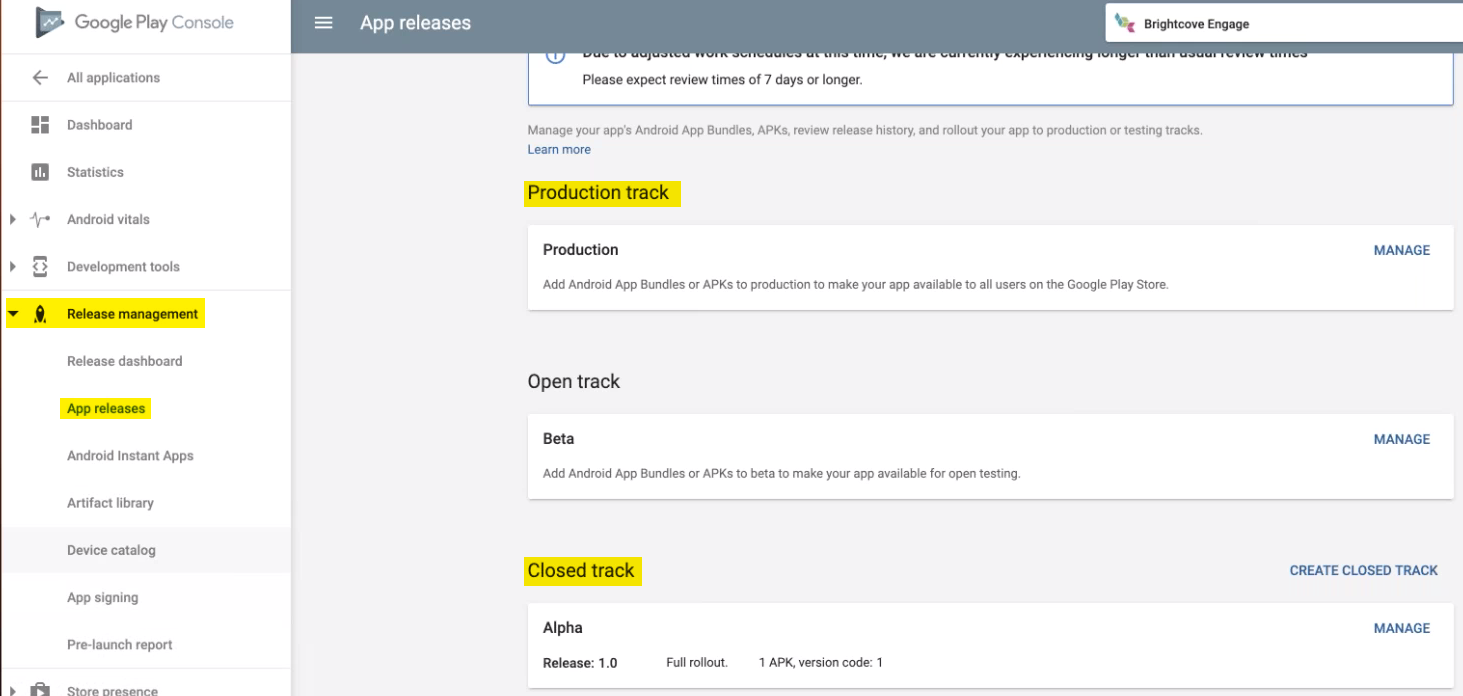
You will see your left-navigation is different than when you submitted a new app.
-
The Release management > App releases section is where you handle creating both testing and production releases. For full details on completing this section, see the Complete App releases information section of the
Submitting New Apps to the Android Store document.
-
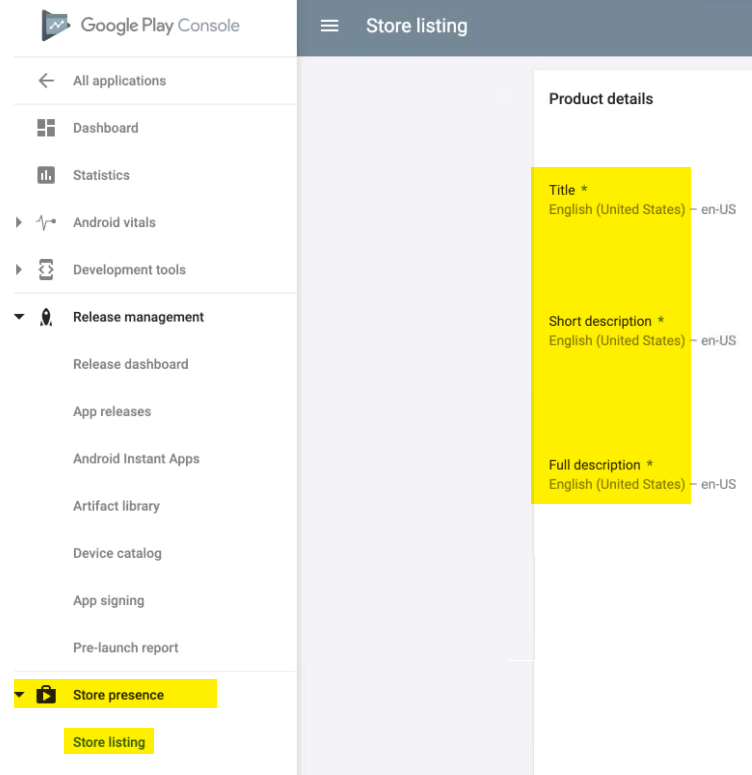
Update any information in the
Store presence > Store listing section. This section includes descriptions of your app as well as images used representing your app. For full details on completing this section, see the Complete Store listing information section of the
Submitting New Apps to the Android Store document.
-
To be sure any subscriptions are updated to match subscriptions defined in Brightcove , select
In-app products > Subscriptions.
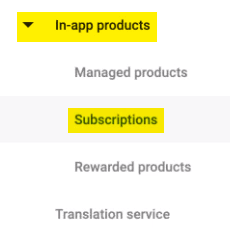
- Follow the guidance detail in the Adding Subscriptions to Android document to update existing subscriptions.