Using the Heads-Up Display Chrome Extension
The Heads-Up Display (HUD) is a Chrome extension that provides the ability to:
- View performance metrics of videos on a live page
- Publish, edit and delete videos in your account
Installing the Chrome extension
To install the Heads-Up Display Chrome extension, follow these steps:
- Using the Google Chrome web browser, access the Brightcove Campaign extension page here.
- Click on Add to Chrome.
- When prompted, click Add extension.
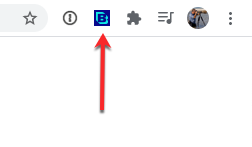
- Confirm that the extension was installed by locating the Brightcove logo next to the address bar.
Opening the Heads-Up Display
The Heads-Up Display is useful for viewing video analytics and for publishing, editing and deleting videos in your account. To open the HUD, follow these steps:
- Open Google Chrome.
- Click the Brightcove logo next to the address bar to open the extension.
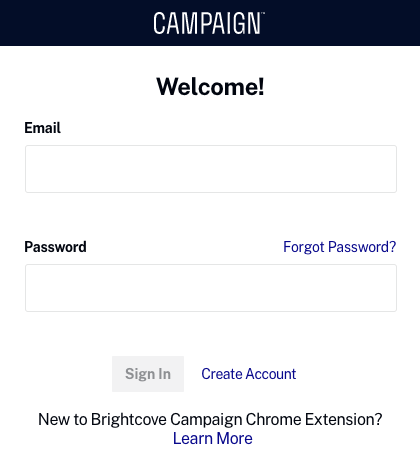
- If you don't have an active session with the Brightcove Campaign application, you will be prompted to login. Enter your email address and password. Click .
Icons at the top of the HUD can be used to:
Clicking Go To Web will open the Brightcove Campaign application in a browser window.
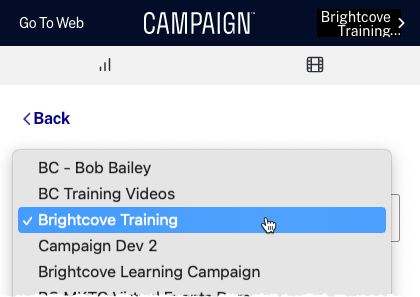
Selecting an account
The top right of the HUD will display the current Campaign account.
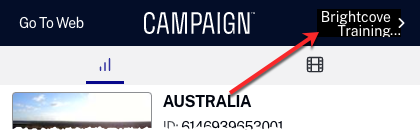
If you have access to multiple Campaign accounts, clicking on the account name will open the account selector. Click on the Account Name dropdown to select another account to work with.
To sign out of the HUD, click .
Reviewing video analytics
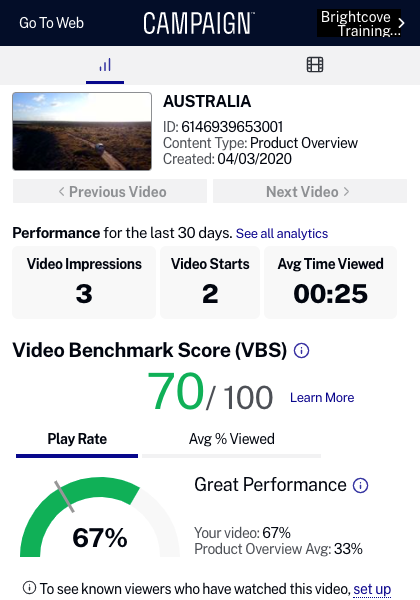
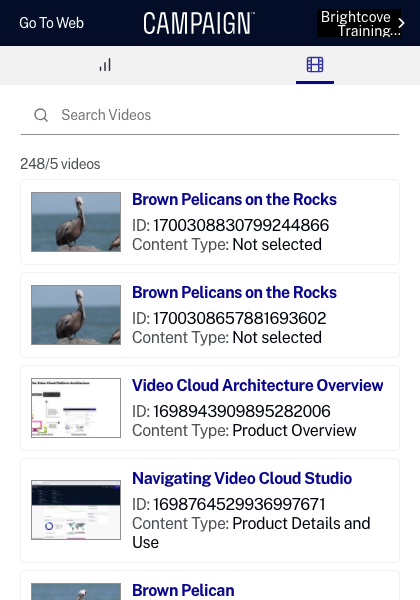
When the HUD is first opened, it displays video analytics. You can also click on the analytics icon (![]() ) to go to analytics mode. The HUD will only display analytics for video(s) on the page that have been published using Brightcove Campaign™.
) to go to analytics mode. The HUD will only display analytics for video(s) on the page that have been published using Brightcove Campaign™.
The HUD will display basic information about the video(s) on the page:
- Video name
- Video ID
- Video Content Type
- Created date
If there are multiple videos on the page, Previous Video and Next Video buttons will be enabled.
Video analytics on the HUD are "close to real-time". Analytics are typically delayed a few minutes but the delay can increase during traffic spikes. The following analytics data for the past 30 days will be displayed:
- Video Impressions - The number of times the video was loaded and ready for playback
- Video Starts - The number of times the video started playing
- Avg Time Viewed - Total Time Viewed / Video Starts
- Video Benchmark Score - Overall rating that measures how your video is performing (learn more...)
- Play Rate - Video Starts / Video Impressions
- Avg % Viewed - Average Time Viewed / Video length
To see all analytics for the video, click the See all analytics link.
Managing videos
To use the HUD to manage and publish videos in your account, click on the videos icon (![]() ) . A list of videos in the account will appear.
) . A list of videos in the account will appear.
Hovering over a video will display a series of buttons which provide the ability to:
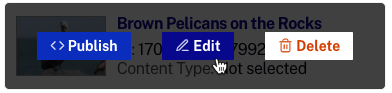
Publishing videos
Hover over a video and click . Select a destination, Web Page or Email.
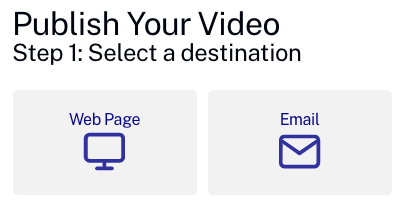
The wizard will walk you through the process to generate the embed code for use in a web page or to get the video thumbnail for use in an email message.
Editing videos
Hover over a video and click . Edit the video properties as needed and then click .
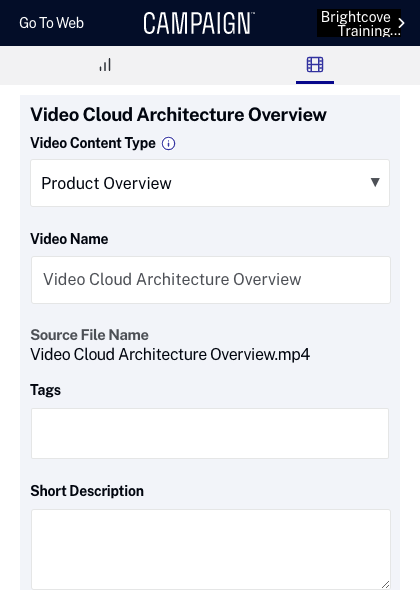
Video properties can also be edited using the Media module. For information, see Editing Video Properties using the Media Module.
Deleting videos
Hover over a video and click . You will be prompted to confirm the delete.