Introduction
With Brightcove , you will receive a generated device app which can be added to the Roku Channel Store.
- Store details: https://developer.roku.com/overview
- Developer Account Setup: https://my.roku.com/signup
- Implementing Roku Search: https://developer.roku.com/en-gb/docs/developer-program/discovery/search/implementing-search.md
- Suggested lead time for approval: Three weeks
Required information for Roku:
-
Poster and screenshot requirements
- Channel Poster (540x405)
- Screenshots up to 1920x1080
- Developer Email
- Preferred URL for more information
- Administrative Contact (Name / Phone / Email)
- Technical Contact (Name / Phone / Email)
- Client to set up App logins for QA in store
Getting started
To access the Roku developer pages, follow these steps:
-
In a browser, navigate to the Roku Sign in page.
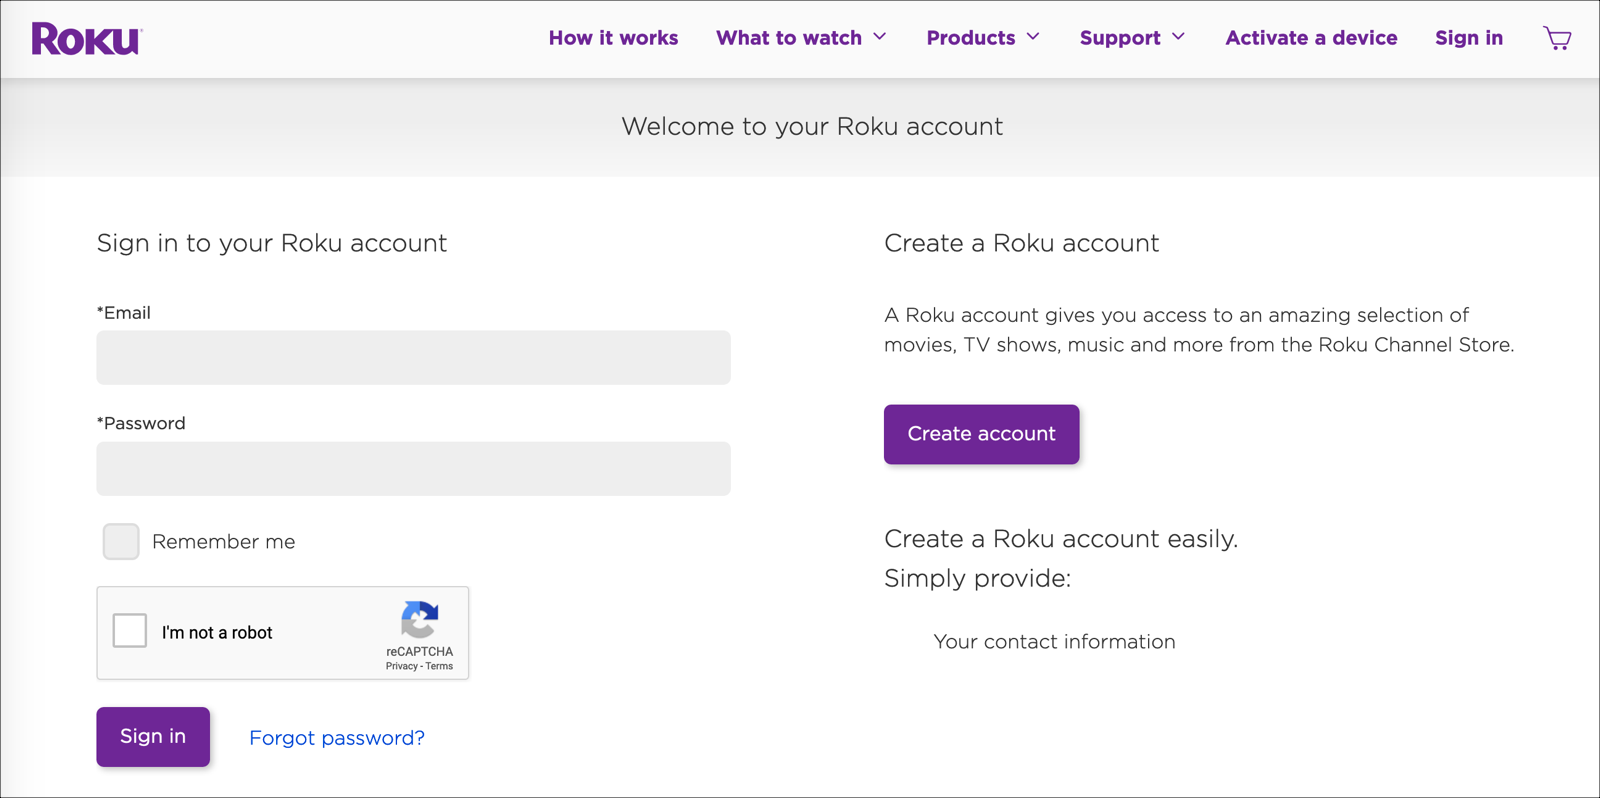
Roku sign in -
Either sign in with your account or create a new account.
Adding a channel
Learn how to add a channel.
- From the top navigation, click in the profile icon.
-
In the drop-down menu, click on the Developers option.
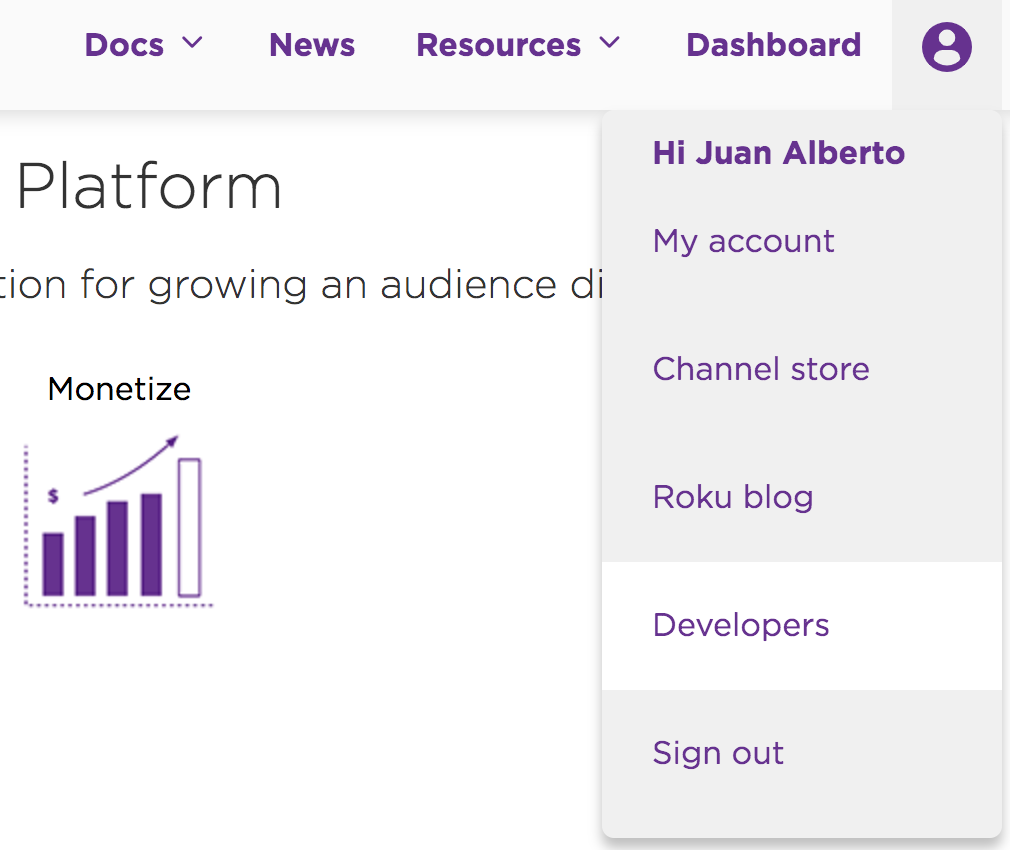
Developer Options -
From the top navigation, select the Dashboard link.
-
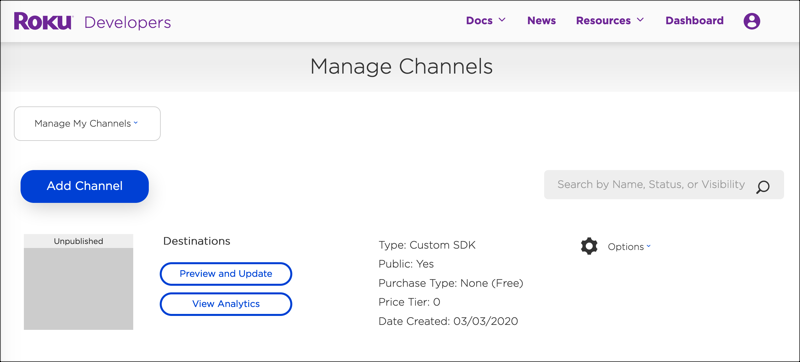
From the dashboard, you can manage your channels. Select the Add Channel button.
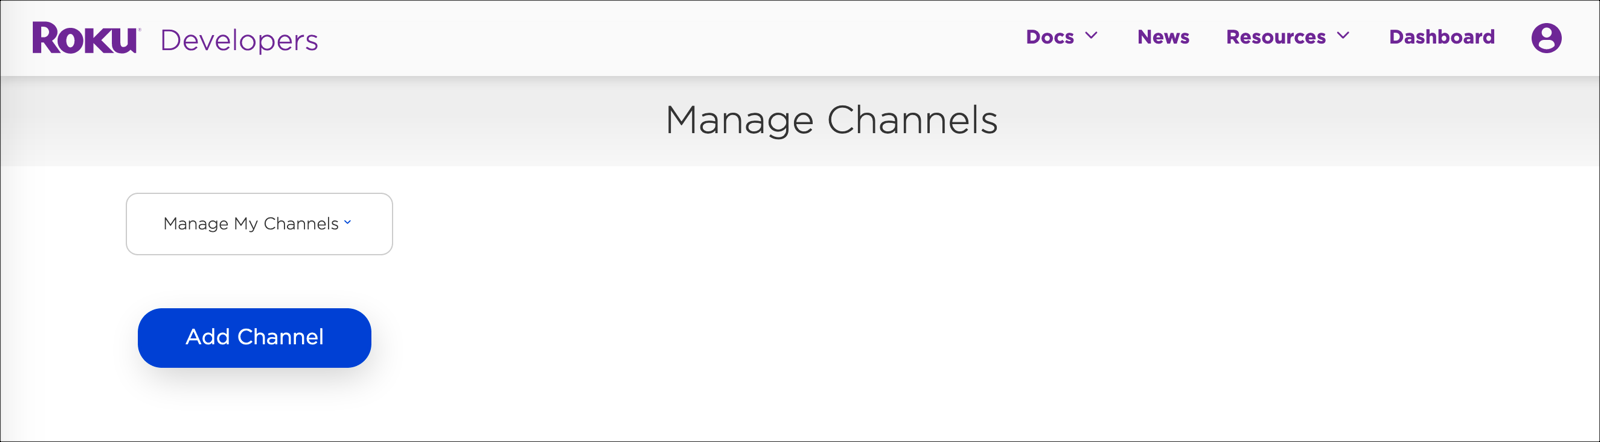
Manage Channels -
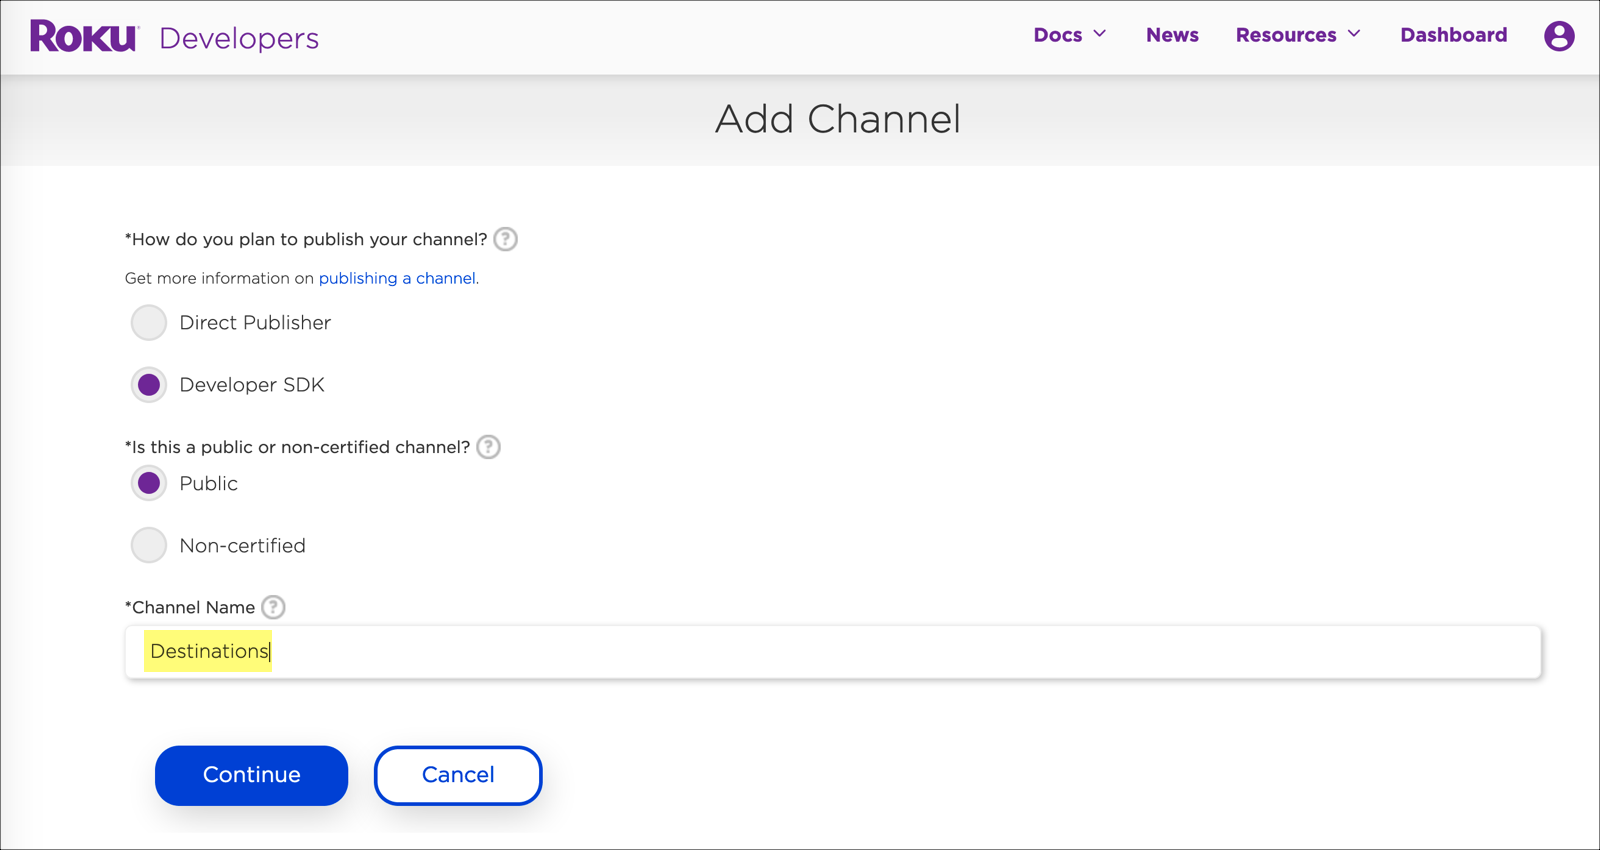
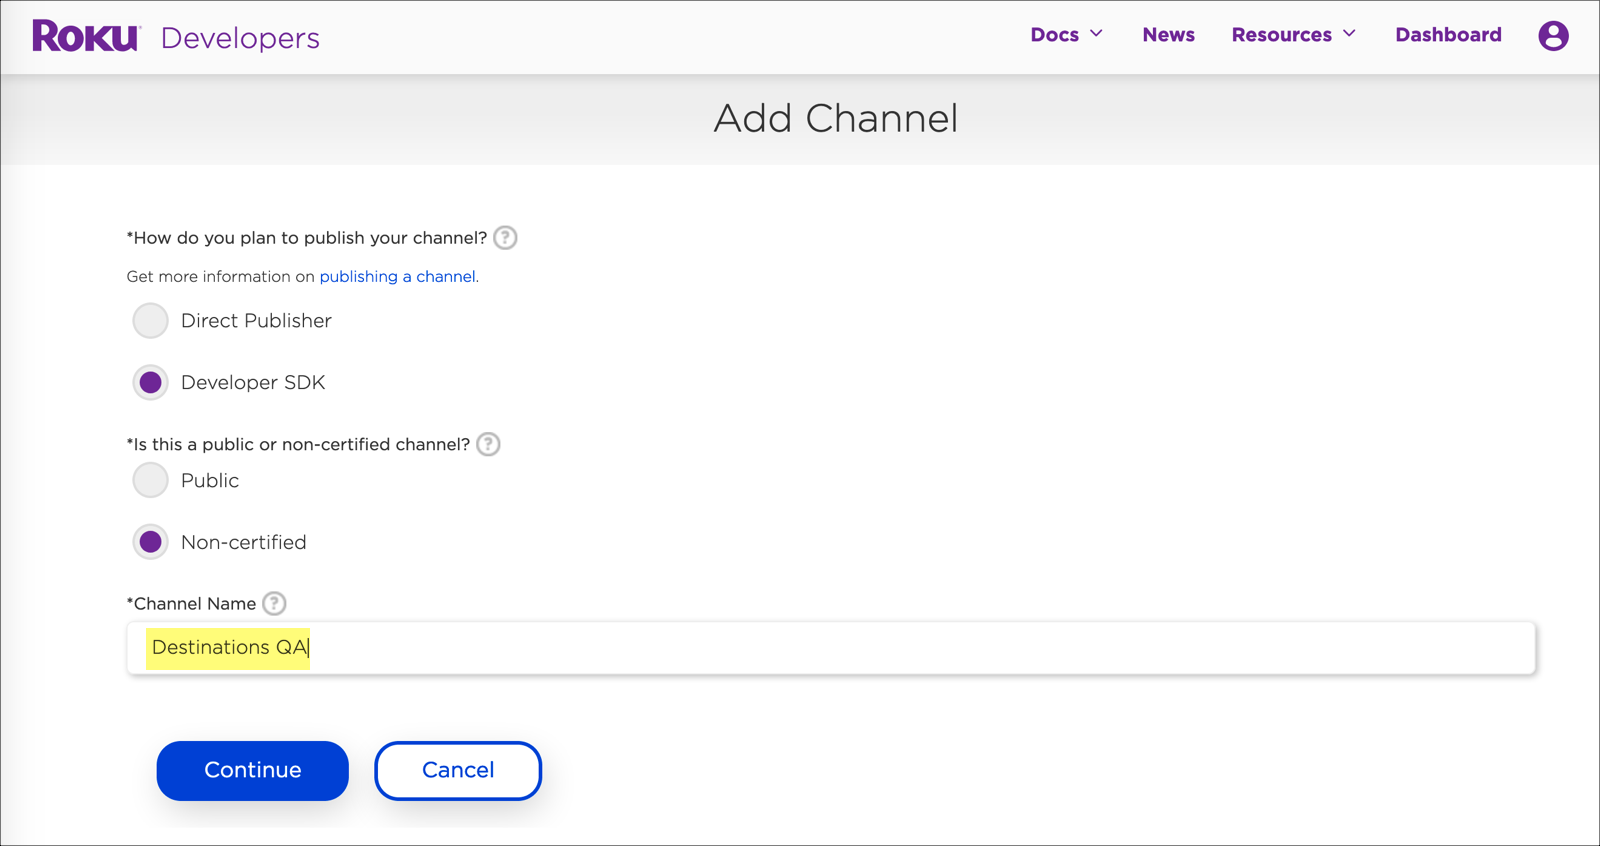
When the Developer SDK option is chosen, you will see options for a public or a non-certified channel.

Developer SDK Channel -
Select Public when you want the channel to go to the store. Select Non-certified when you want to create a testing channel.
We recommend the following:
- Create your Public channel name, for example Destinations.
-
Create a Non-certified testing channel with a suffix of QA. So, in this case it would be named Destinations QA.
First, we are creating the public channel.
Public channel -
Next, we are creating the testing channel.
Testing channel
Channel properties
Properties are associated with each channel.
-
Return to your Developer Dashboard and select the Manage My Channels link.
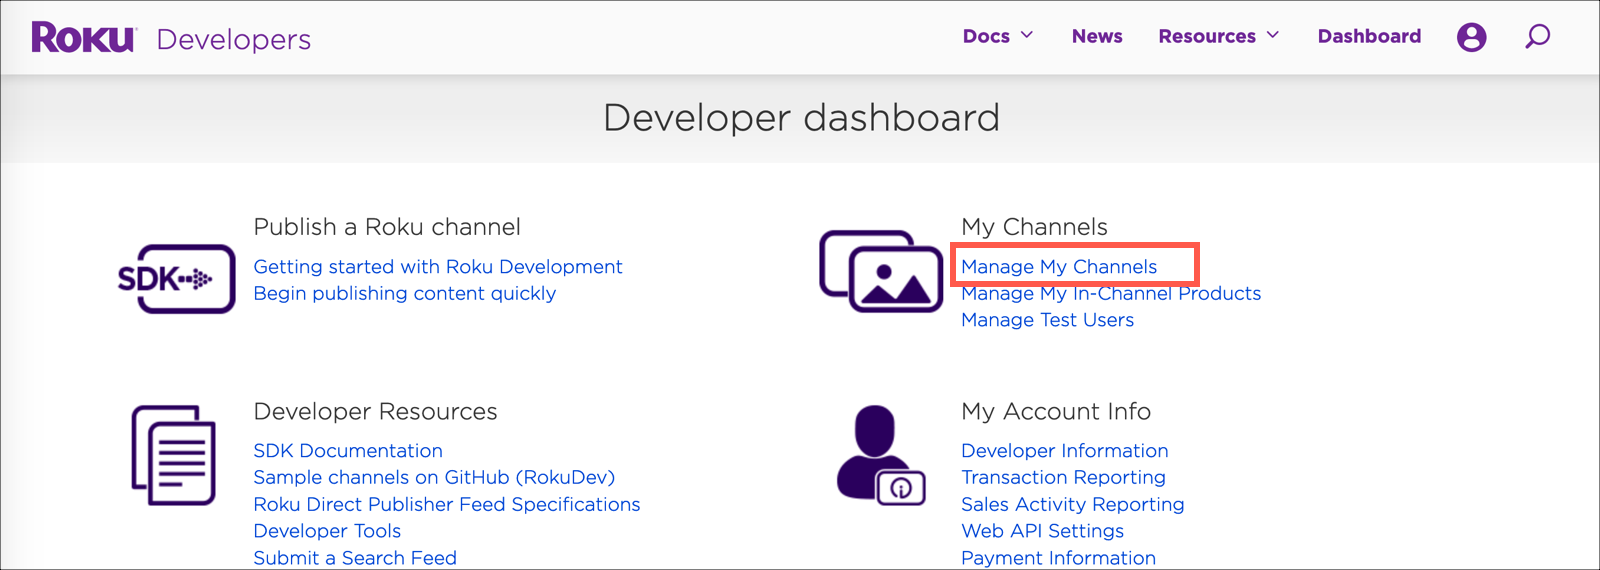
Manage Properties -
For your channel, select the Preview and Update button.
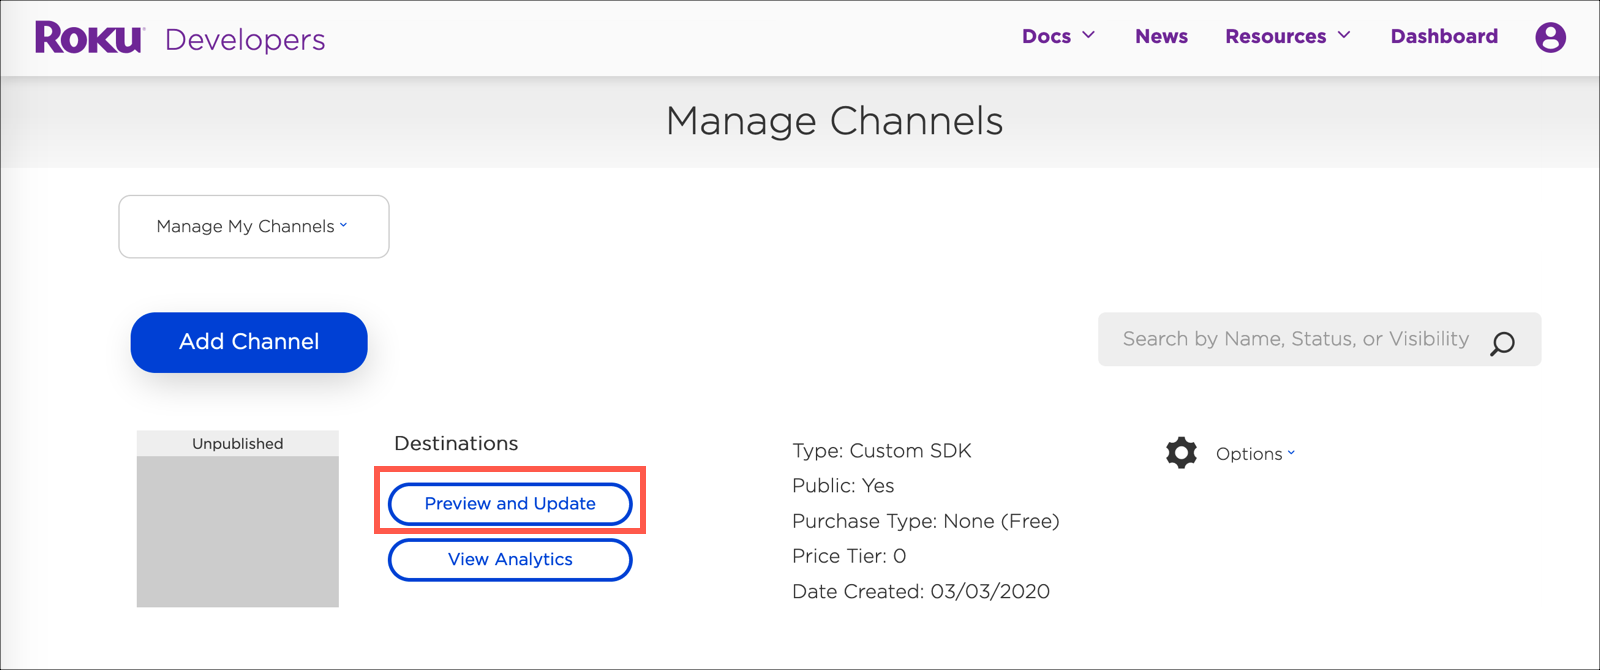
Update Properties -
Expand the Preview and Publish dropdown menu, and select Properties.
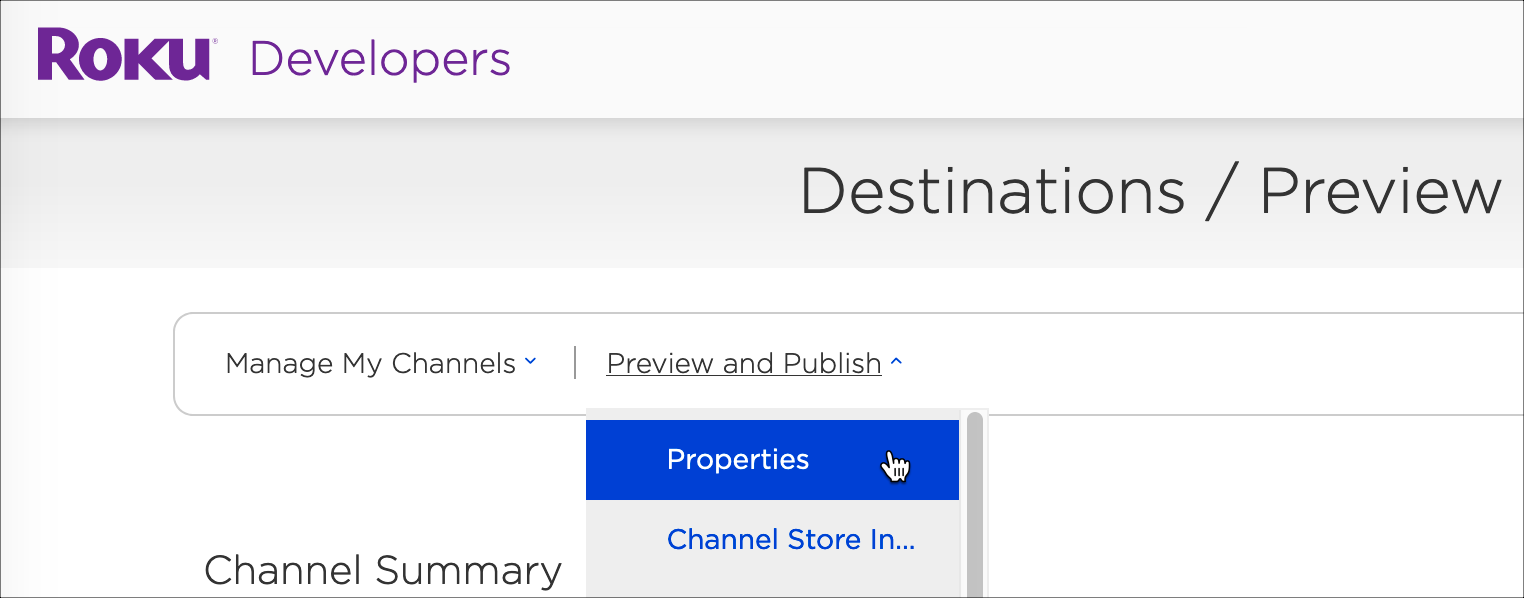
Properties dropdown menu -
You should see a list of channel properties. On the left side, you will see a list of Channel Store countries where your channel will appear. For testing, you can select all countries. For your live channel, choose the countries where you want your channel to be seen.
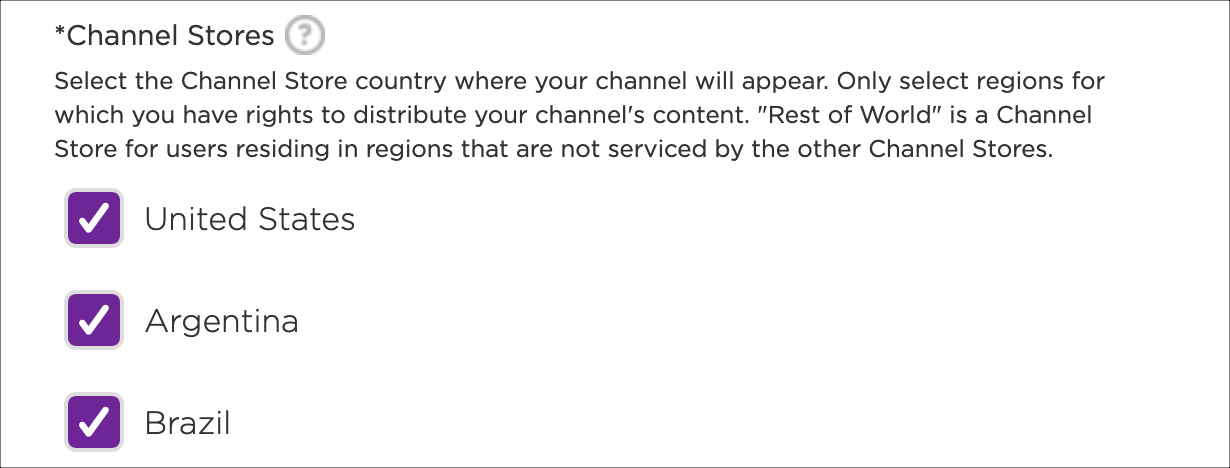
Channel Store countries -
For accessibility features and compliance, select Yes. All Brightcove apps meet these requirements.
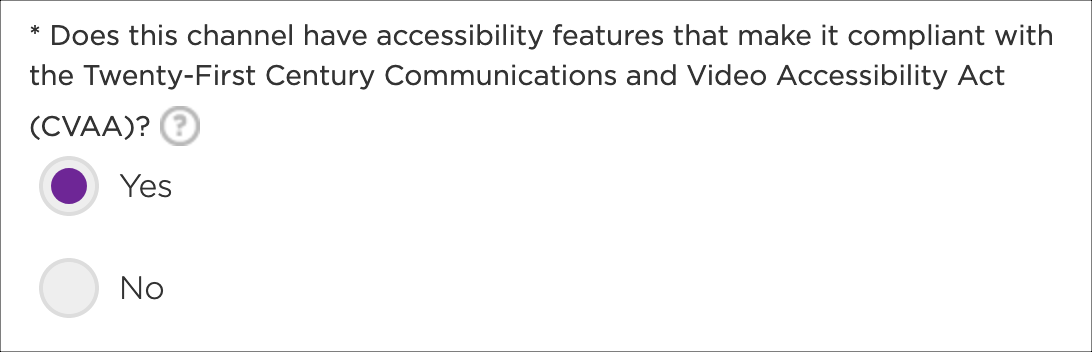
Accessibility -
Based on your content, choose the appropriate content rating.
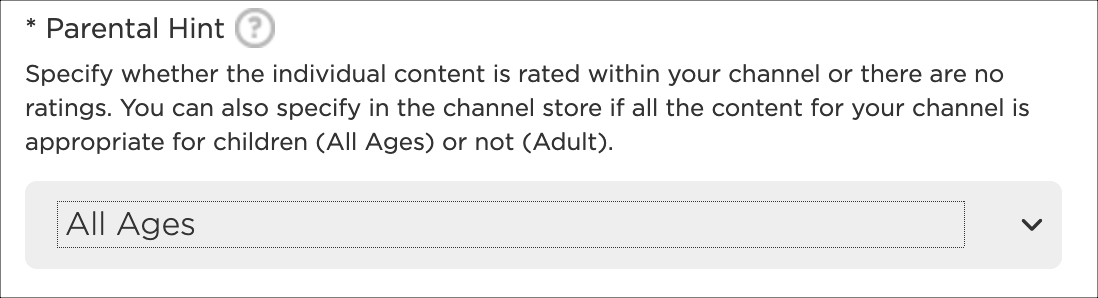
Content rating -
Select whether a customer account is required to access your channel features.
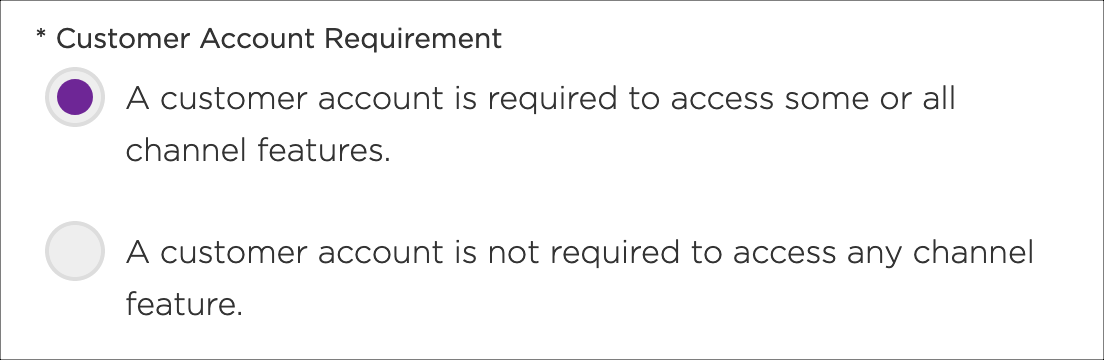
Customer account -
Enter the URL for the privacy policy associated with your entire app.
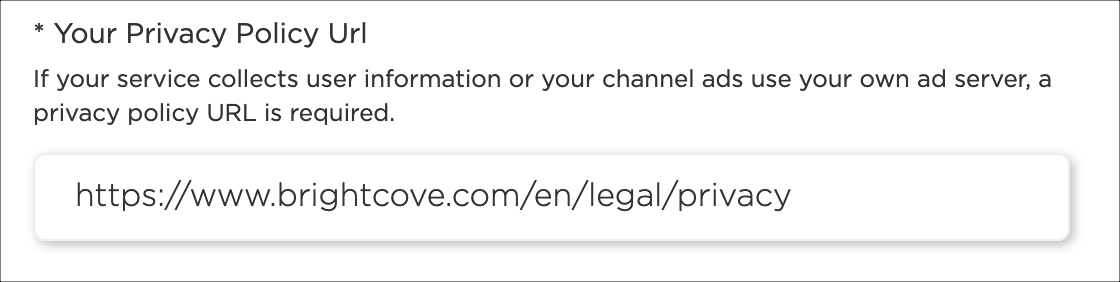
Privacy policy -
The Vanity Access Code is automatically generated by Roku. You can leave this value.

Vanity code -
Select the languages that you want to support.
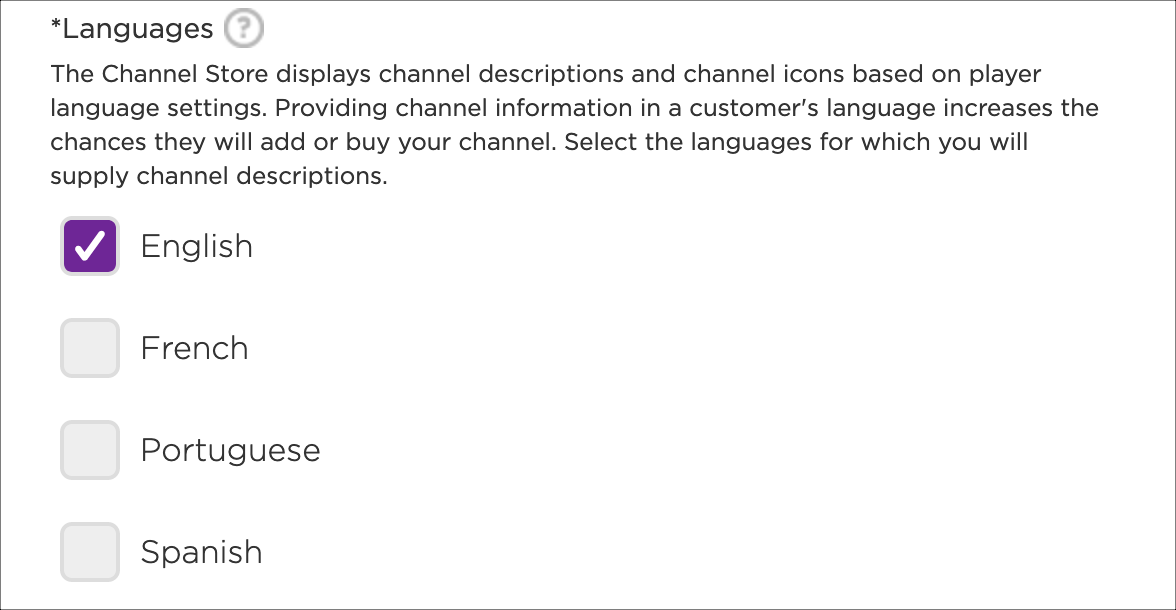
Languages -
For Required Features, first choose the Classification that best describes your channel.
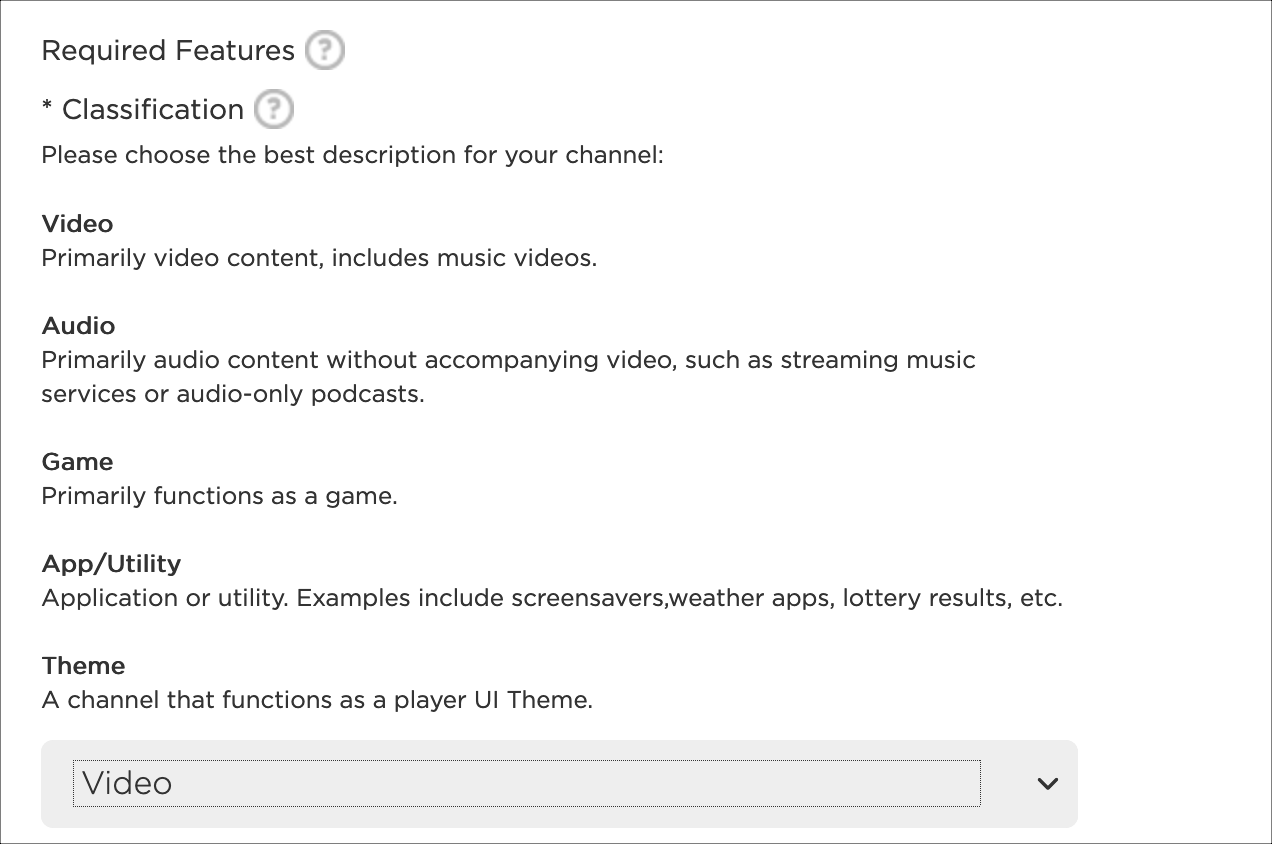
Classification -
Then, specify whether your app requires an internet connection. When you are done updating the properties for your channel, select the Save button.
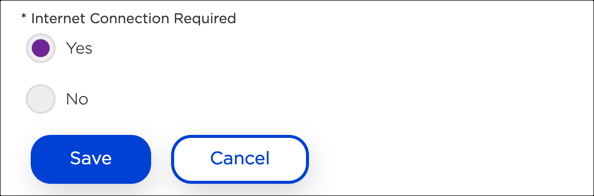
Internet connection
Channel store info
Here you will add descriptions and icons for your channel.
-
Return to the Preview and Publish page, expand the Preview and Publish dropdown menu, and select Channel Store Info.

Channel Store Info dropdown menu -
For Channel Store Info, enter the following field values:
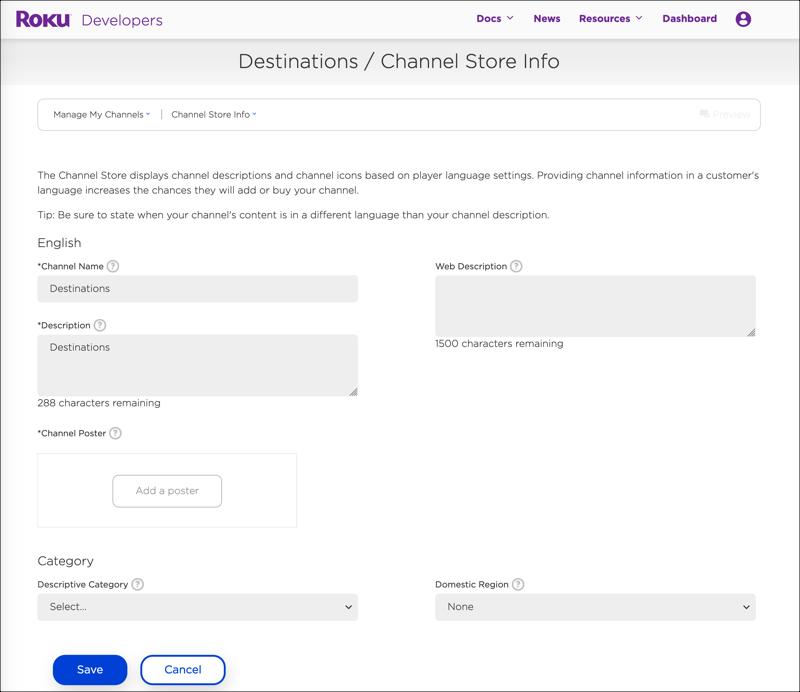
Channel Store Info - Channel Name - This should already be populated with your channel name.
- Description - Add a detailed description about the channel, that will appear in the Channel Store description. (300 characters)
- Web Description - Enter a channel description for U.S. web-based marketing of your channel. This will not display on devices. (1500 characters)
- Channel Poster - Add a poster image that will display in the Roku Channel Store. (540 x 405 JPEG or PNG)
- Descriptive Category - Select the category where you want to channel to show up. (Example: Sports, Drama, Comedy, etc.)
- Domestic Region - Select the country where your channel is considered native and/or domestic. Your channel will appear in the "International" category of all regional Channel Stores that include your channel, with the exception of the Channel Store associated with your Domestic Region.
-
When you are done adding Channel Store Info, select the Save button.
Verify your account and link a device
After completing the Roku channel set up, it is important to verify your developer account.
-
Return to the Manage Channels screen and select the Preview and Update button.
Update Properties -
Expand Preview and Publish and select Package Upload.
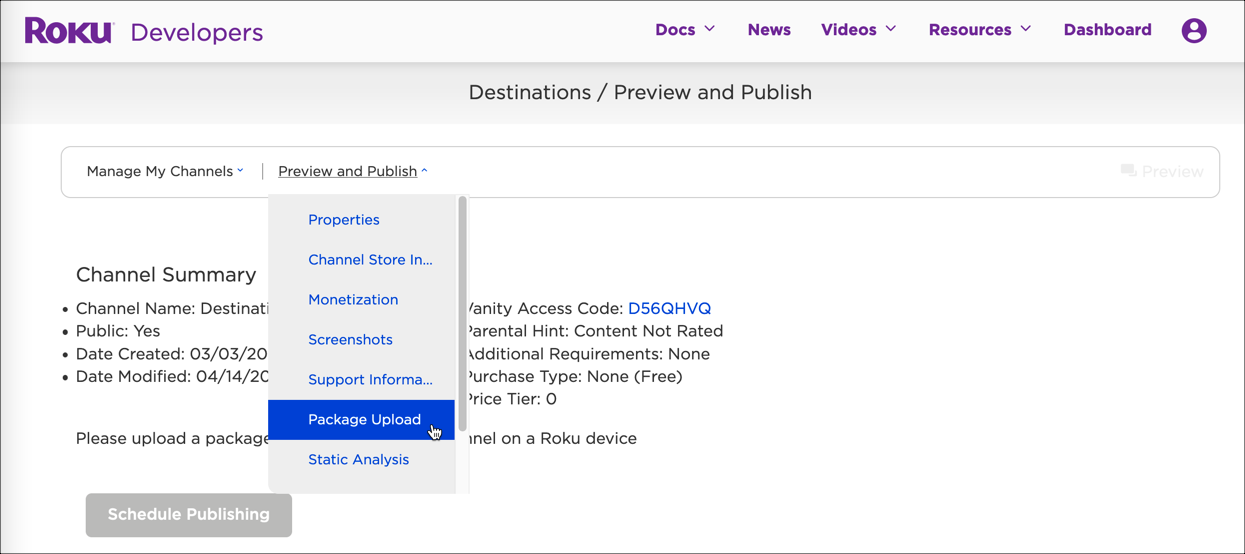
Package Upload -
Select Send verification email button.
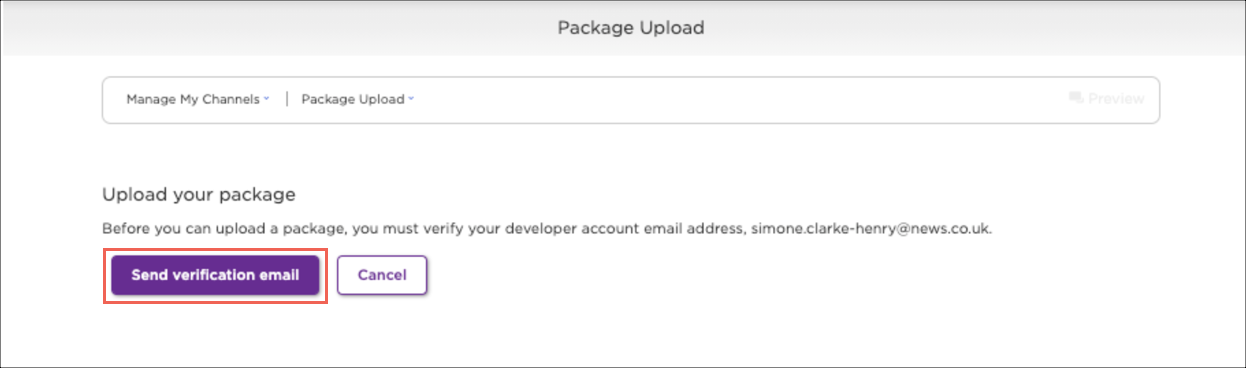
Email verification -
Once you have verified your developer email account, you will be prompted to link your device and add a payment method. If you have already done this, you can skip to the next section.
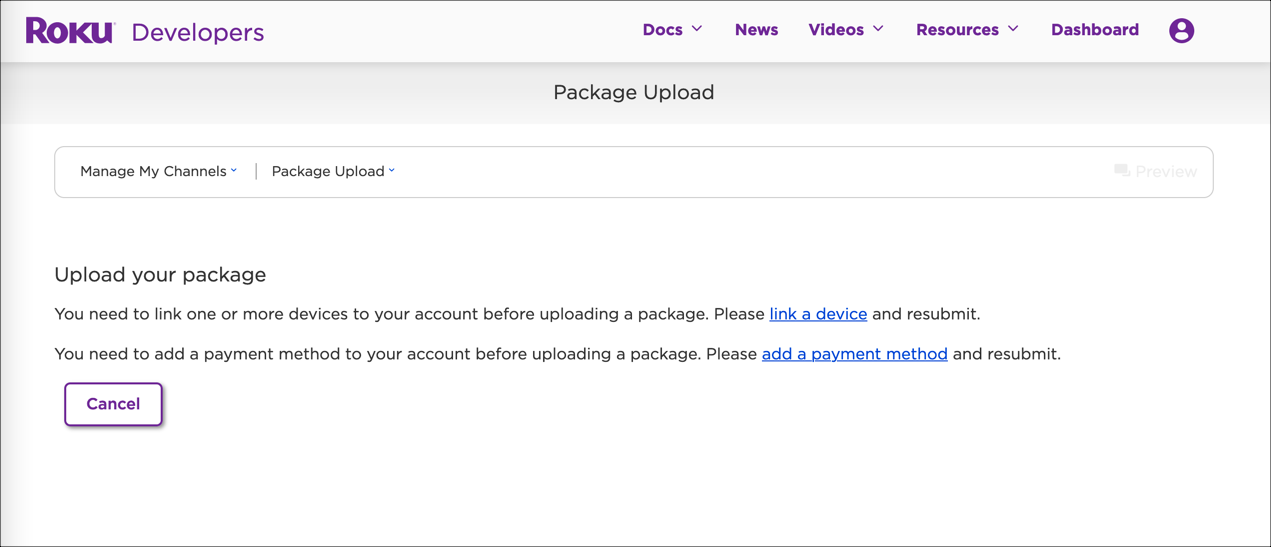
Package information -
When linking your Roku device, make sure your device has the same registered email as in the verification steps. For best results, we recommend that you reset your Roku device.
To reset your Roku device:
- Select Settings.
- Select System.
- Select Advanced System Settings.
- Select Factory Reset.
Here are some helpful links:
-
Upon completion, you should see the following screen:
Package information complete
Add channel with a code
You can use a vanity code to add your app channel to your Roku device.
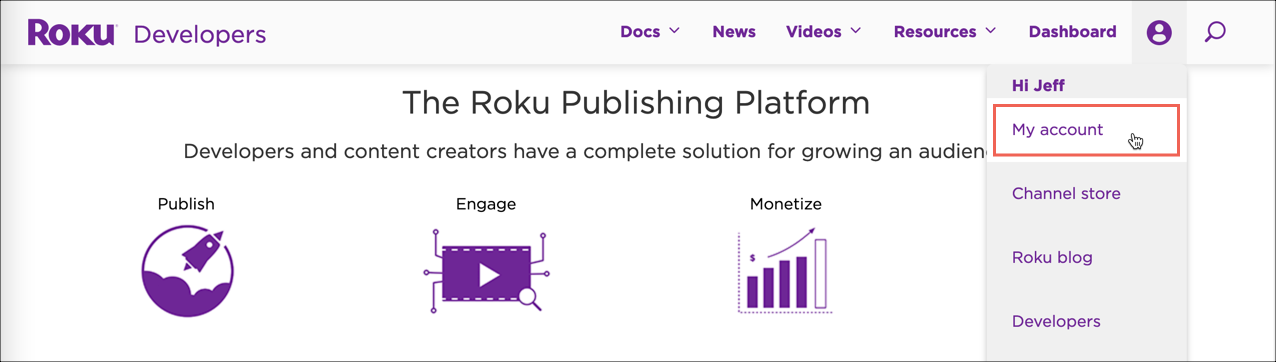
-
Expand your profile dropdown menu and select My account.
My account -
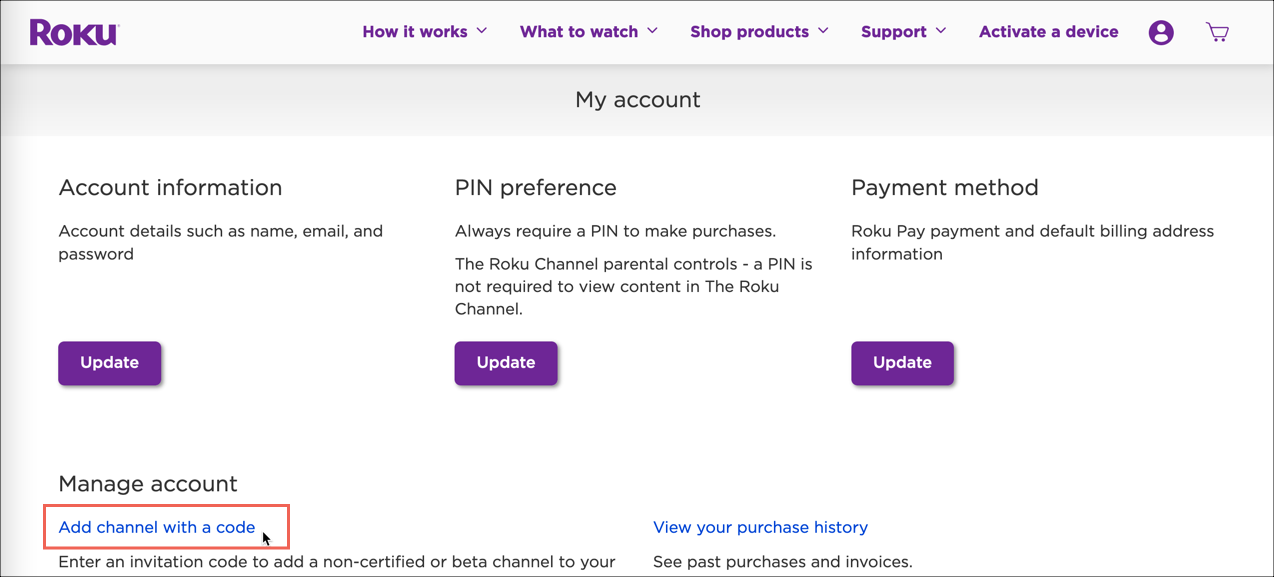
Select the Add channel with a code link.
Add channel with a code -
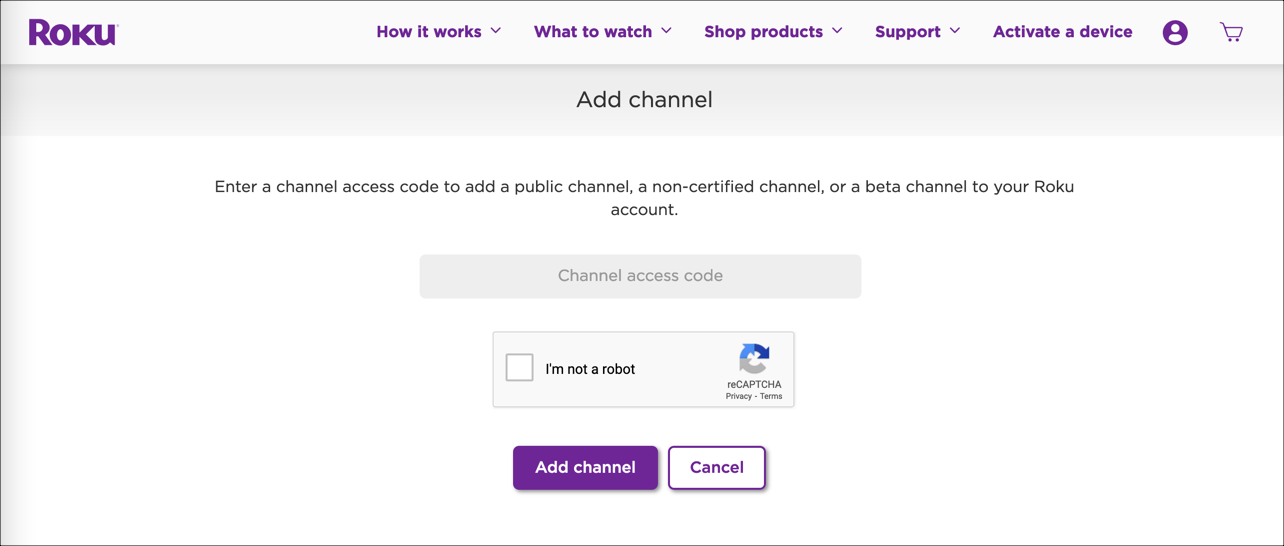
In the Add channel dialog, do the following:
- Enter the Channel access code that we provide to you.
- Check the I'm not a robot box.
- Select Add channel.
Add channel -
Once the channel has been added to your Roku account, follow these steps to review your app on your Roku TV:
- Select Settings.
- Select System.
- Select System Update.
Your app should now be visible for your review.
Monetization
Here you will add monetization information about your channel.
-
Return to the Preview and Publish page, expand the Preview and Publish dropdown menu, and select Monetization.
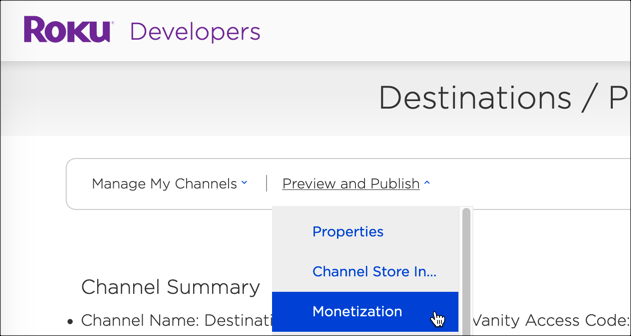
Monetization dropdown menu -
Specify whether your channel will contain adds or support a subscription model.
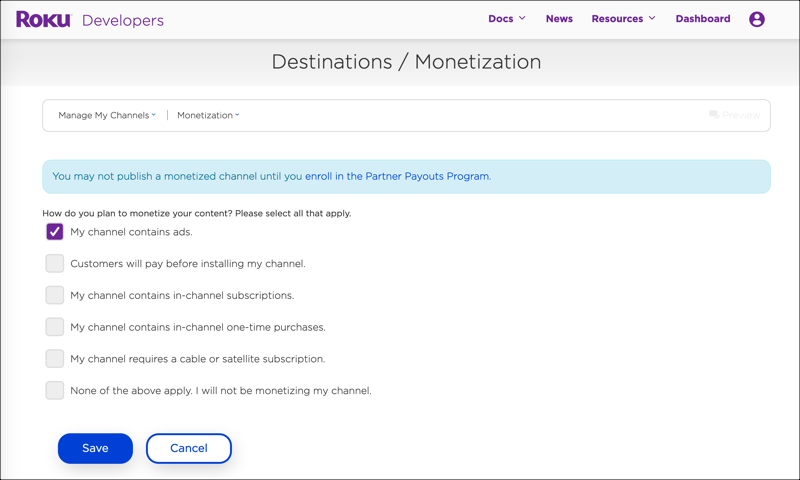
Monetization For subscription channels, you will include the following information:
- Purchase Type - How users are billed for the channel. (One time, monthly, yearly, etc.)
- Price Tier - Select a value from the drop-down menu. The purchase price for EU Channel Store countries includes VAT. Proceeds are based on pre-tax (net) prices.
-
When you are done adding Monetization information, select the Save button.
Screenshots
Here you can add screenshots to your channel.
-
Return to the Preview and Publish page, expand the Preview and Publish dropdown menu, and select Screenshots.
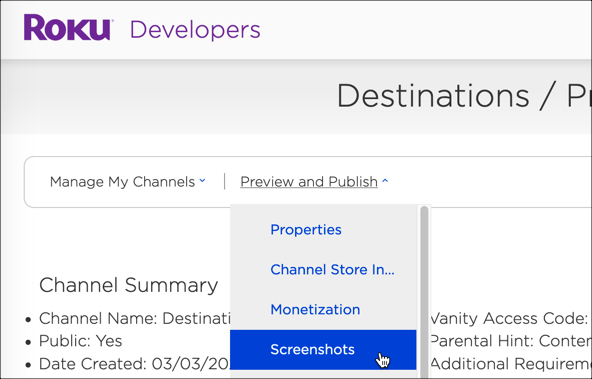
Screenshots dropdown menu -
Add screenshots that will appear in the Channel Store.
You can add up to 6 screenshots. Each must be 1920 x 1080 JPEG or PNG files.
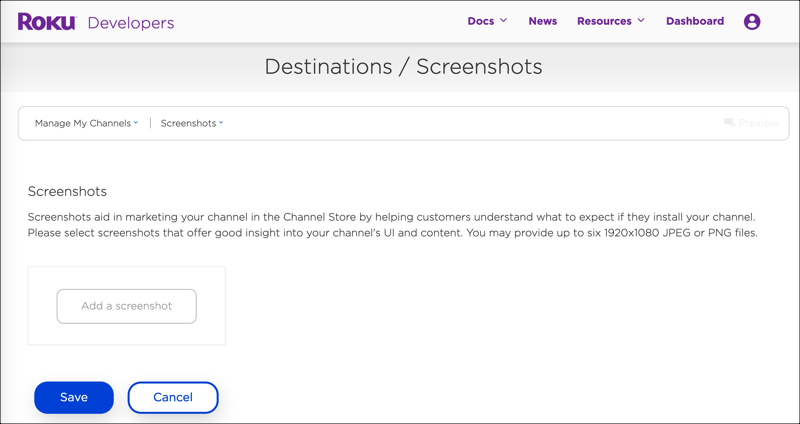
Screenshots -
When you are done adding screenshots, select the Save button.
Support information
Provide contact information to help with support of your channel.
-
Return to the Preview and Publish page, expand the Preview and Publish dropdown menu, and select Support Information.
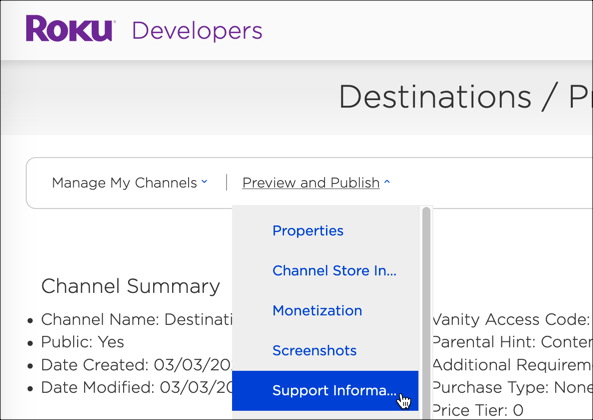
Support Information dropdown menu -
For Support information, enter the following field values:
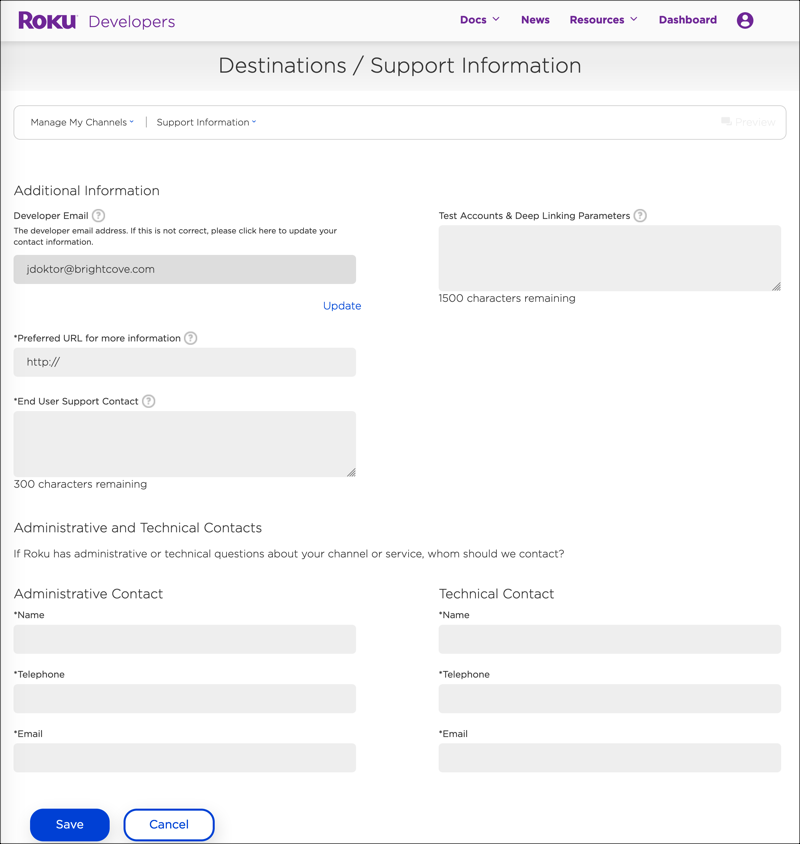
Support information - Developer Email - Enter your developer email address. If it is not correct, update your contact information.
- Preferred URL - Specify the URL for your channel. This may be used by the Roku website or newsletter to link to your channel.
- End User Support Contact - Provide a web page, email address or phone number or multiple of these. Roku will use this when customer service is contacted about your channel. (300 characters) This is required.
-
Test Accounts & Deep Linking Parameters - Tell Brightcove which assets you want to open as deep links, and we will update the deep linking parameters. If you do not want to set up an account sharing, then Brightcove will provide you with the parameters.
You will also provide credentials for 3 test accounts. These accounts will be used for customer support, demos and QA. (1500 characters) If you have accounts with different subscriptions, you need to list them here so that the Channel Store has access to all of them.
- Administrative Contact - Provide the administrative contact information for your app.
- Technical Contact - Provide the technical contact information for your app.
-
When you are done adding Support information, select the Save button.
Package upload
Upload a package to your channel.
-
Return to the Preview and Publish page, expand the Preview and Publish dropdown menu, and select Package Upload.
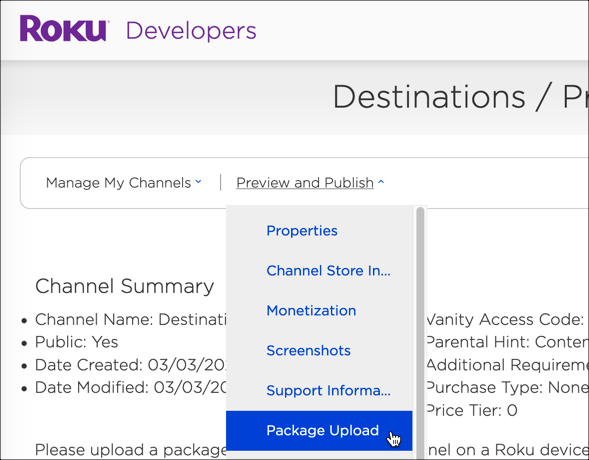
Package Upload dropdown menu -
First, you need to verify your email address. Then, you will be able to upload.
-
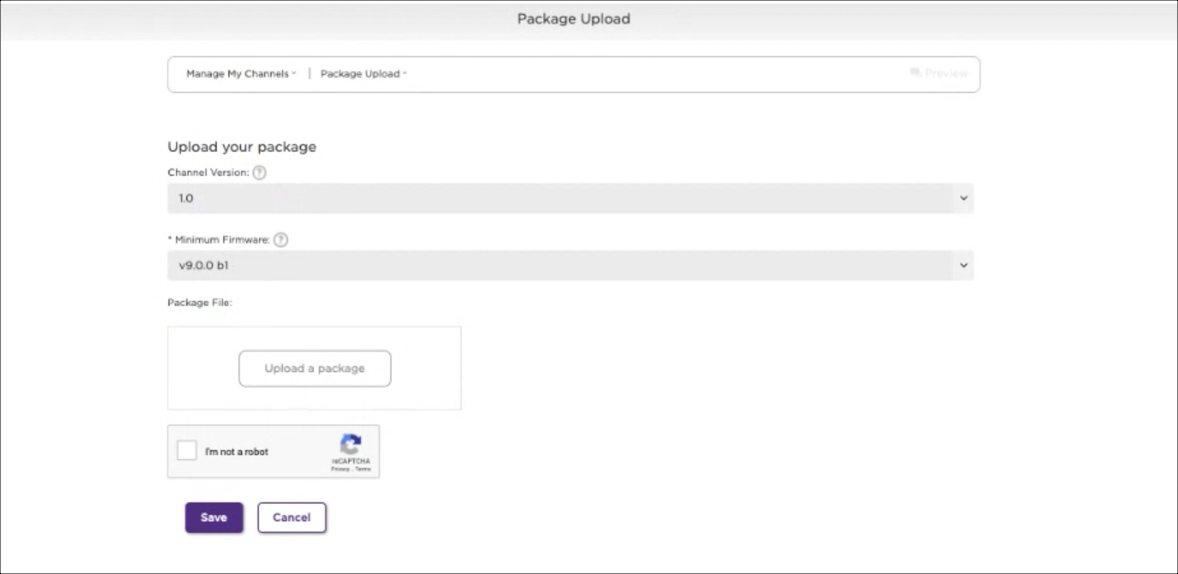
For Package Upload, enter the following field values:
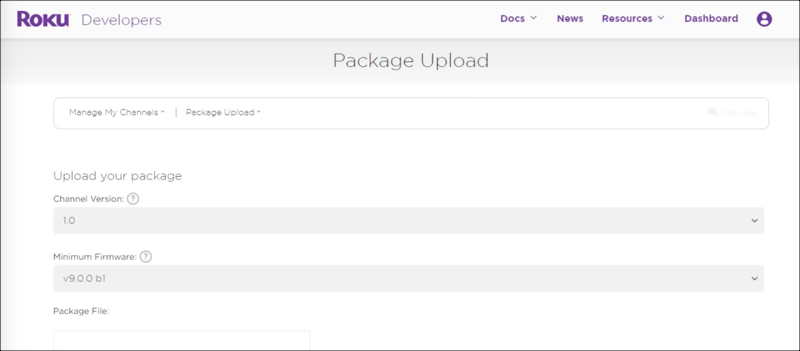
Package Upload - Channel Version - Specify the version of your app, starting with version 1.0.
- Minimum Firmware - Select the Roku firmware version. The package will only run on devices that support the minimum firmware version or higher. The latest stable build version that we recommend is Roku v9.2 bl.
- Package File - The package file can be uploaded by you or by Brightcove. This file will have a similar name to: _1.0.6138.pkg.
-
When you are done adding Package Upload information, select the Save button.
Static analysis
Create an analysis report about your channel.
-
Return to the Preview and Publish page, expand the Preview and Publish dropdown menu, and select Static Analysis.
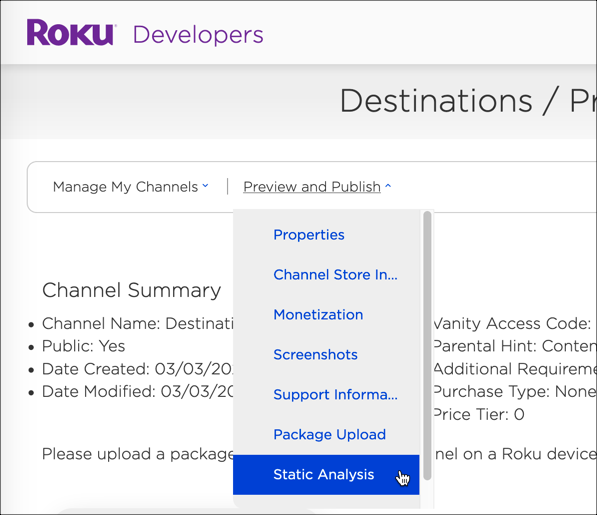
Static Analysis dropdown menu -
When you upload a package in the previous section, then your package is analyzed for errors in structure or syntax. A table may be shown with errors and warnings.
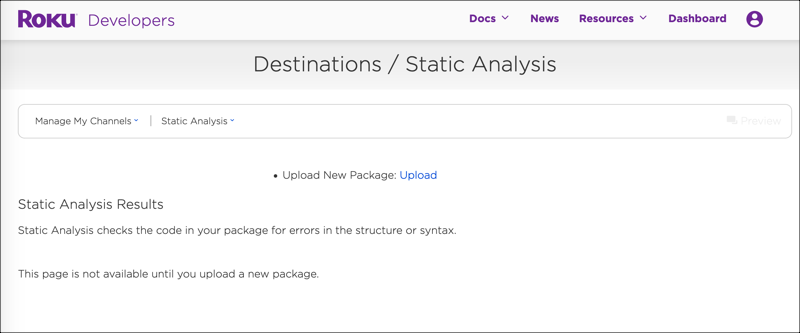
Static Analysis
Preview and publish
When you are done filling out all of the forms related to your channel, you will be shown the Preview and Publish screen.
-
Return to the Preview and Publish page, expand the Preview and Publish dropdown menu, and select Preview and Publish.
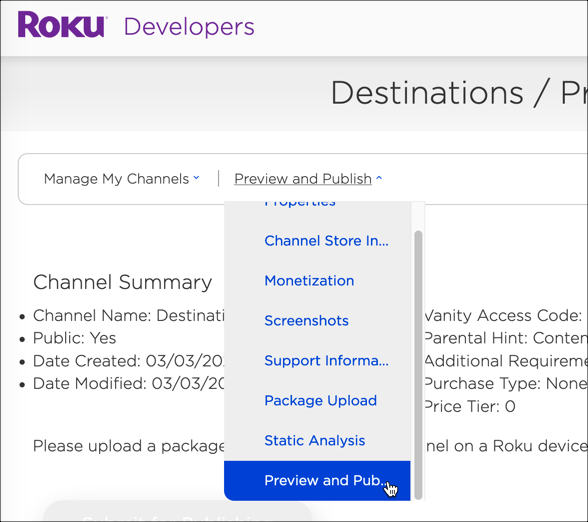
Preview and Publish dropdown menu -
This page gives you a summary preview of you channel.

Preview and Publish -
When you are ready, select the Submit button to publish your channel.
-
Your app will be checked by the Roku store to see if it has any issues. If your channel is rejected for any reason, an email will be sent to the Developer Email that you set in the Support Information screen. Review the reasons for rejection, and create a Brightcove support ticket to have the issues resolved.
Updating your channel
If you want to update an existing app, follow these steps:
-
Create a new Roku package.
Give the new package a unique id and password. Provide Brightcove the new package along with the keys to this package. We need the new information to submit the new package to the store.
Remember, if you want to change channel names, they must be unique within the Channel Store.
Manage Channels