The HapYak plugin for the Brightcove Player allows the player to take advantage of the features provided by Brightcove Interactivity. When interactions are added to a Brightcove Interactivity project, they will automatically appear on the corresponding video. This removes the need to copy and publish embed code within Brightcove Interactivity Studio.
Before you get started
Before you can started with interactivity, you must have a Brightcove Player configured with the HapYak plugin. Adding the HapYak plugin to a Brightcove Player will allow interactivity to be displayed inside of the player during video playback. The HapYak plugin can coexist with other player plugins. For complete steps on creating a HapYak-enabled player, see Configuring a Brightcove Player with the HapYak plugin.
Creating a Brightcove Interactivity project
When a video is played inside of a HapYak-enabled Brightcove Player, the following things happen:
- The Brightcove video ID, title, tags and custom fields are passed to Brightcove Interactivity
- Brightcove Interactivity attempts to look up the video ID within your group
- If no matching record is found, then Brightcove Interactivity creates a project with the data that was sent
- Brightcove Interactivity will also set the project properties to indicate that it was "auto created":
- The
is_publishedvalue will be set to TRUE - A tag with the value
livewill be added
- The
The following steps will automatically create a Brightcove Interactivity project:
- Login to Video Cloud Studio.
- Open the Media module.
- Select a video to publish by checking the box next to the video thumbnail.
- Click > Publish to web.
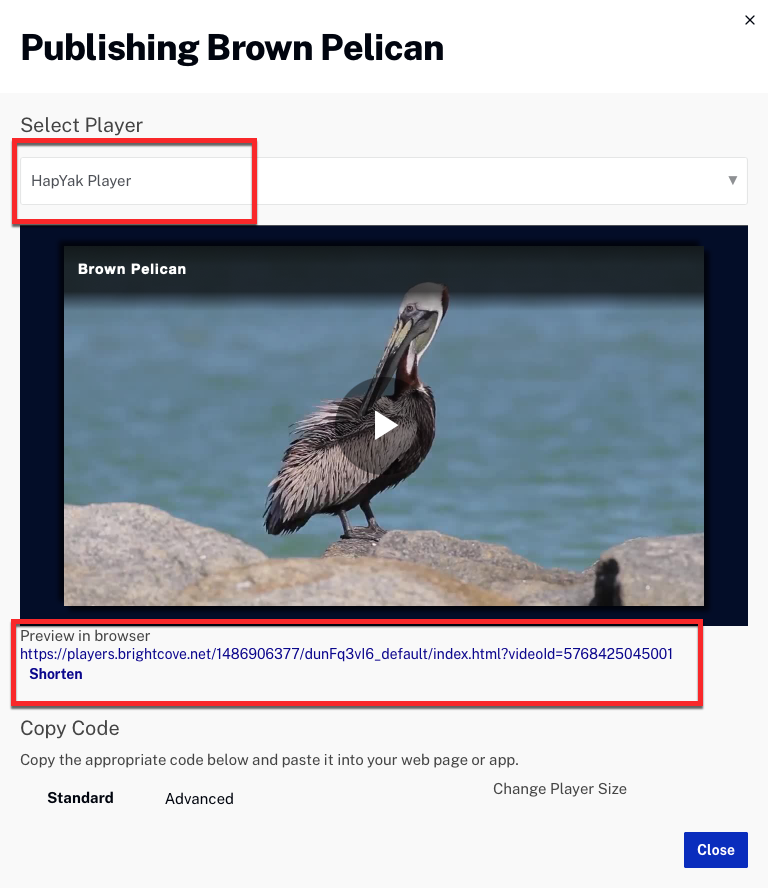
- Select the player with the HapYak plugin.
- Click the preview link to open a preview in a new browser tab.
- Play the preview video (the video only needs to be played for a few seconds). This will auto-create a project in Brightcove Interactivity.
- Login to Brightcove Interactivity Studio (https://www.hapyak.com/login).
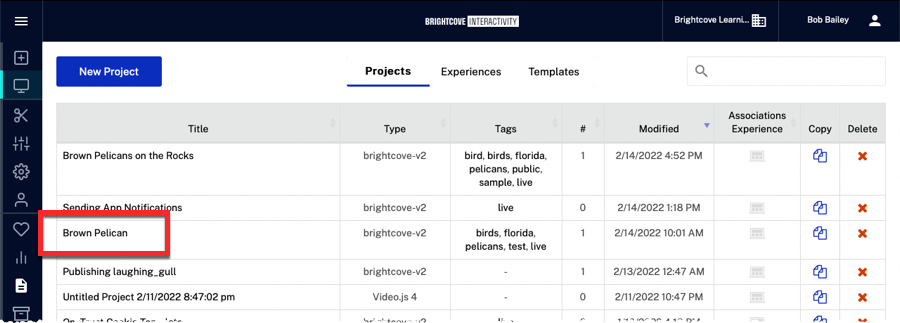
- In the left navigation, click Manage.
- A list of projects will appear. Confirm the video you just published appears in the project list.
Adding a text overlay
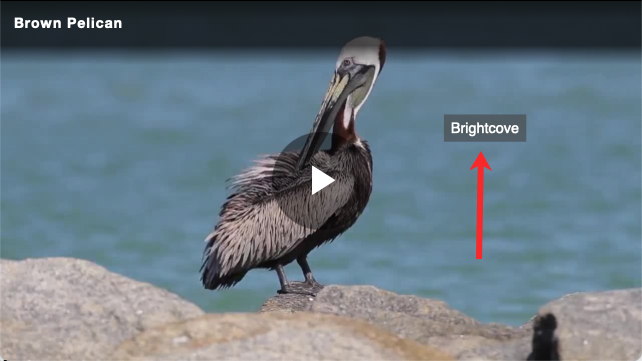
In this topic a simple text overlay will be added just to validate that the interactivity can be viewed inside of a Brightcove Player.
- In the Brightcove Interactivity UI, click on the project to open it.
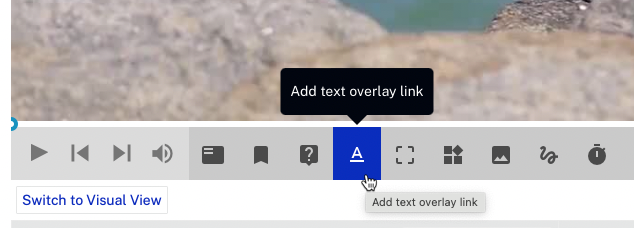
- In the bottom toolbar, click on the text overlay button.
- Click on the Editor link in the menu.
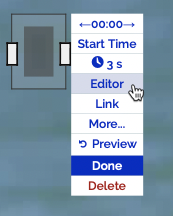
- Enter some sample text for the overlay and click SUBMIT.
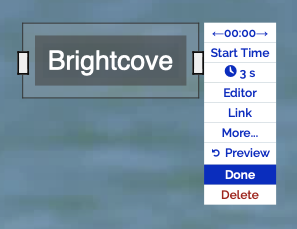
- Click Done.
For detailed information on adding text and image overlays to videos, see:
Previewing and generating embed code for a video
Once an interaction has been added to a Brightcove Interactivity project, preview the video to ensure the interactivity is working as expected. When a video is loaded in a HapYak-enabled Brightcove Player, the following things happen:
- The Brightcove video ID, title, tags and custom fields are sent to Brightcove Interactivity.
- Brightcove Interactivity attempts to look up the video ID within your Brightcove Interactivity group.
- If a matching record is found, then Brightcove Interactivity filters to the record that has the
is_publishedvalue set to TRUE. The project with both the matching video ID and theis_publishedvalue set to TRUE will be displayed. - If more than one matching record is found, then Brightcove Interactivity filters to the most recently modified record that has the
is_publishedvalue set to TRUE. The most recently modified project with both the matching video ID and theis_published
Follow these steps to preview and generate the embed code for the video:
- Open the Media module.
- Select the video you used to create the Brightcove Interactivity project and publish it.
- In the Select Player dropdown list, select the HapYak-enabled player.
- Click the URL below the preview player to open it in a new browser tab. Confirm that the interaction appears.
- Copy the embed code and paste it into your web page.
Additionally, in the embed code, you MUST add playsinline inside the <video-js> tag. Please reference the examples below:
Standard
<div>
  style="position: relative; display: block; max-width: 960px;">
  <div
    style="padding-top: 56.25%;">
    <iframe
      src="//players.brightcove.net/1486906377/dunFq3vI6_default/index.html"
      playsinline
      allowfullscreen=""
      allow="encrypted-media"
      style="position: absolute; top: 0px; right: 0px; bottom: 0px; left: 0px; width: 100%; height: 100%;"></iframe>
  </div>
</div>
Advanced
<div style="max-width: 960px;">
  <video-js
    playsinline
    data-account="1486906377"
    data-player="dunFq3vI6"
    data-embed="default"
    controls=""
    data-application-id=""
    class="vjs-fluid"
    style="padding-top: 56.25%;">
  </video-js>
</div>
<script
  src="//players.brightcove.net/1486906377/dunFq3vI6_default/index.min.js">
</script>
Notes
- Annotations added to a project at the project level (meaning not through templates) should appear in approximately 90 seconds. Annotations added via templates can take up to two hours to appear.
- Do not manually create Brightcove projects in Brightcove Interactivity Studio. The plugin will do this automatically.
- Uploading a new video source files in Video Cloud will preserve the video ID and the connection to Brightcove Interactivity.
- Do not use the EMBED code generated from the Brightcove Interactivity tools when using the plugin. Instead publish your videos per the normal Brightcove workflow.
- Workflow-generated projects can be deleted using Brightcove Interactivity Studio. Please note that subsequent loads of the corresponding video through the Brightcove Player will auto-generate a separate project based on the same video source in the portal.