Brightcove Interactivity Studio provides the ability to add different types of interactive overlays to videos. Text and image overlays can be displayed on videos during video playback. For example, overlays can display additional text or a company logo on a video. Overlays can also be clickable and open additional web pages if needed.
Before you get started
Before you can add interactivity to a player, you need a HapYak-enabled Brightcove Player and you need to make sure a Brightcove Interactivity project has been created. For information on how to do this, see Getting Started with Interactivity.
Adding an image overlay
Image overlays are used to display an image on a video during playback. The overlay can also be clickable and open another browser page when clicked. In the following example, the image overlay will appear at the 75% point of the video and display until the end of the video. Clicking the overlay will open a link in a new browser tab and pause the video.
Follow these steps to add an image overlay to a project:
- Login to Brightcove Interactivity Studio (https://www.hapyak.com/login).
- In the left navigation, click Manage.
- Click on a project to open it.
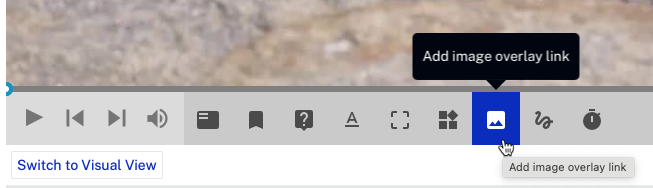
- In the bottom toolbar, click on the image overlay button.
- Click Choose File and browse and select an image or click the URL tab and enter the URL to an image file.
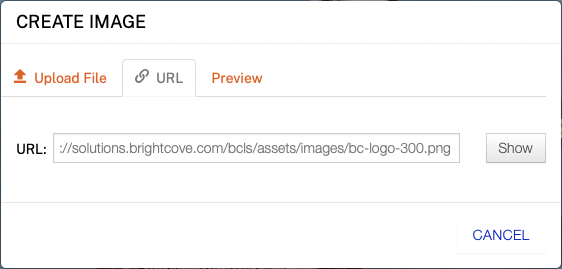
- Click Show.
- The image will display on the Preview tab. Click SUBMIT.
- Click and drag the overlay to where you want it to appear on the video.
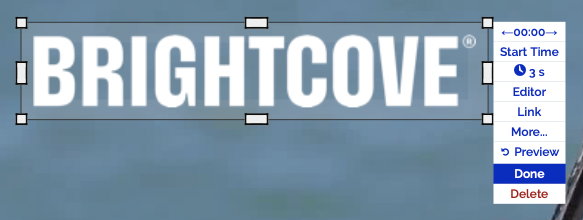
- Click the Start Time menu.
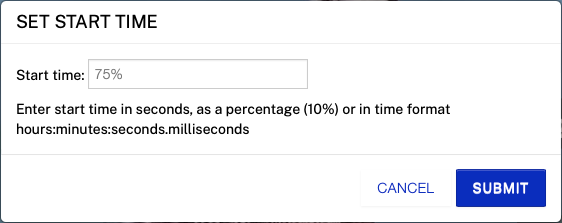
- Enter a Start time in seconds, as a percentage or in time format. This example sets the start time to the 75% point of the video. Click SUBMIT.
- Click the clock icon to set the duration of the overlay. Click SUBMIT.
- Click the Link menu.
- Enter a URL to direct to when the overlay is clicked.
- (Optional) Click the BEHAVIOR tab and have the video Pause on video click. Click SUBMIT.
- Click Done.
Publish the video using the Media module and confirm that the overlay appears.
Tips
File size
Image annotations are loaded dynamically when the viewer reaches a certain point in the video. So it's a good idea (as with all images on the web) to ensure a good balance between high quality and low file size. A good rule of thumb for image annotations are to keep them below 200 KB. Like any web based technology, the more images you load up, the longer it will take to load the page.
PNG or JPG?
Most image annotations we see are PNGs as those include a transparency layer that ensures the image seamlessly blends with the video. We especially recommend minimizing the size of PNG files with a service like TinyPNG.
JPGs work just as well of course. However, they don't have a transparency layer, so take care when using them.
Upload File or URL?
We recommend following your normal workflow. If you usually upload images for your website or other content to a third-party system like Amazon S3 or Wordpress, continue doing that. If you normally upload directly from your system, then simply use the "Upload File" option.