Introduction
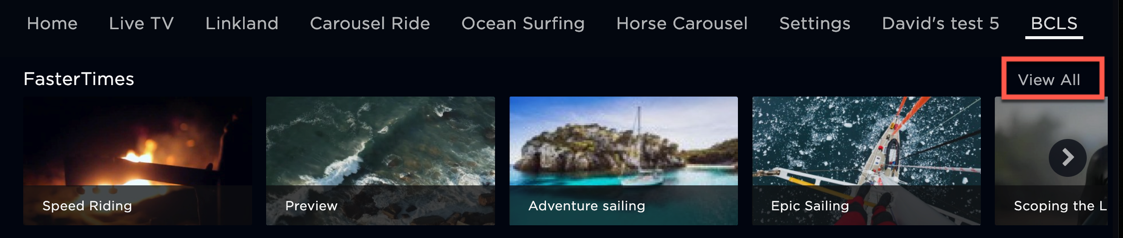
If you have a page with a carousel that contains a playlist of more than 6 or 10 thumbnails (depending on platform) a View All link appears at the end of the carousel. When the viewer clicks that link, a new page is displayed showing the thumbnails that are in the carousel in a more suitable format to avoid excessive scrolling using a carousel.
There are two types of view all pages:
- Default view all pages
- Secondary pages (implemented as custom view all pages)
Default view all pages
Default view all pages are configurable and are associated with the playlist across all instances of the use of the playlist.
Following are the steps to alter the layout of a default view all page:
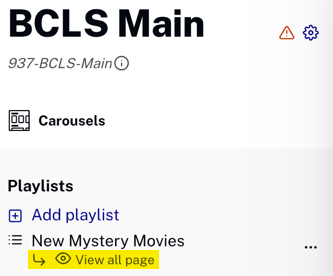
- In the Layout module, click on the page for which you wish to change a default view all page.
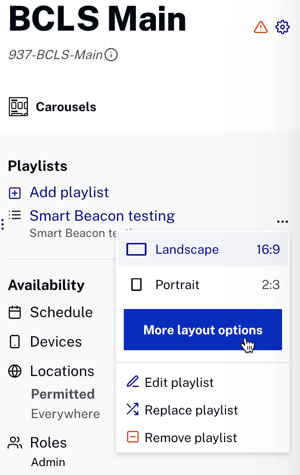
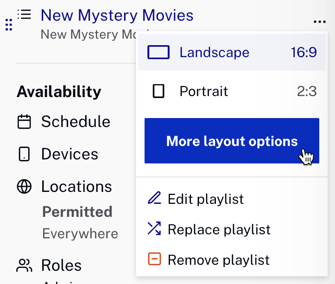
- Click the ellipsis (...) next to the playlist for which you are changing the default view all page.

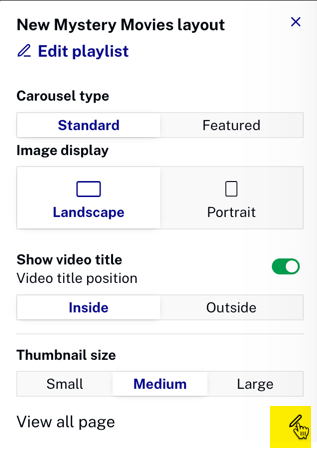
- In the playlist settings dialog which opens, click .
- At the bottom of the playlist layout dialog which opens, click the pencil icon to edit the View all page.
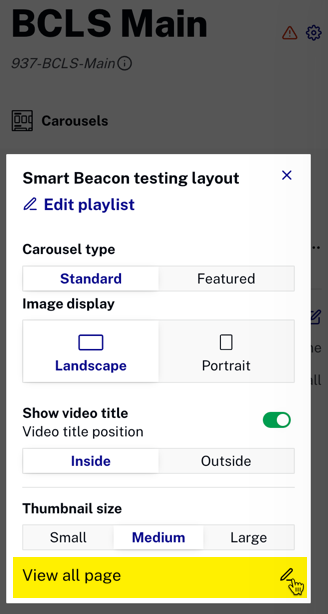
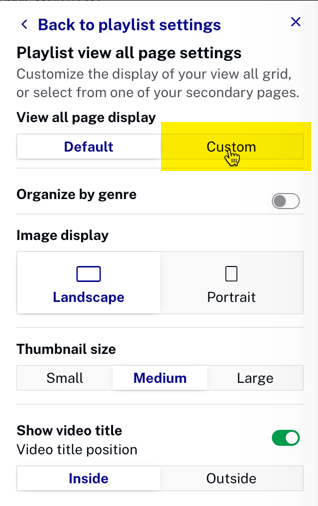
- In the View all page display settings dialog, make any wanted changes to the view all page layout.
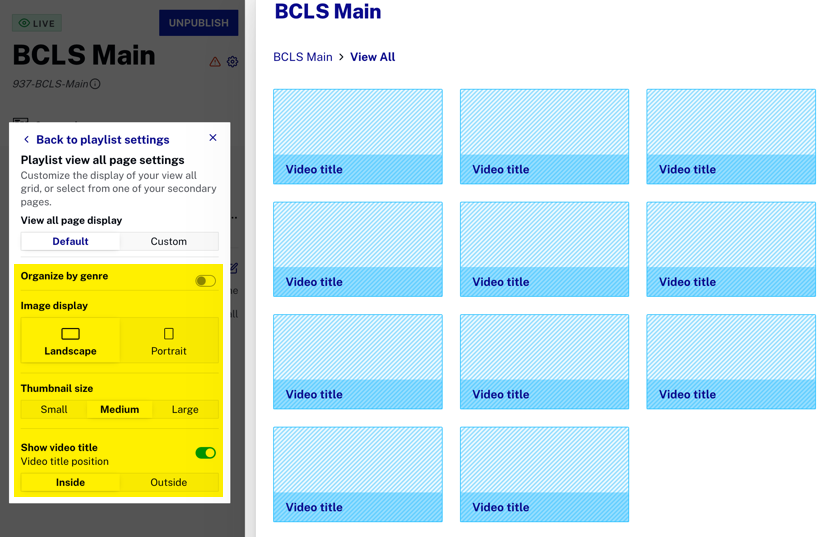
- After making changes, close the View all page display settings dialog.
Secondary pages as custom view all pages
As you have seen, the default view all pages are built to more efficiently display the video assets from a long carousel. But you may wish to have the view all page display more than just the linked carousel's video assets. For instance, consider the following use case:
You have a carousel that is displaying a list of mystery movies. If the user clicks the View All link, you can infer the viewer is interested in this genre. So, you want to display not only the video assets from the linked carousel, but more of your mystery video assets. The custom view all page could not only display the videos from the carousel, but also other mystery assets like Agatha Christie movies, Miss Marple mysteries, Hercule Poirot mysteries, etc.
The solution for this use case is secondary pages as custom view all pages.
Creating the custom view all page
Consider the following scenario: You create a secondary page used as a custom view all page for a New Mystery Movies playlist. This playlist is displayed as a carousel on the BCLS Main page. The custom view all page should:
- Display the New Mystery Movies video assets in a grid. This is the actual view all part of the view all page.
- The view all page should also display Agatha Christie's Miss Marple and Agatha Christie's Hercule Poirot playlists.
The following steps instruct you how to perform this task:
- In the Layout module, click Create Page.
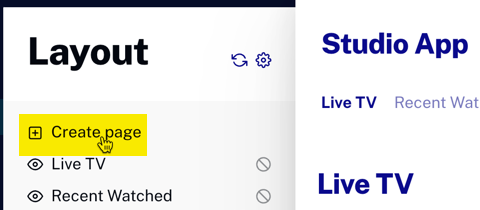
- Click the box under SECONDARY to choose your page type.

- Create the page by giving it a name and choosing the layout for the linked carousel, then click .

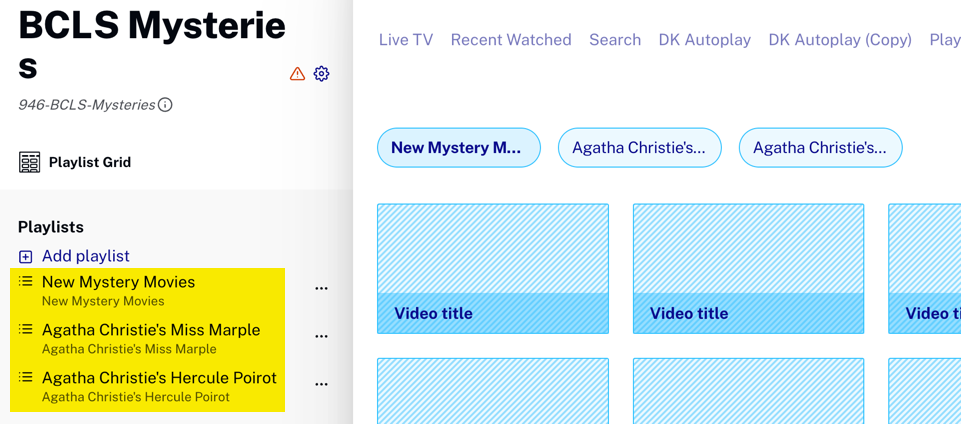
- Add the New Mystery Movies playlist (the view all functionality) as well as the Agatha Christie's Miss Marple and Agatha Christie's Hercule Poirot playlists. The two playlists are added to hopefully draw the viewers' attention to other mystery content you have.
You now have the custom view all page, built from a secondary page.
Associating the custom view all page to the playlist
You've created a custom view all page you wish to associate with a playlist. The following steps show you that process:
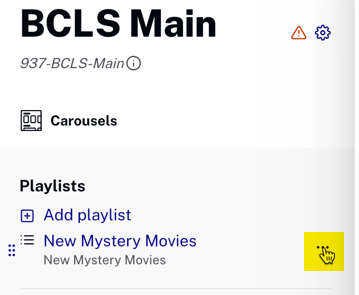
- In the Layout module, select the page that contains the playlist to which you wish to associate the custom view all page.
- Click the ellipsis next to the playlist.
- From the dialog which appears, click .
- At the bottom of the playlist layout dialog which opens, click the pencil icon.
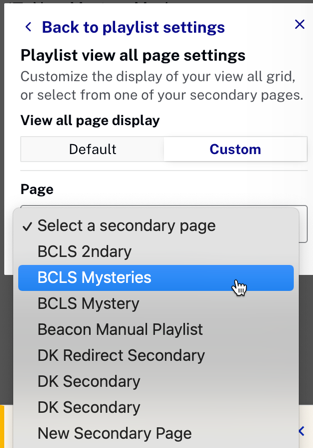
- In the next dialog, click the Custom tab.
- Click the downward facing caret to view your secondary pages.
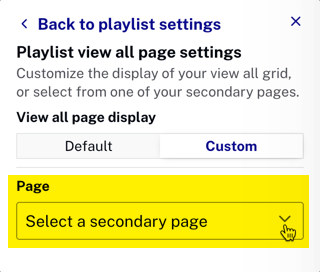
- Select the secondary page you just built.
- Confirm the preview page reflects your selection.
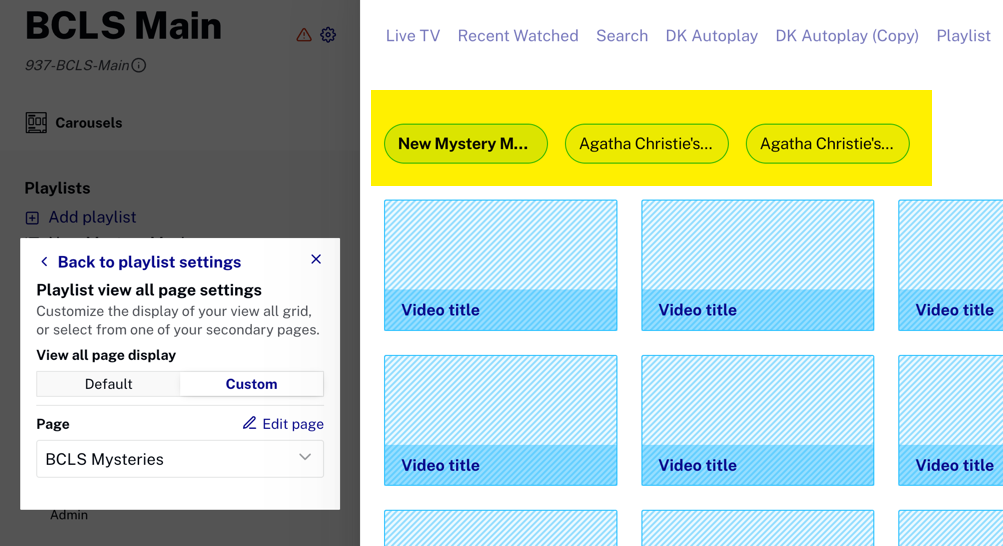
- Close the dialog, and you check to see you now have a view all page associated with your playlist.