Description
Channels are created to stream 24/7 Live events just like a regular TV channel will do. The channel's content can be generated through a set of VODs that will broadcast for as long as the channel is available or by transmitting a Live event directly. For more information on how to create Live events, please visit the Brightcove Beacon Live Documentation.
In addition to the classic Beacon channel, you can now use a Cloud Playout Channel to provide the content for your channel. The main advantage of Cloud Playout channels is that Brightcove generates the EPG - you do not need a 3rd party service for that.
Basic Data section
To create a Channel in Brightcove Beacon, follow these steps:
- Log in to Beacon Classic.
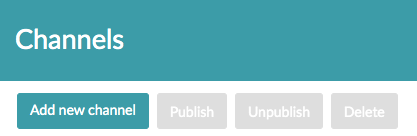
- In the top navigation, select Channels.
- Click the Add new channel button.
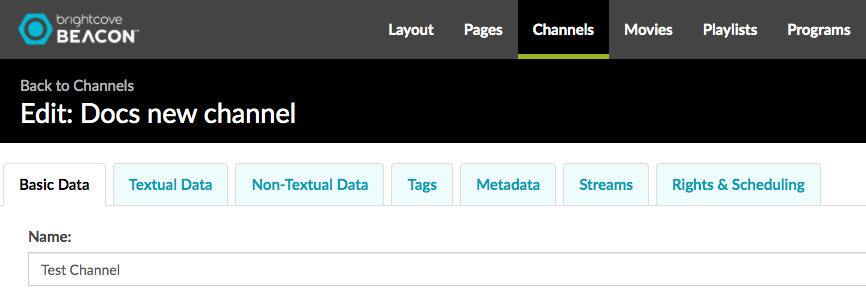
- In the Basic Data tab, define a Name for your channel.
-
If you are using a Cloud Playout channel as the source for your Beacon channel, enter the Cloud Playout channel id:
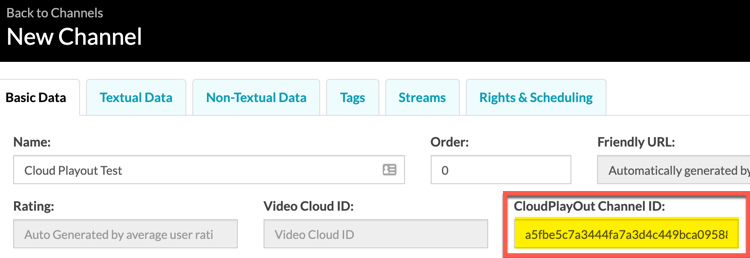
Enter Cloud Playout Channel ID To find the Cloud Playout channel id, see Get information for the Beacon Channel.
- In the Content Rating dropdown menu, select your channel's content rating based on the Content Rating System of the country where your channel will be streaming. In the example image, it is for the US TV-Y.
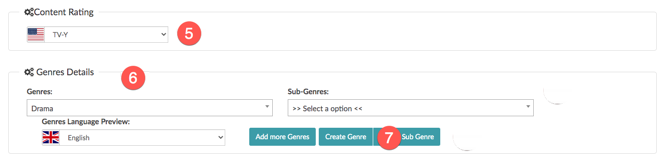
- In the Genres Details section, click the Genres dropdown menu to select a genre for your channel. (Example: Horror, Drama, etc..)
- If you don’t find the correct genre for your channel, you can create additional ones by clicking the Create Genre button.
Textual Data
The Textual Data section allows you to add displayable text for your Channel.
- Select the Textual Data tab.

- In the Title field, define a title for your channel.
- In the Description field, define a description for your channel. The character limit for this field is 500.
- In the Synopsis field, define a synopsis for your channel. The character limit for this field is 128.
Non-Textual Data
The Non-Textual Data section allows you to add Portrait and Landscape images for your Channel. You will be supplying portrait and landscape images. Be sure the images meet these requirements:
| Image | Requirements | ||||||
|---|---|---|---|---|---|---|---|
| Portrait Poster |
Poster image (2:3)
|
||||||
| Landscape Poster |
Landscape image (16:9):
|
- Select the Non-Textual Data tab.
- Add a Portrait Poster image for your Channel by dragging and dropping the image in the box section.
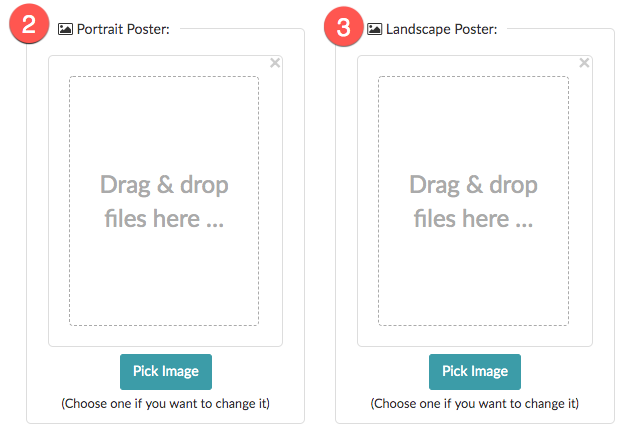
- Add a Landscape Poster image for your Channel by dragging and dropping the image in the box section.
Tags
The Tags tab is not functional at this time.
Metadata
The Metadata tab is not functional at this time.
Streams
The Stream section allows you to set the options and permissions for the playback URL.
- Select the Streams tab.
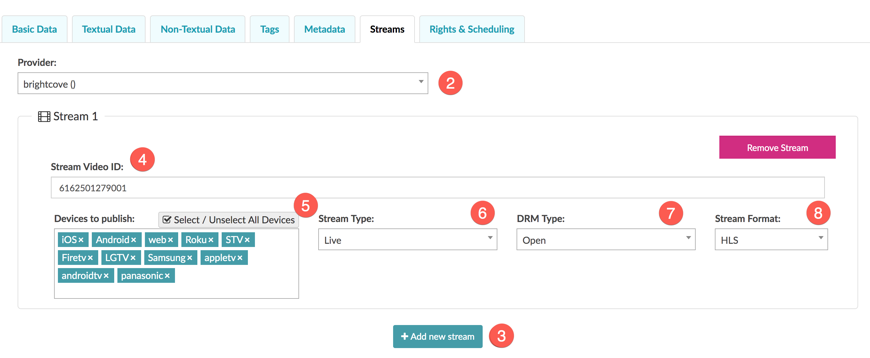
- Select your Provider. You will most likely only have one provider, which references your Brightcove Video Cloud account.
- Click the Add new stream button.
- In the Stream Video ID field, paste the Video ID from your Video Cloud Live Event. If you are using a Cloud Playout channel as the source for your Beacon Channel, see Get information for the Beacon channel.
- In the Devices to publish section, add the devices to which you wish to publish. Select the Select / Unselect All Devices to see a list of available devices.
- In the Stream Type select Live.
- Note that the DRM Type and Stream Format values do not need to be altered.
Rights & Scheduling
The Rights & Scheduling section is where you set the publish status and availability.
-
Select the Rights & Scheduling tab.
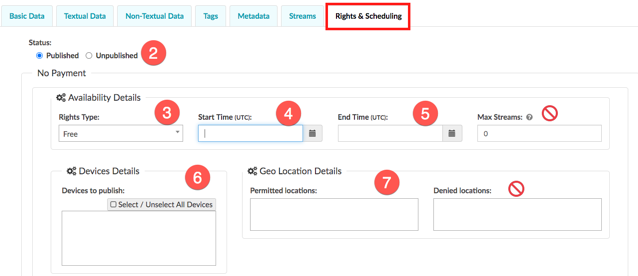
- Be sure the Status is set to Published for your channel.
-
For the Availability Details, use the following as a guide to complete the information:
Field Required Notes Rights Type Yes Select depending on your monetization model: - Free
- Advertising - AVOD : For Channels monetized with advertising.
- Subscription - SVOD: For Channels monetized with a subscription.
Start Time Yes Schedule a starting time for your channel. End Time Yes Schedule an end time for your channel. Max Streams N/A Not functional at this time. Devices to publish Yes Add the devices you wish to publish to. Select the Select/ Unselect All Devices to see a list of available devices. Permitted locations Yes Select the locations where you want to stream your content. Denied locations No Select the locations where you DO NOT want to stream your content.
-
Be sure to click the Create New Channel button to save your work.

Adding your Channel to an Electronic Program Guide (EPG)
Once your channel has been created, the last step will be to add it to the Brightcove Beacon EPG schedule. For information on how to do this, please visit the Creating an Electronic Program Guide (EPG) documentation.