Overview
This document will assist you in submitting your Brightcove app to the Amazon Appstore.
A high-level view of the process is:
- Add a new Android app in the Amazon Developer Console.
- Set the availability and pricing for your new Fire TV app.
- Add text descriptions for your Fire TV app in the Amazon Appstore.
- Add the icons and images for your Fire TV app.
- Select a content rating for your Fire TV app.
- Upload the APK file supplied by Brightcove.
The rest of this document will provide details for each of the steps above.
Amazon Resources
- Appstore details: https://developer.amazon.com/home.html (requires Amazon Developer Account - no fee )
- Fire TV App Submission Guide: https://developer.amazon.com/docs/fire-tv/submitting-your-app-to-the-amazon-appstore.html and more generally: https://developer.amazon.com/apps-and-games/app-submission
- Suggested lead time for approval: Three weeks
Required information for Amazon
- Fire TV App icon (1280 x 720px PNG (no transparency)).
-
Between three and ten screenshots ( 1920 x 1080px JPG or PNG (landscape, no transparency).
- These images must not appear distorted, stretched, or pixelated when viewed in the UI.
- Please provide Fire TV screen shots when you submit your app, or use screenshots that can represent your app generically for all devices.
- Note that if you do not provide Amazon Fire TV-specific screen shots for your app in the submission process, any phone or tablet screen shots you have provided are used to represent your app in the Fire TV App Store.
- Background image 1920 x 1080px JPG or PNG (landscape, no transparency).
- APK package provided from Brightcove.
- Display title.
- Short description.
- Long description.
- Product feature bullet points (Up to 10 key features of your Fire TV app).
- Keywords (Search terms used to increase the discoverability of your app).
Submitting your FireTV App to the Amazon Appstore
Follow these steps to submit your FireTV App to the Amazon Appstore.
-
Enter the
Amazon Developer console. You will need to create an
Amazon Developer account in order to use the console.
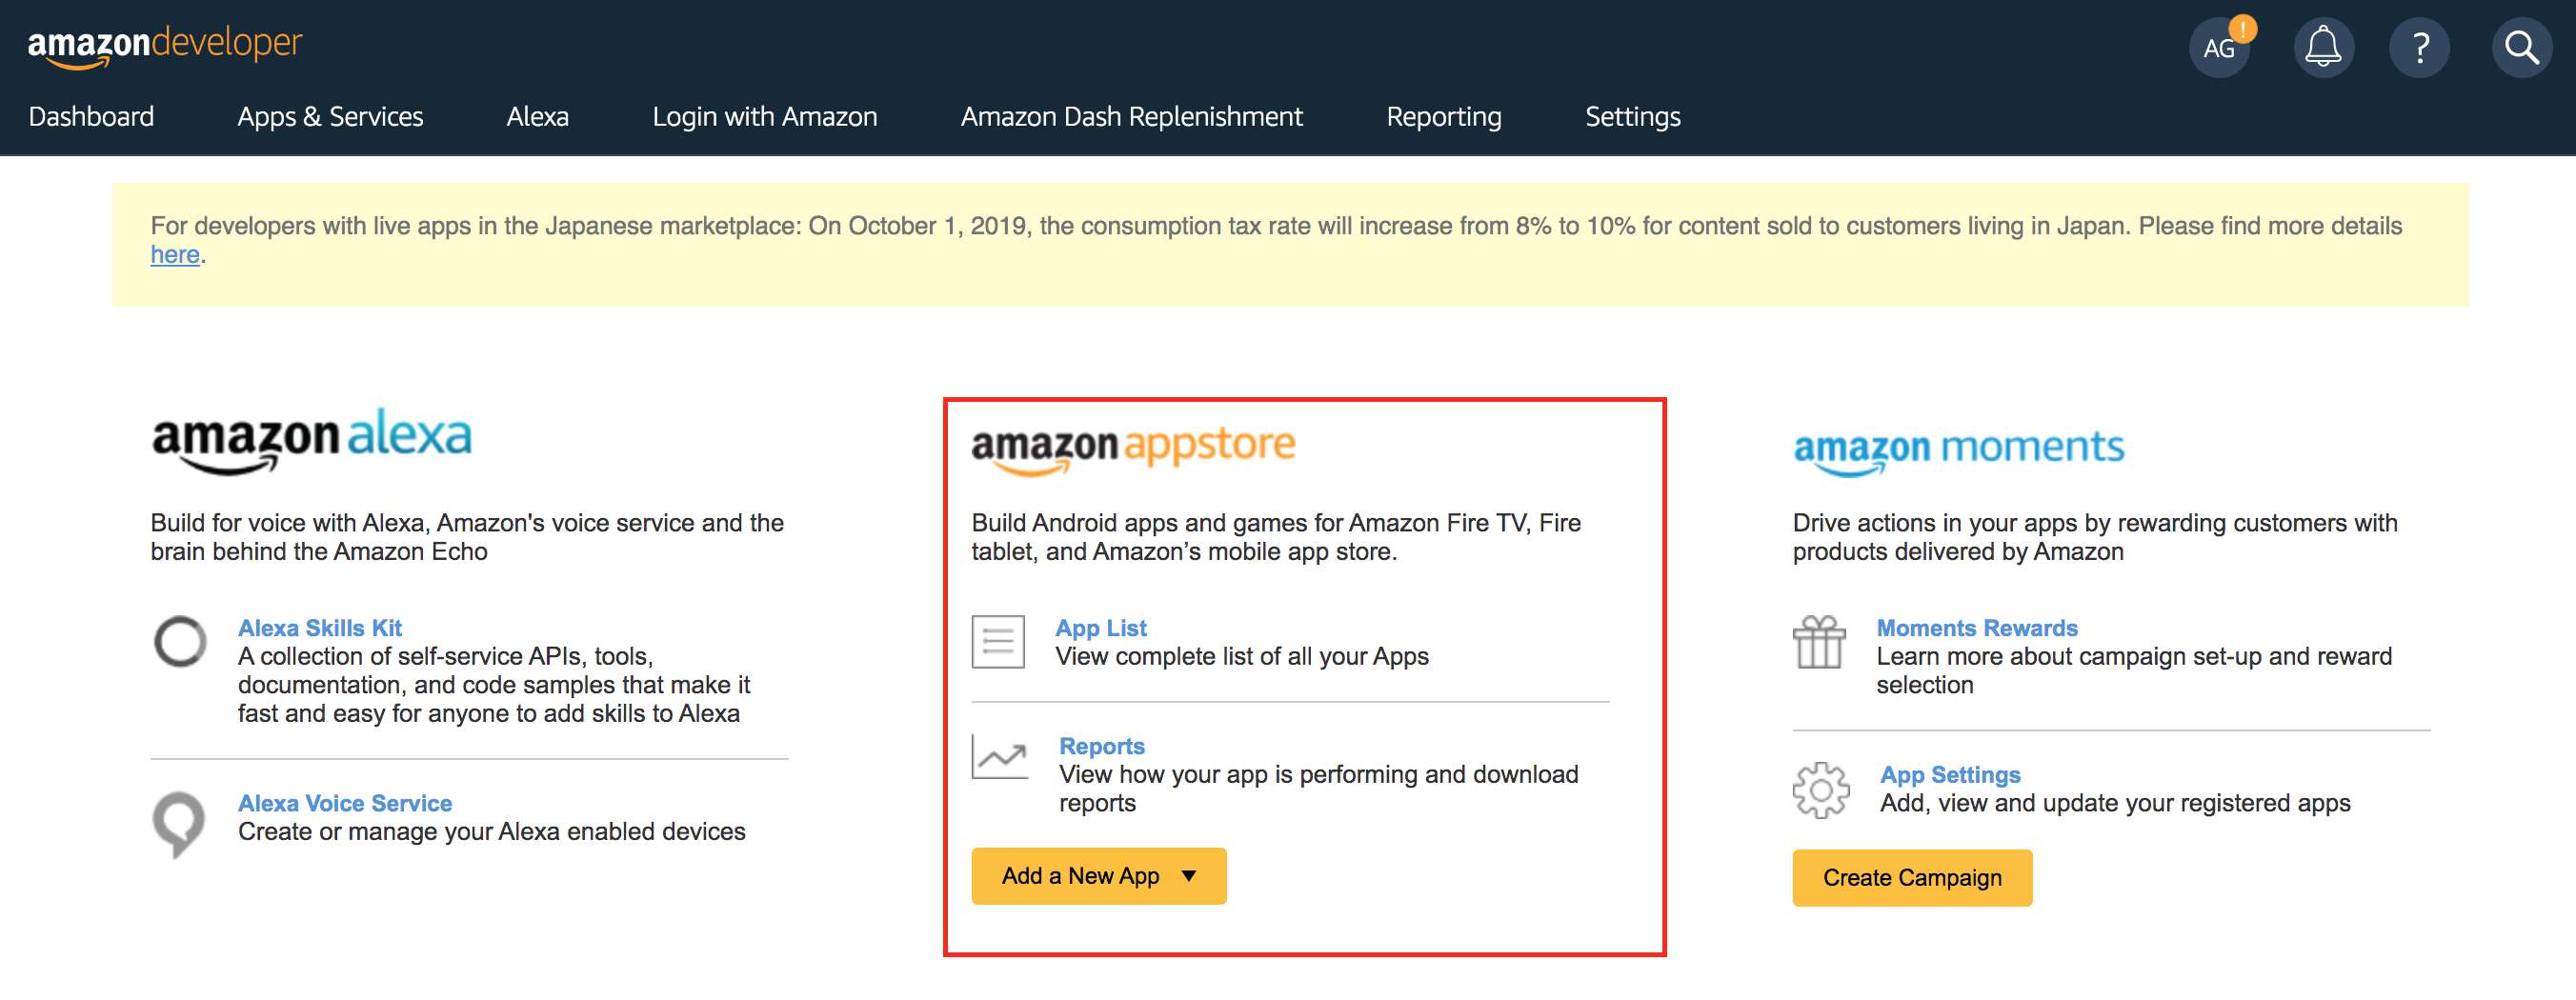
- In the Amazon Appstore section, click on the Add a New App button.
-
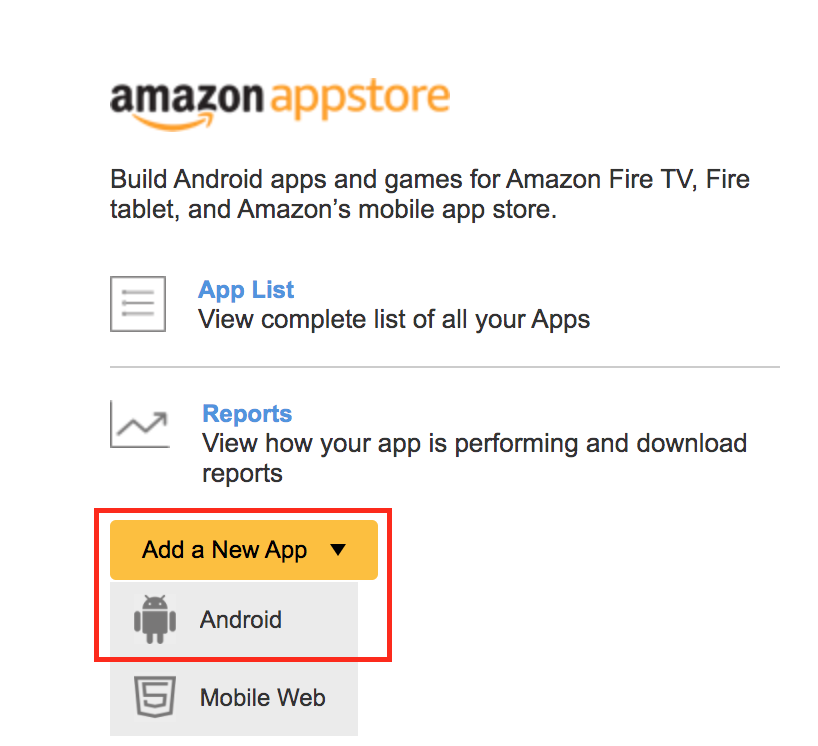
From the drop-down menu, select Android. (At the moment Brightcove only supports the Android version for a Fire TV App submission.)
-
The New App Submission form will display.
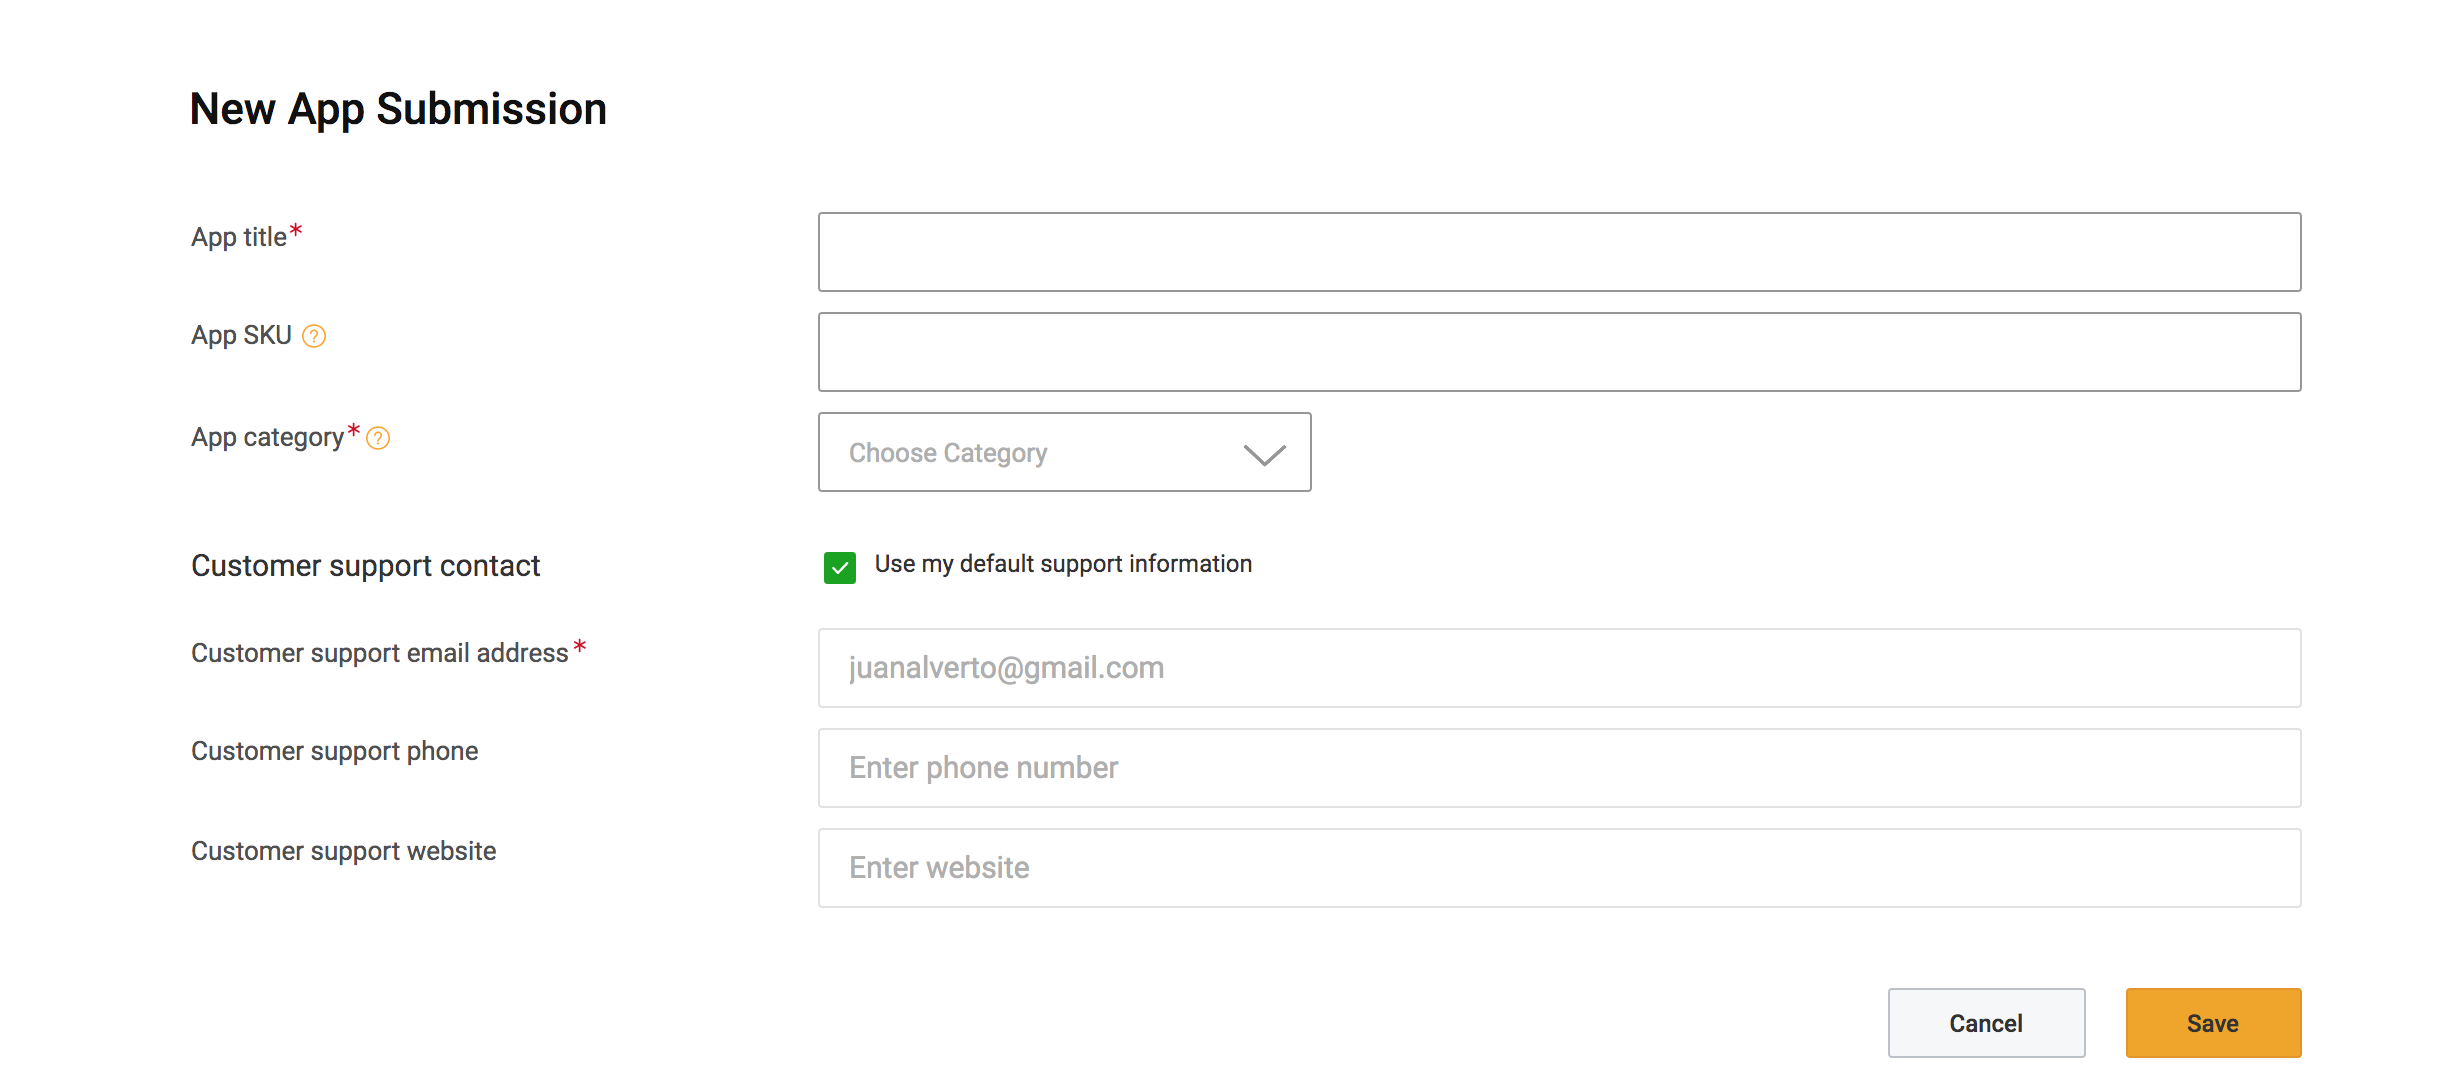
- Enter your App title.
- Choose an App SKU. This is a unique-to-your-app string that you define yourself. The SKU (Stock Keeping Unit) becomes the ID for your app for your own tracking purposes, for example: com.amazon.example.myapp.v1.
- Select an App category. By properly categorizing your app, users will be able to find your app more easily, which increases downloads for your app. For more information please review the Amazon category documentation.
- You can mark the Use my default support information checkbox or introduce different information details ( email, phone, website) for the customer support contact of the Fire TV app.
- Click on the Save button.
-
After saving, you will reach the Fire TV app settings and the General Information tab.
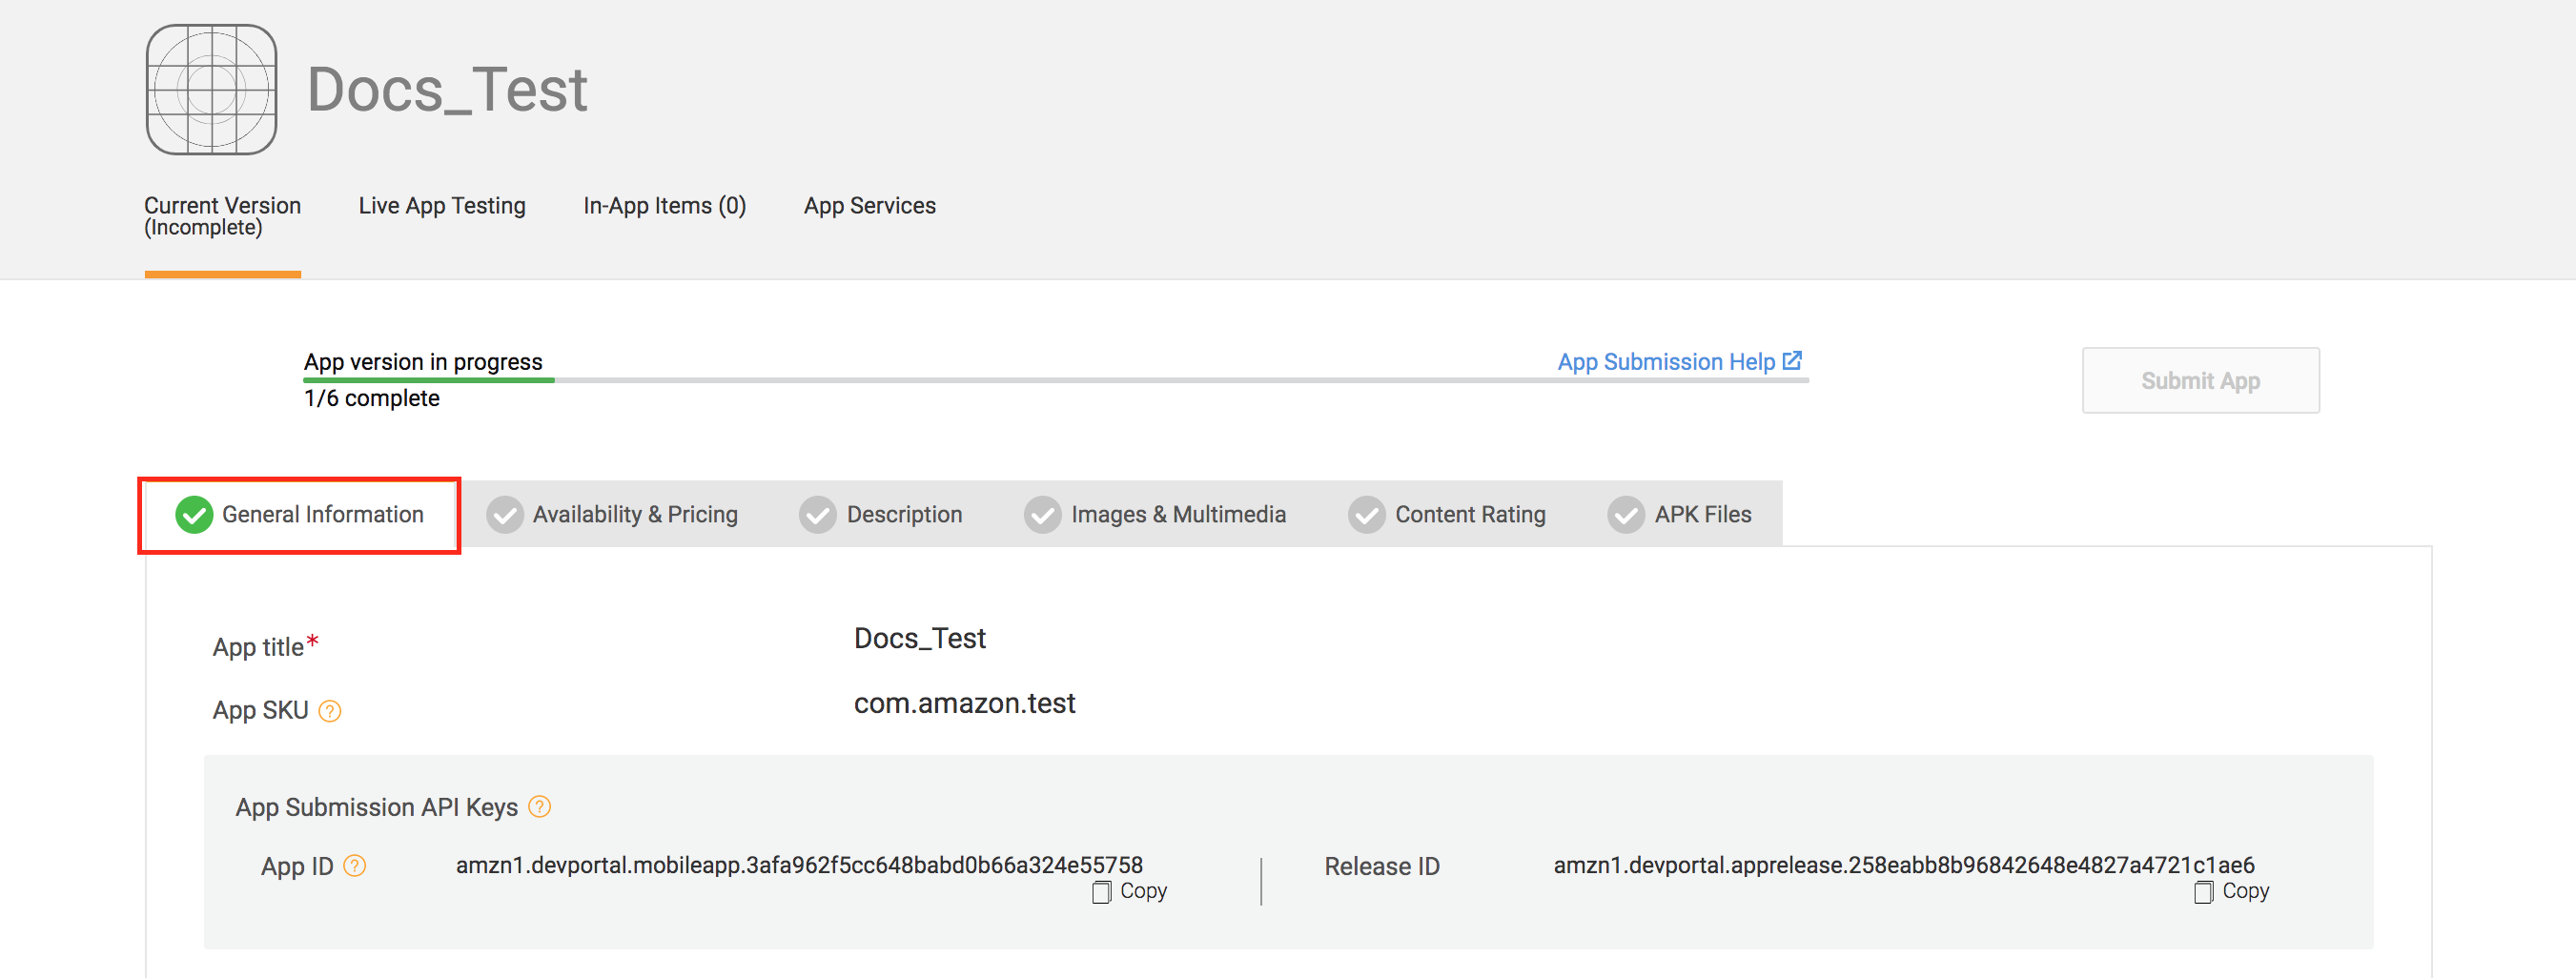
- In this tab, you will be able to see your App Submission API Keys generated automatically by Amazon and all the information provided at the moment of creating your Fire TV app.
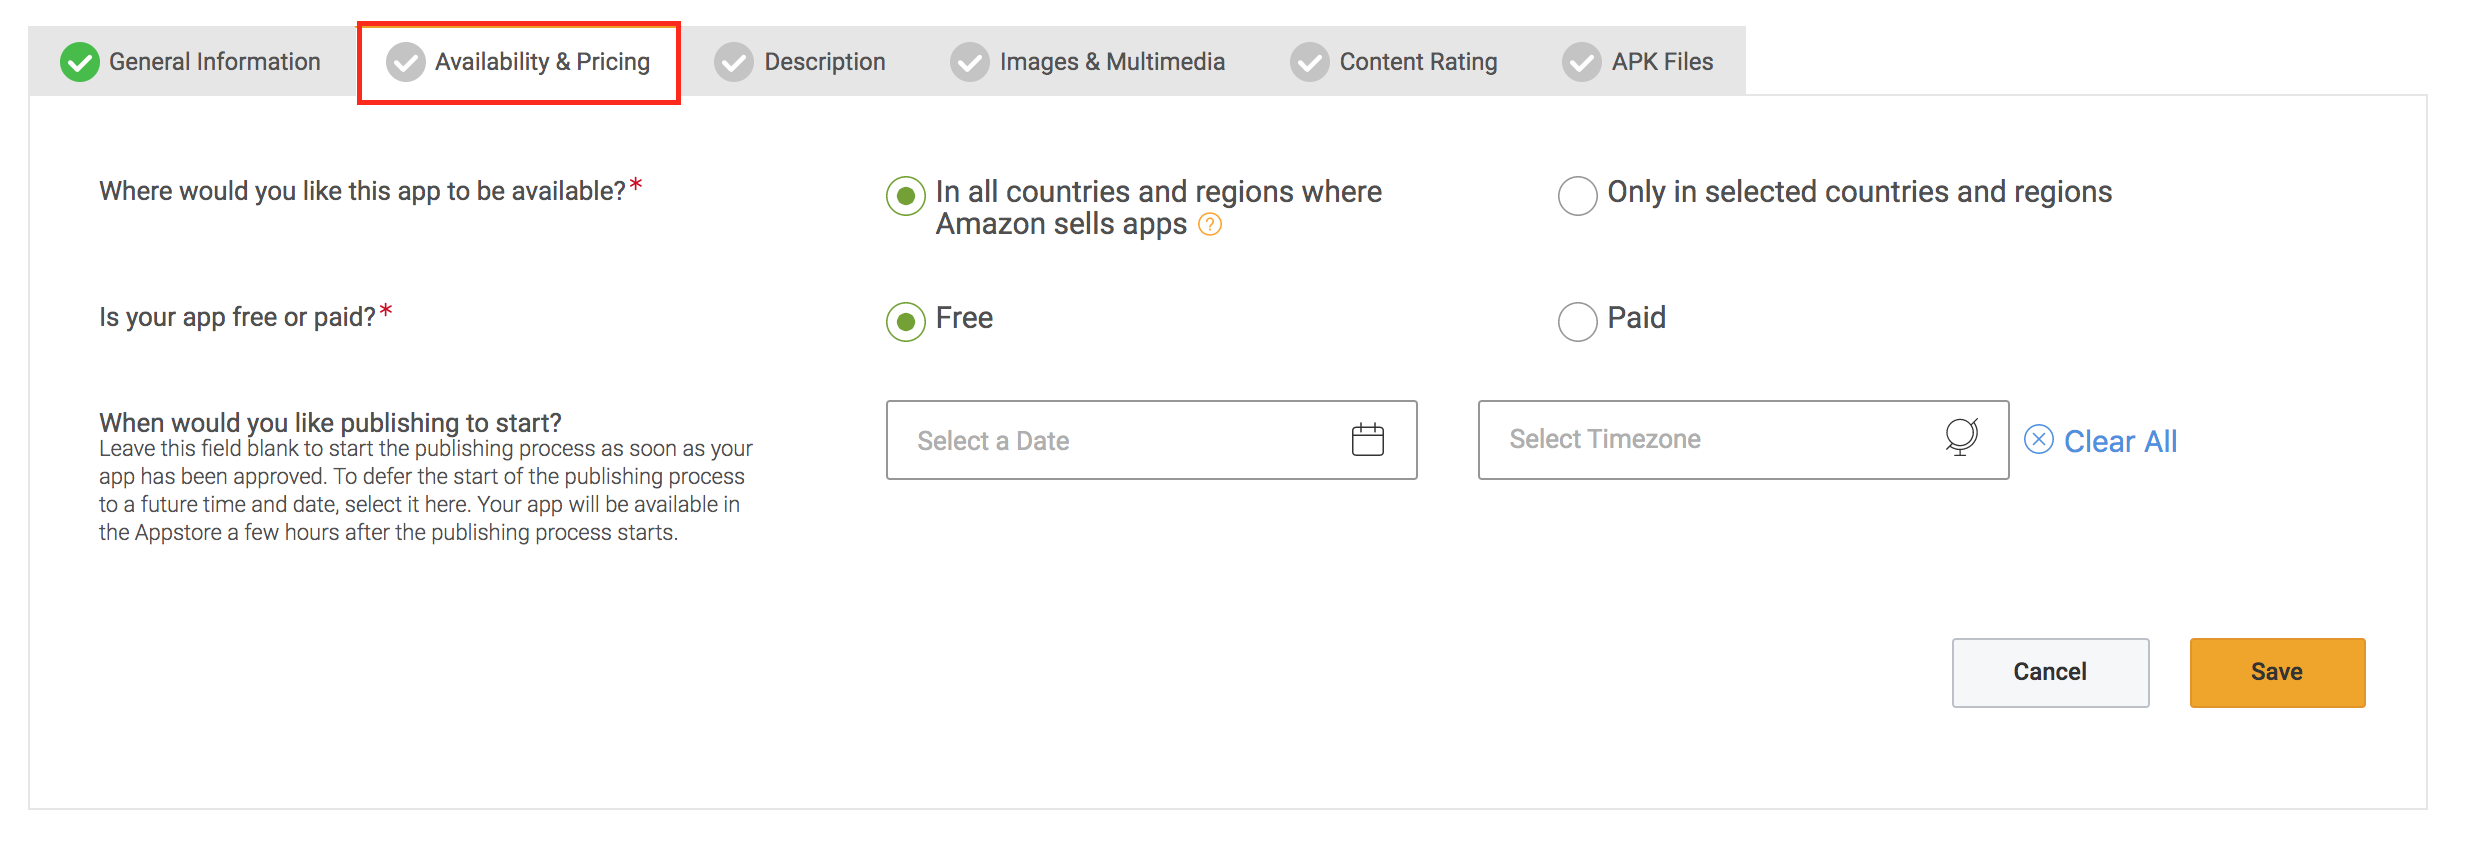
Complete the Availability & Pricing information
In this section you will be able to set the pricing and availability of your Fire TV app. Remember that the prices you select must match those set in the Brightcove platform.
-
Click in the Availability & Pricing tab.
-
In the first section, you will be able to choose where you would like your Fire TV app to be available:
- In all countries and regions where Amazon sells apps.
- Only in selected countries and regions.
-
If you select Only in selected countries and regions, this option will allow you to select what countries or specific regions will be able to find your Fire TV app on the Amazon store. In the example shown below, all of North America and three countries in Europe are selected for the Fire TV app.
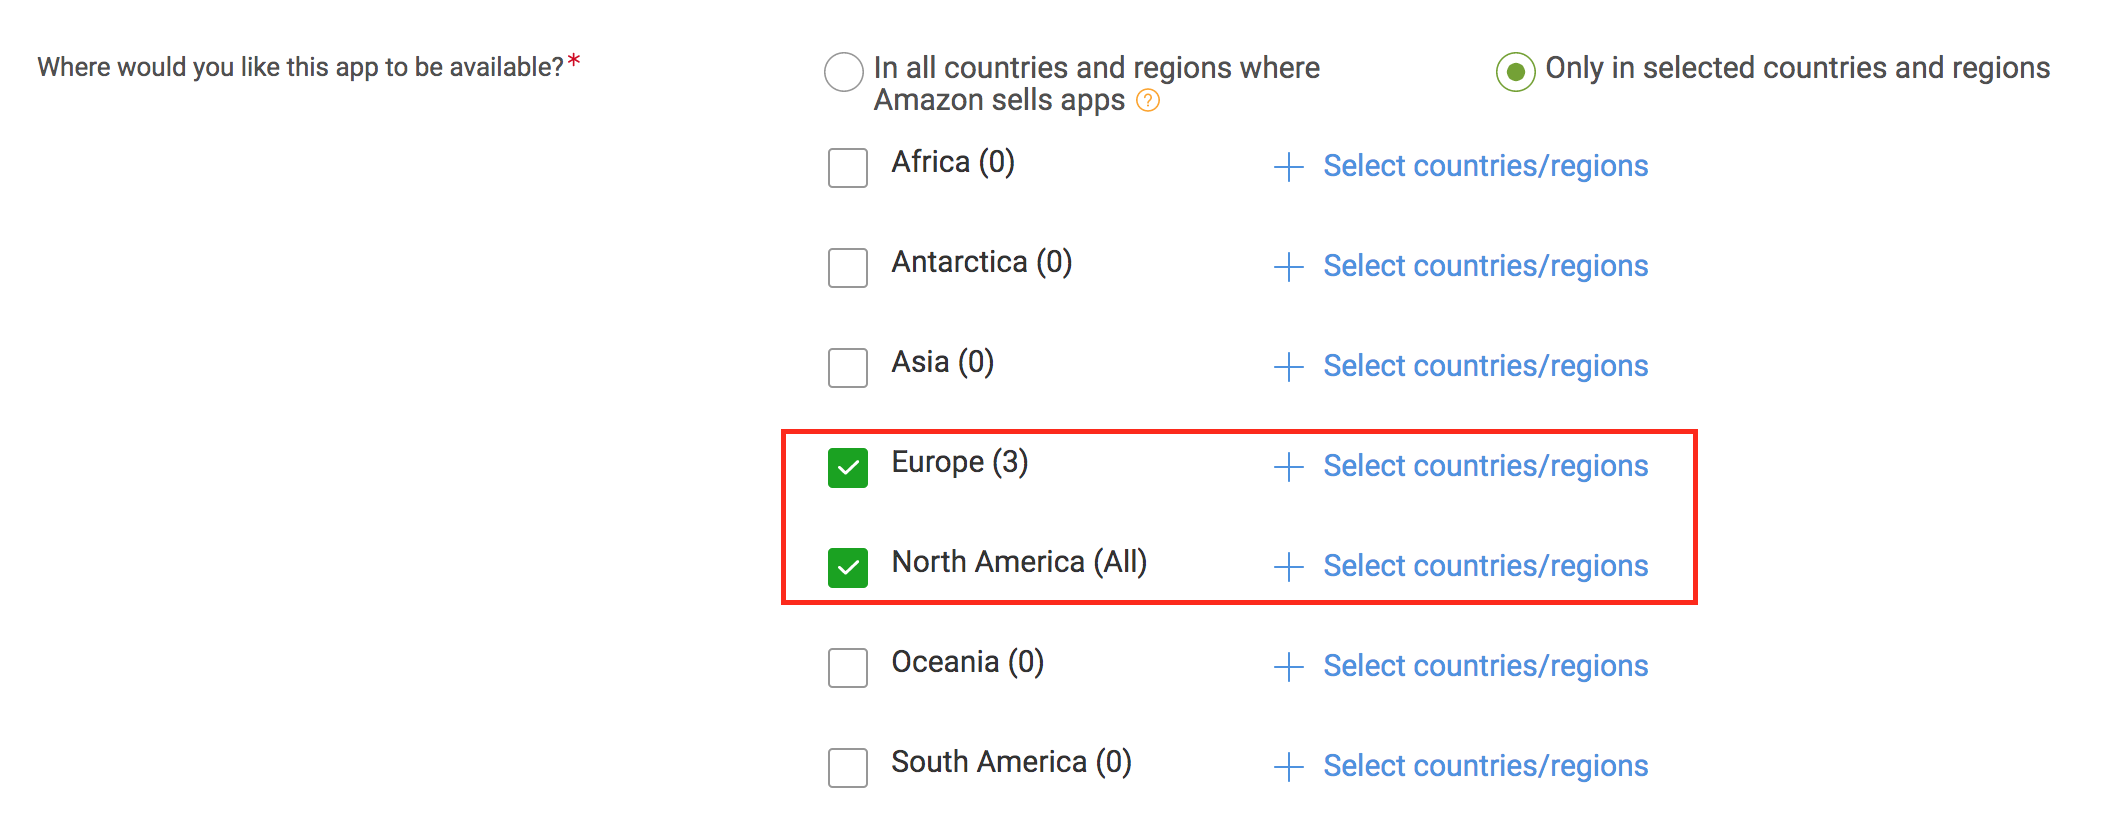
- To select a specific country from the region, click on the + Select countries/regions button.
-
Select the countries you want your Fire TV app to be published from the region you choose.
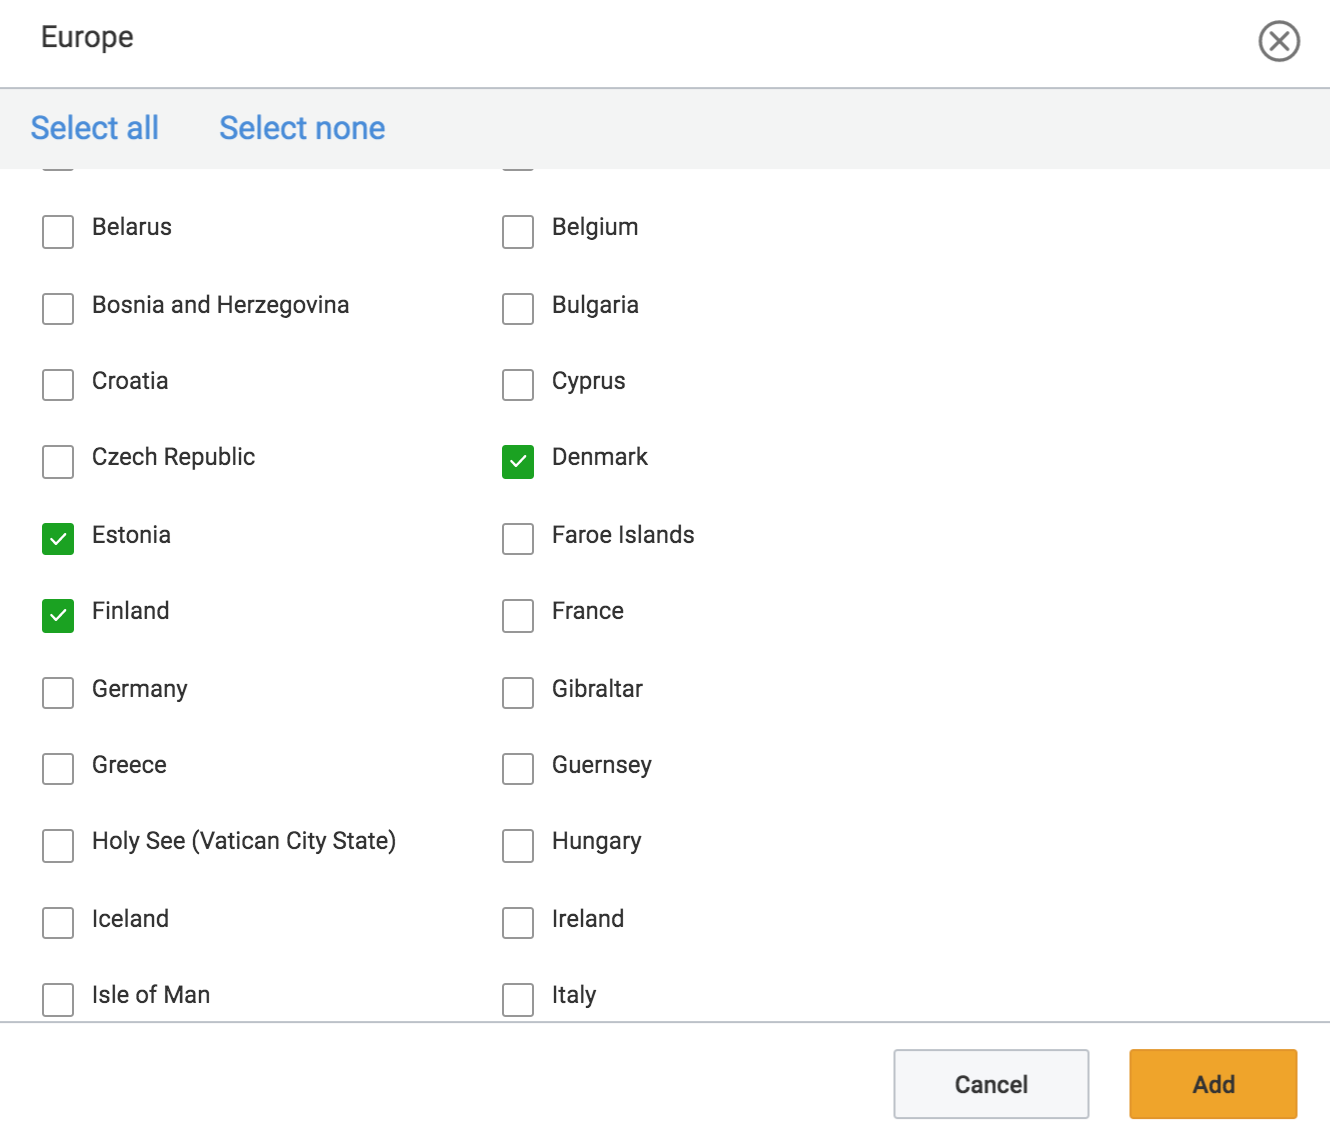
- Click the Add button.
- The next option will allow you to select if your Fire TV app is Free or Paid. Normally the default Brightcove app is set as Free.
-
If you select Paid, you will have to Set a baseline price and a type of currency. (Please contact your Brightcove account representative in the case you want to assign a price for your Fire TV app).

-
(Optional) Leave this field blank to start the publishing process as soon as your Fire TV app has been approved. To defer the start of the publishing process to a future time and date, assign a publishing date for your Fire TV App.

- Click the Save button.
Creating an In-App Purchases (IAP) Subscription
In this section you will learn how to create an In-App Purchases subscription for your Fire TV app.
- After saving your Availability & Pricing settings, an additional field for Add IAP (In-App Purchases) will appear.
-
Click in the Add IAP button to add In-App Purchases as subscriptions.

-
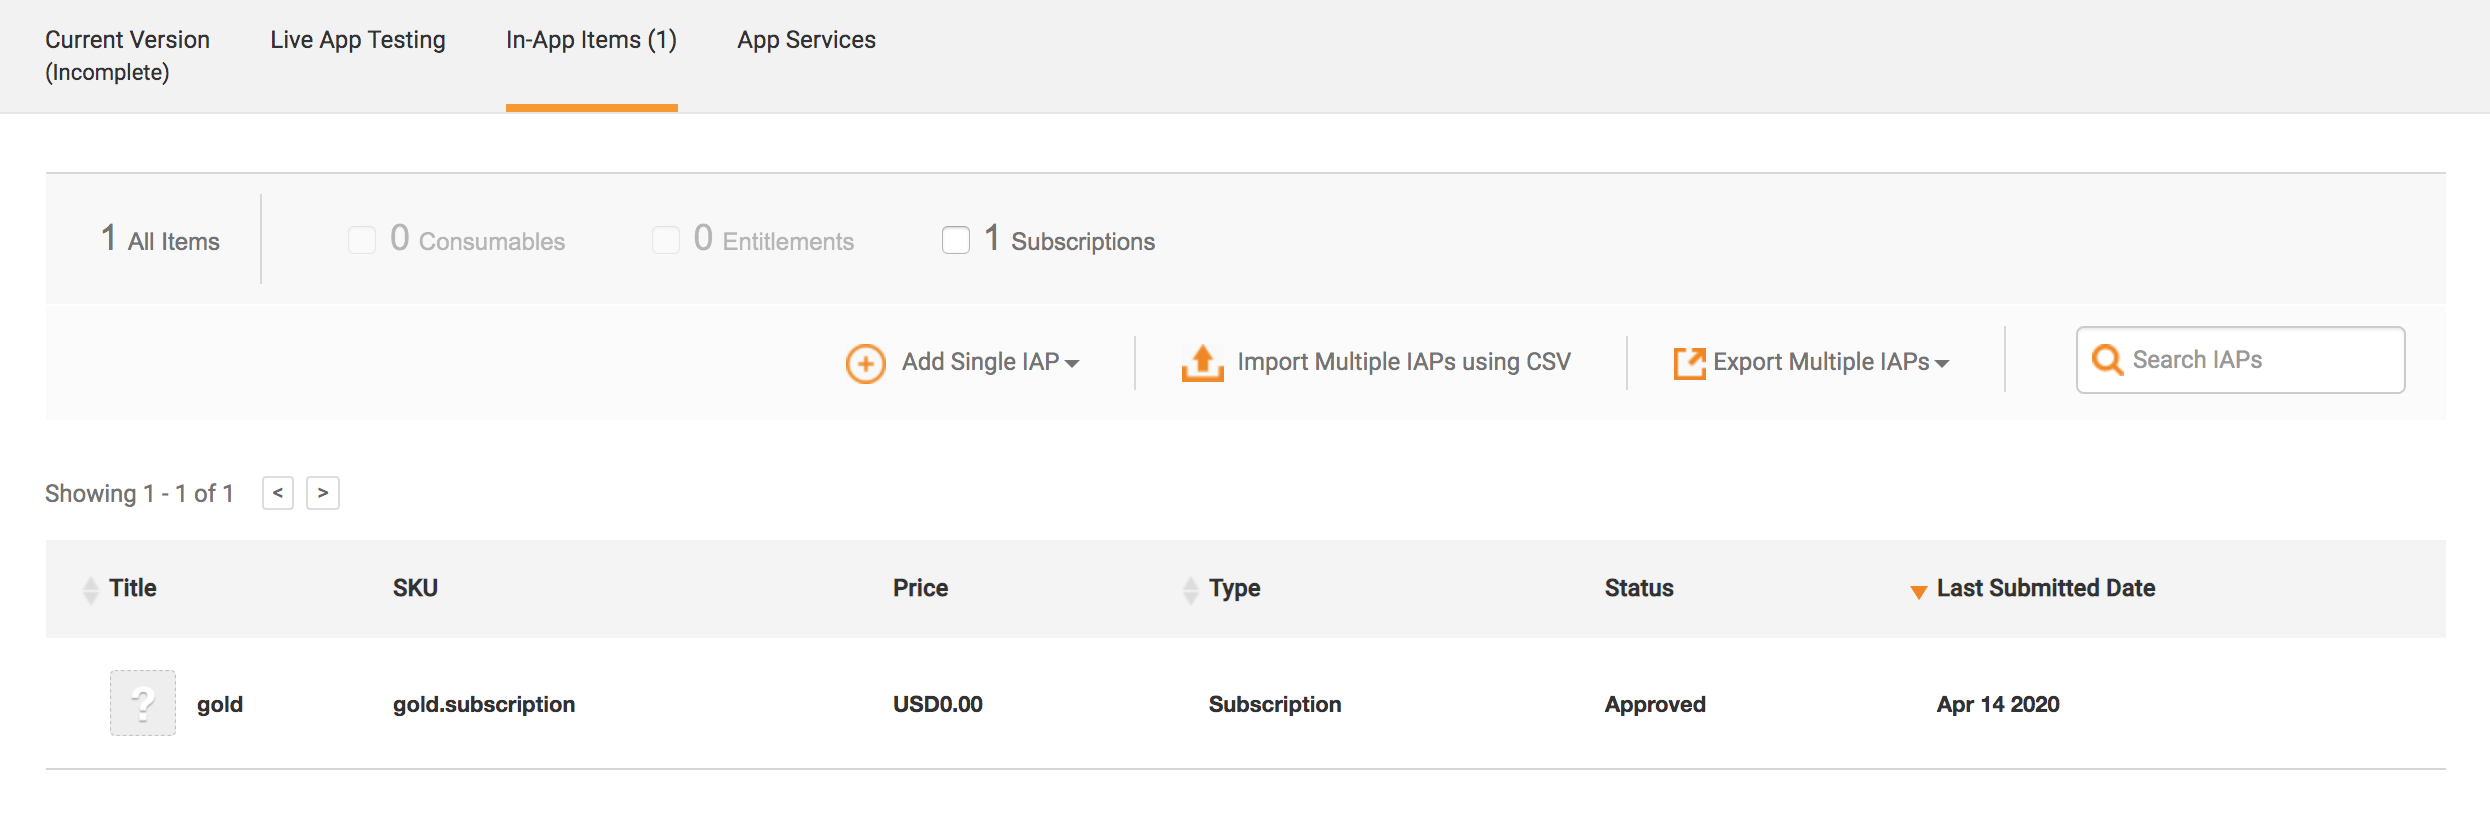
You see the In-App Items tab.
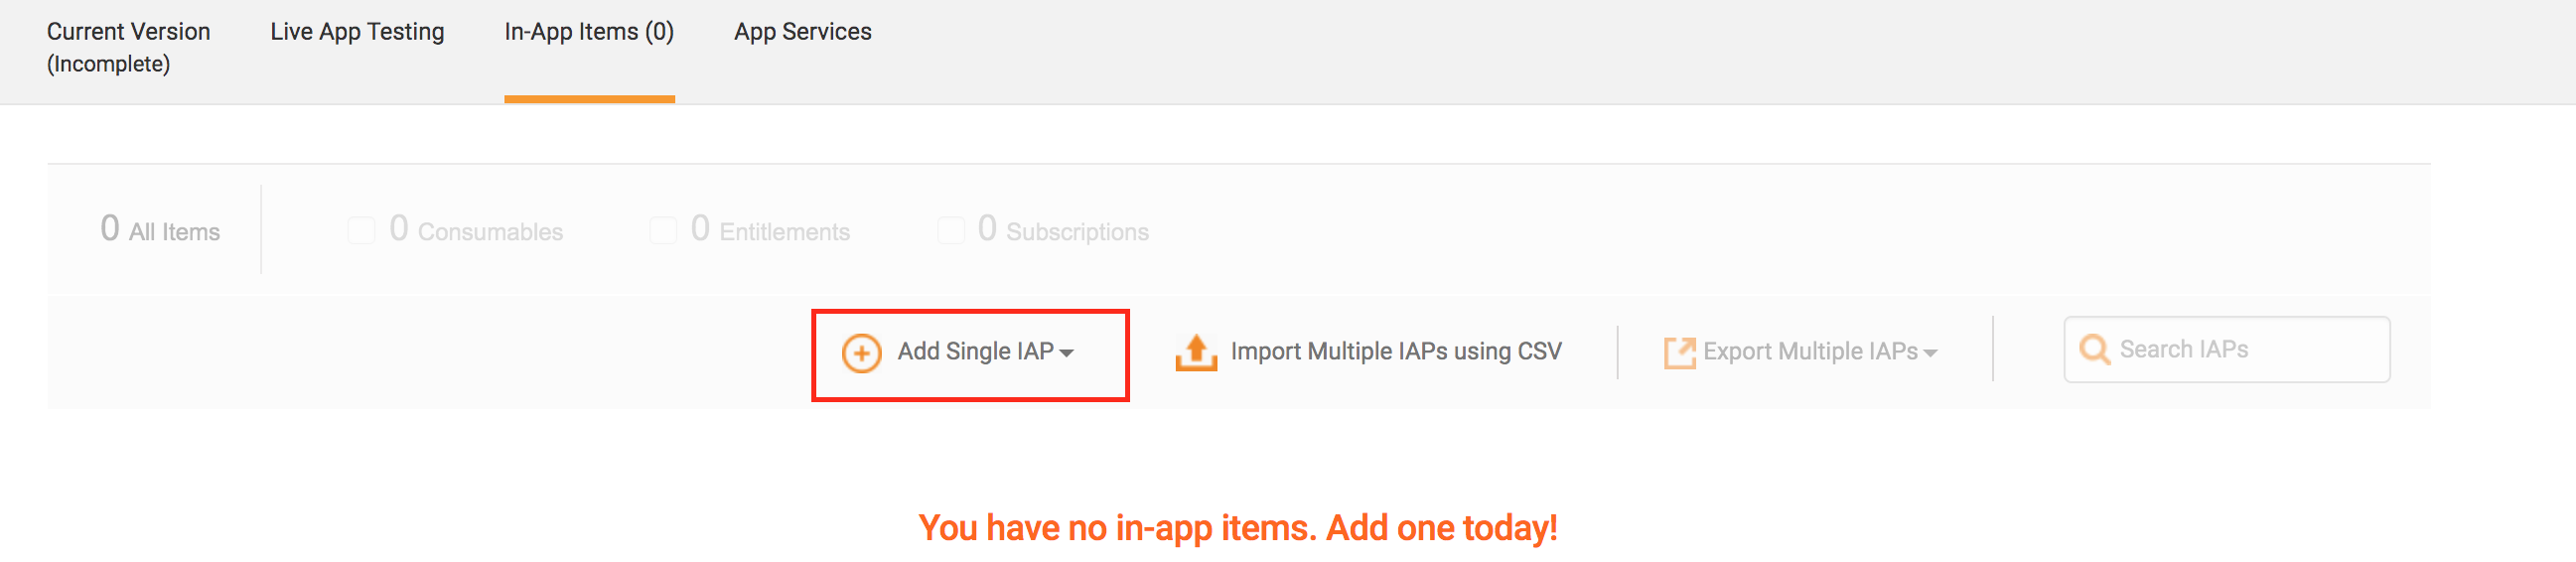
- At the moment you will not have any in-app items there. To create one click in the Add Single IAP button.
-
Note that you have three different types of in-app purchases to select.
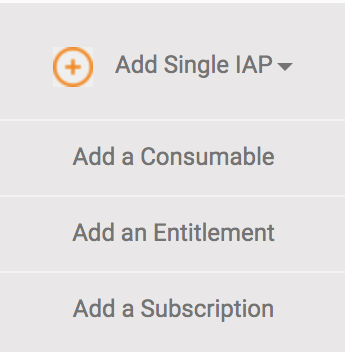
- Add a Consumable: A consumable includes any type of content that you sell within your app that is consumed within the app itself. This type of content is available only on the device from which it is purchased.
- Add an Entitlement: An entitlement includes any type of content that you sell within your app that requires access rights. This type of content is available anywhere the customer is logged into the Amazon Apps client. The entitlement to the content does not expire.
-
Add a Subscription: A subscription includes any type of content that:
- Carries an entitlement
- Is bound by a period of time
- Auto-renews at the end of the period
- Is available on all eligible devices registered to the customer's Amazon account
Your app can have multiple subscriptions defined for it, with each subscription having multiple periods.
- Please select the IAP of your preference or contact your Brightcove account representative to know more about which options are best for your content.
-
In this example, Subscription is selected.
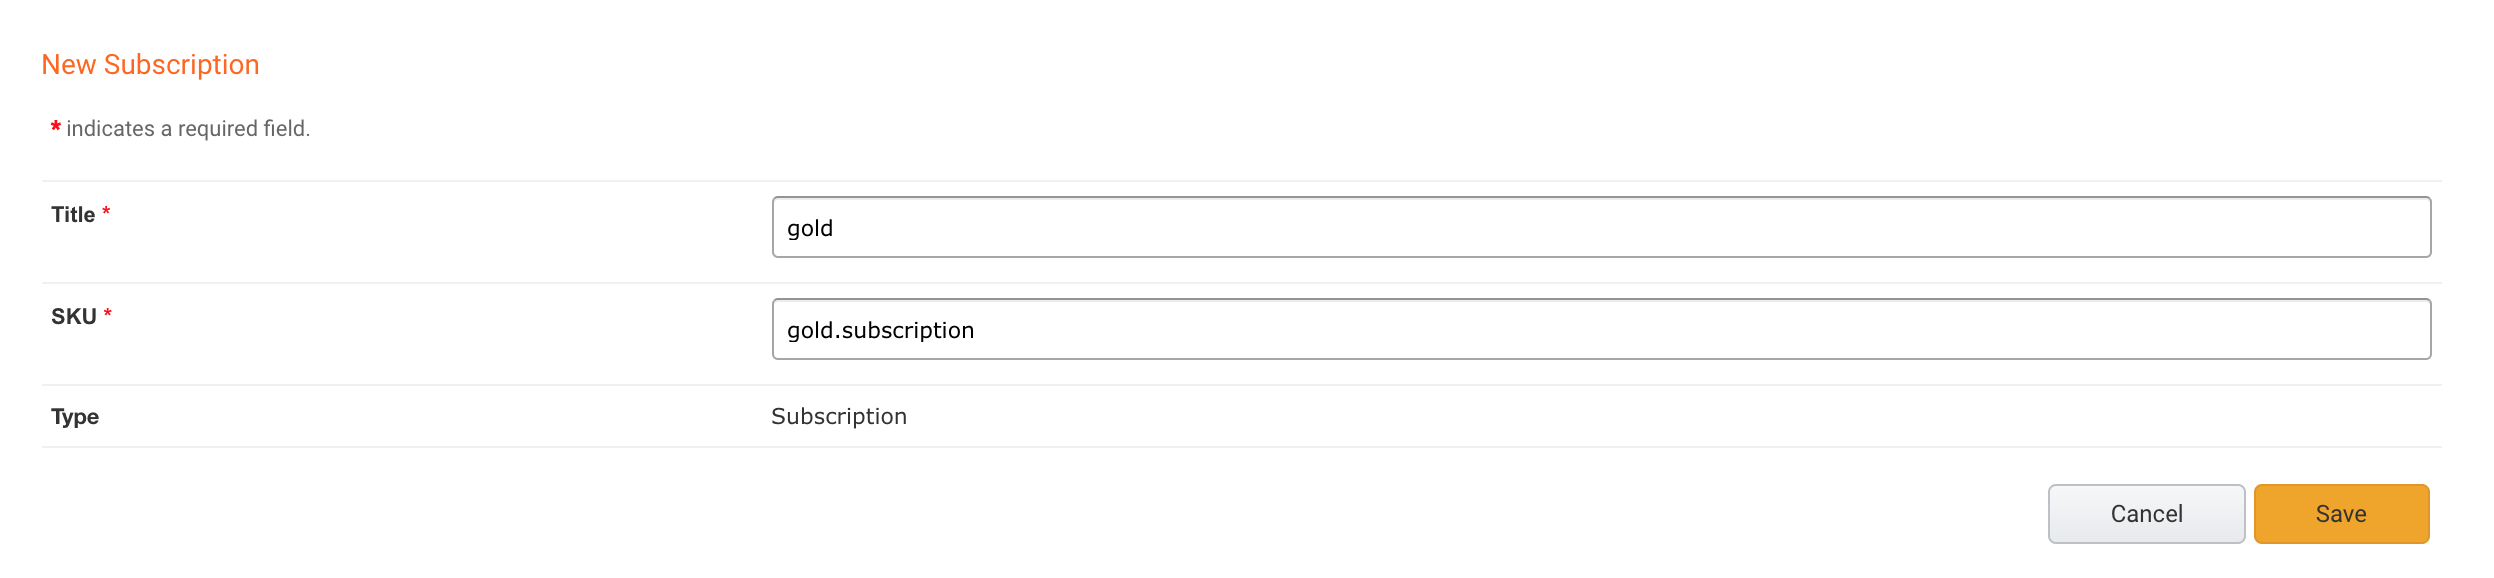
- Give a Title to your new subscription.
- Choose an SKU. The SKU (Stock Keeping Unit) becomes the ID for your subscription for your own tracking purposes, for example subscription.gold.
- Click the Save button.
-
After saving your IAP you will be prompted to the Subscription Period tab.
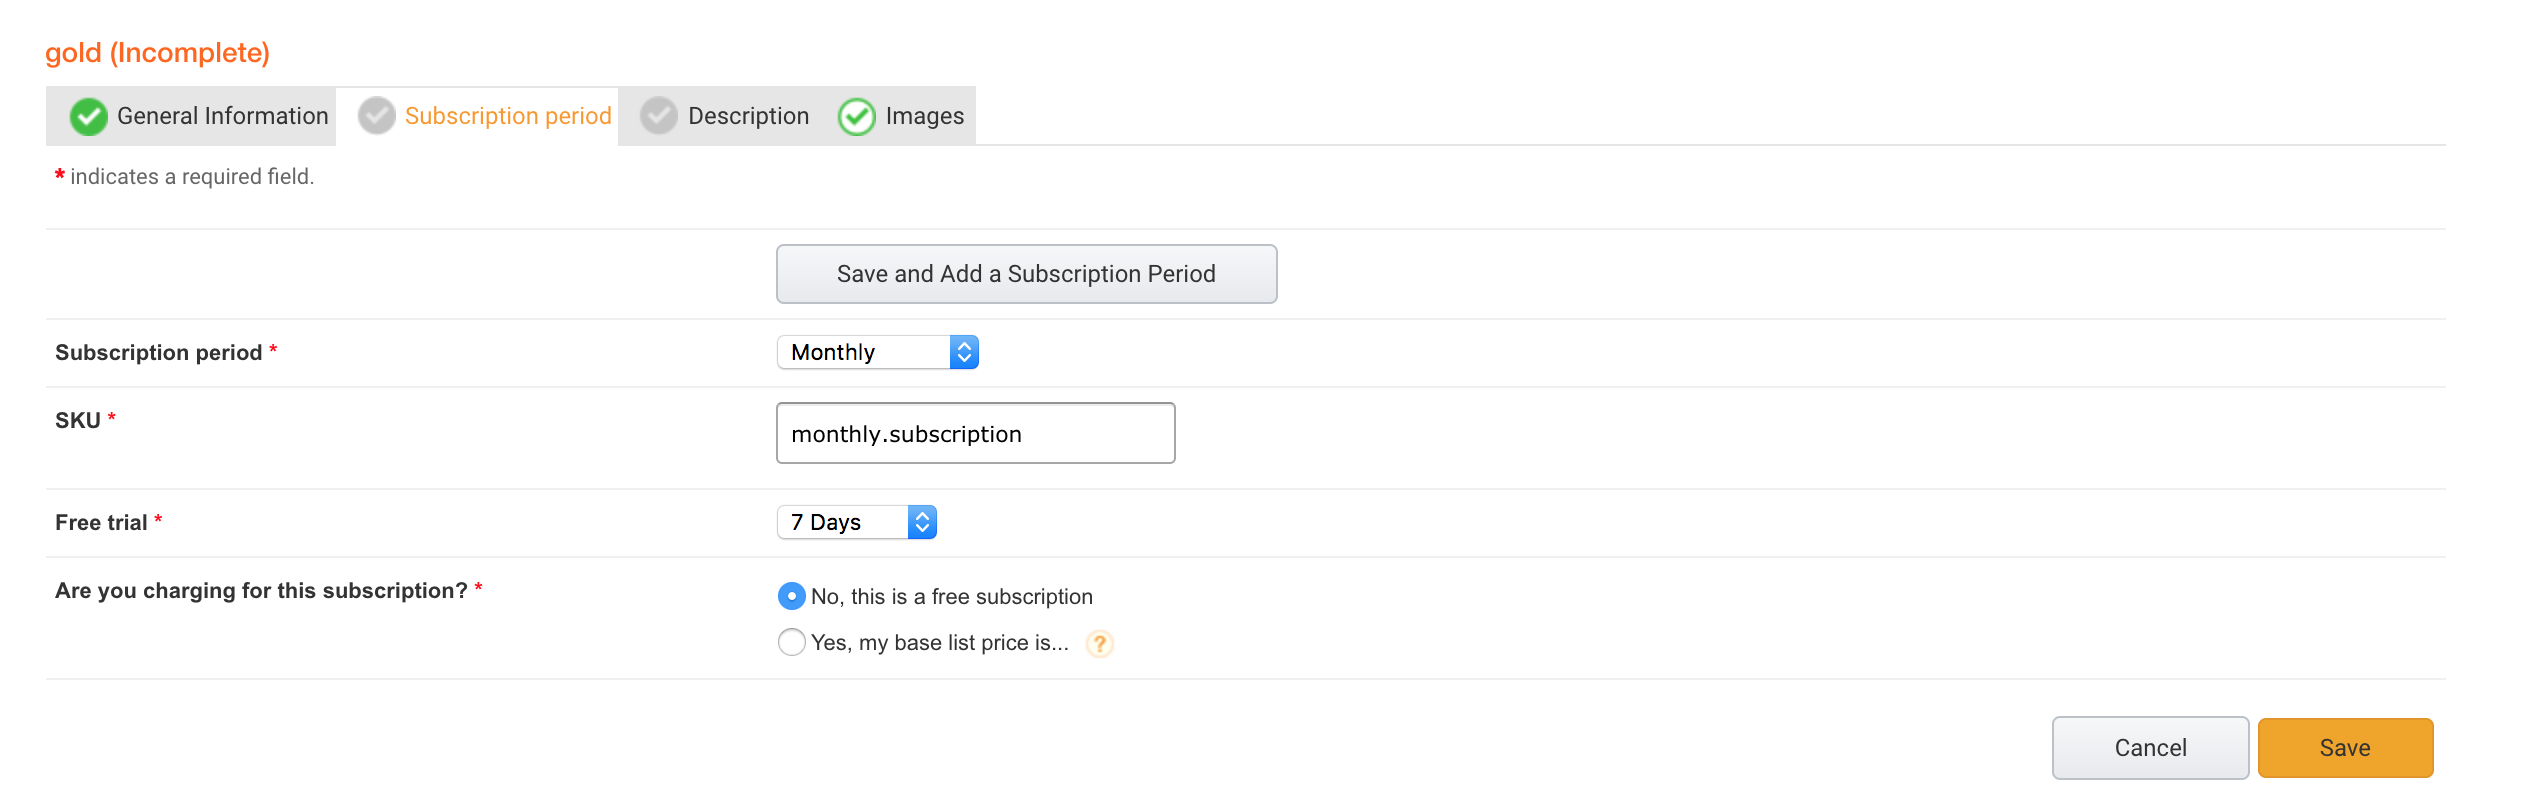
- Select a Subscription period. You will be able to select the time in which the subscription will be charged to your users. For example: monthly, weekly, annually, etc.
- Choose an SKU. The SKU (Stock Keeping Unit) becomes the ID for your subscription period for your own tracking purposes, for example monthly.subscription.
-
(Optional) Select if you want to give a Free trial of your subscription. For example: 7 days, 1 month, etc.

-
Select if you will be charging for this subscription. For charging, select the Yes, my base list price is... option.

- Enter your subscription price and the type of currency.
-
The Calculated prices setting will appear which will allow you to decide if you want Amazon to calculate the list prices for you, or you set the prices manually.
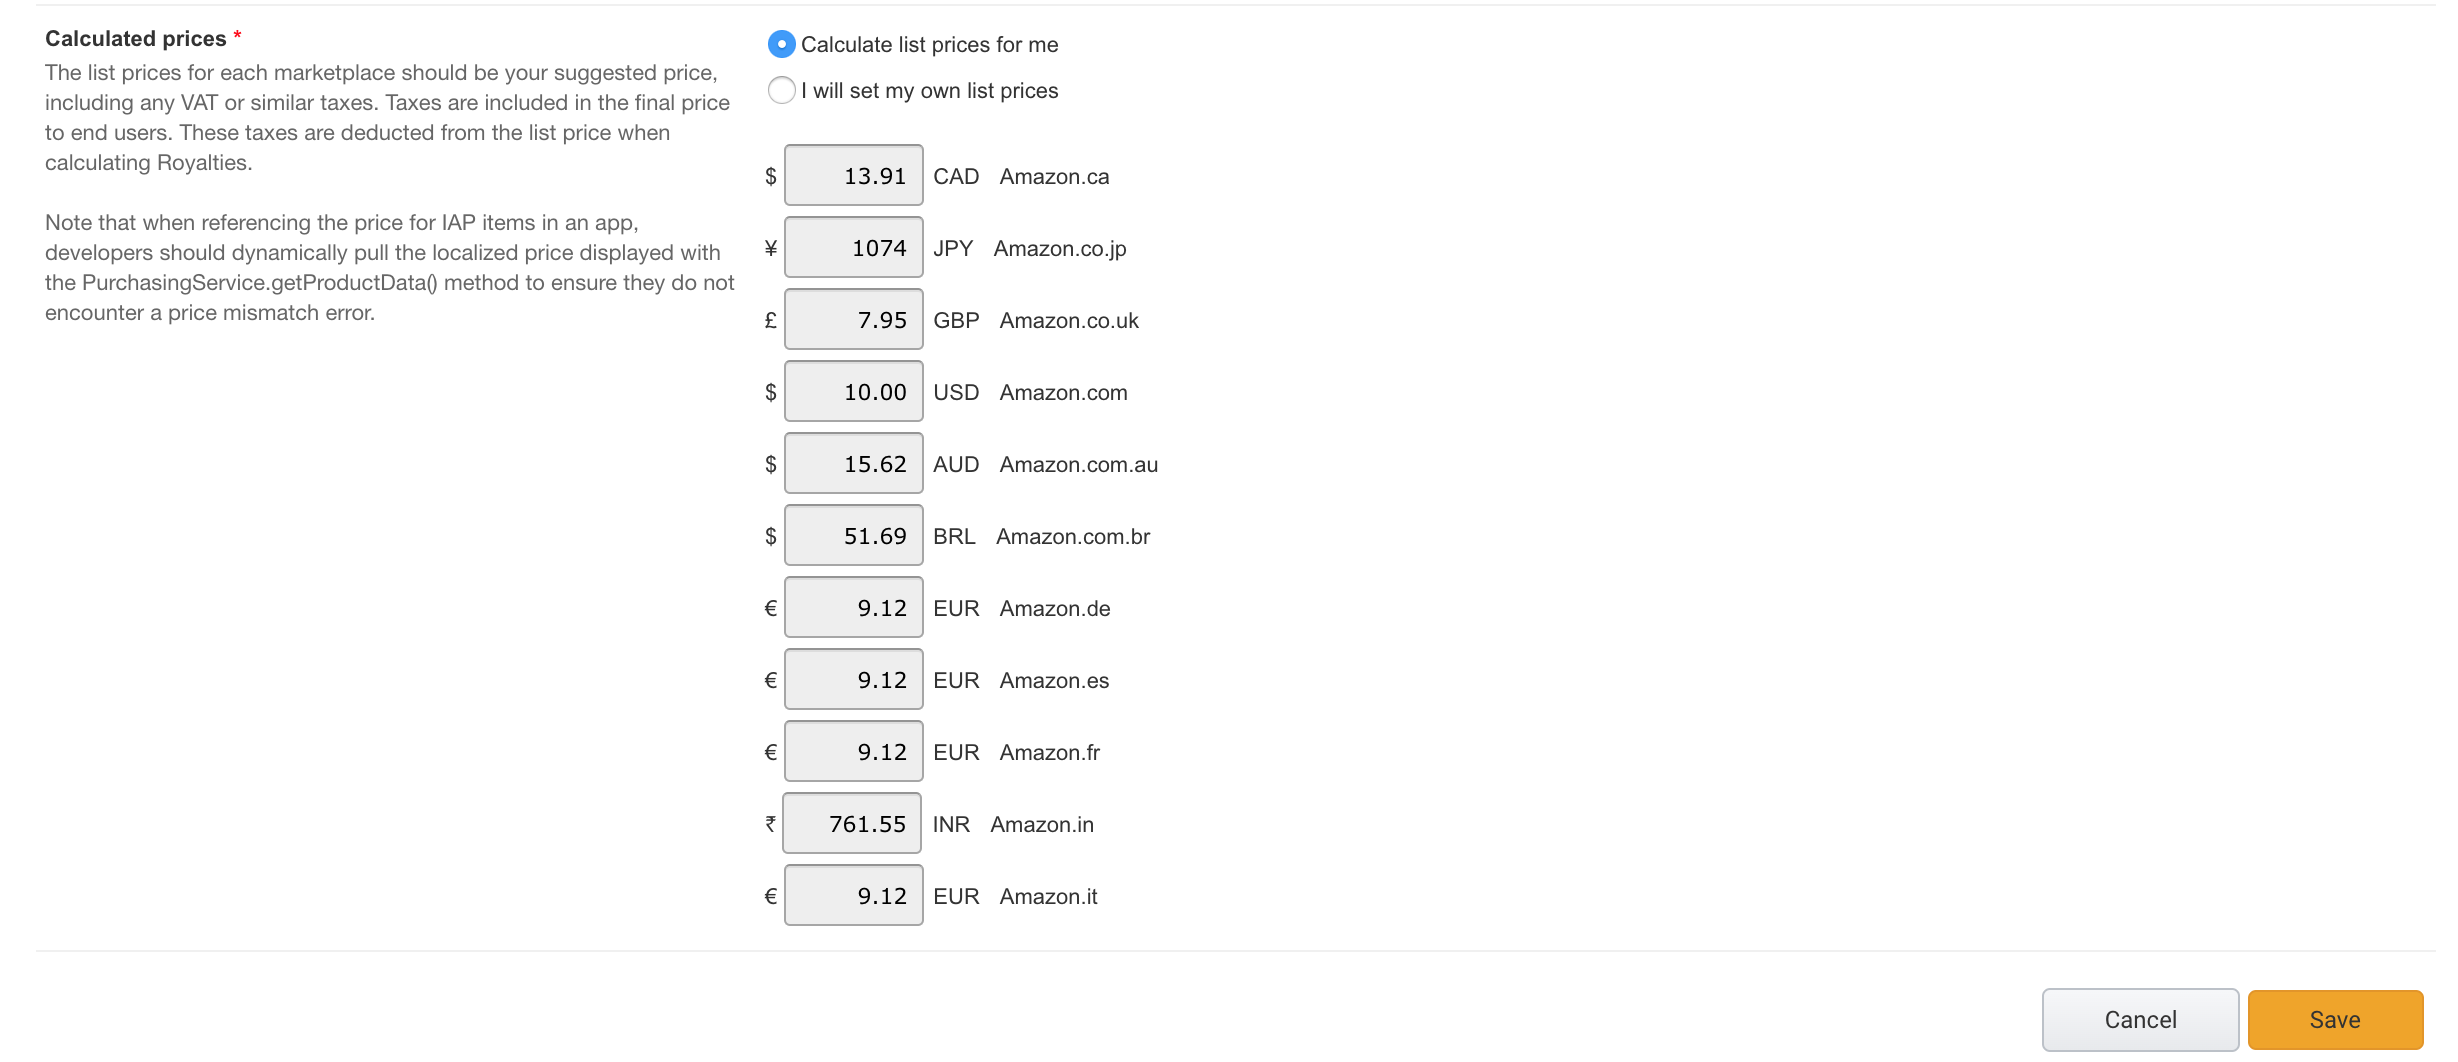
- Click the Save button.
-
Go to the Description tab and add a description to your new subscription.

- Click the Save button.
-
When all your IAP settings are completed the Submit In-App Item button will be enabled. Click the button to send your IAP for approval to Amazon.

-
Click the Submit In-App Item button and you will be able to see your IAP item in the In-App items tab list.
Complete the Description information
In this section, you will be able to add all the Fire TV app text descriptions that will be visible to the users in the Amazon store.
-
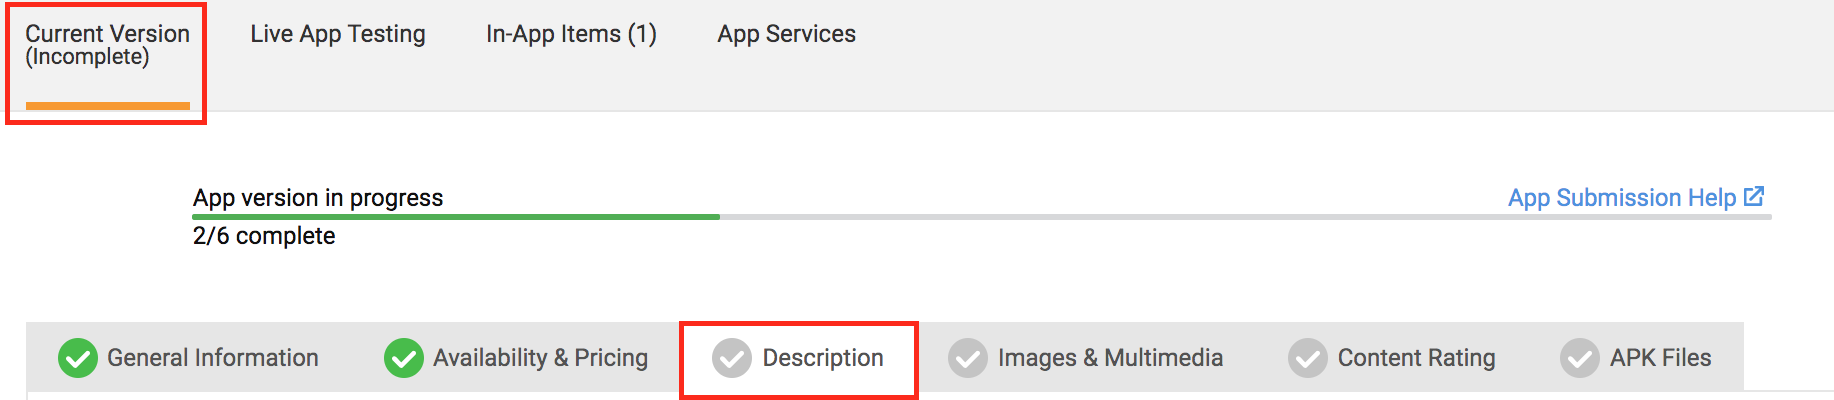
Click in the Current Version tab and select the Description tab from the Fire TV app menu.
-
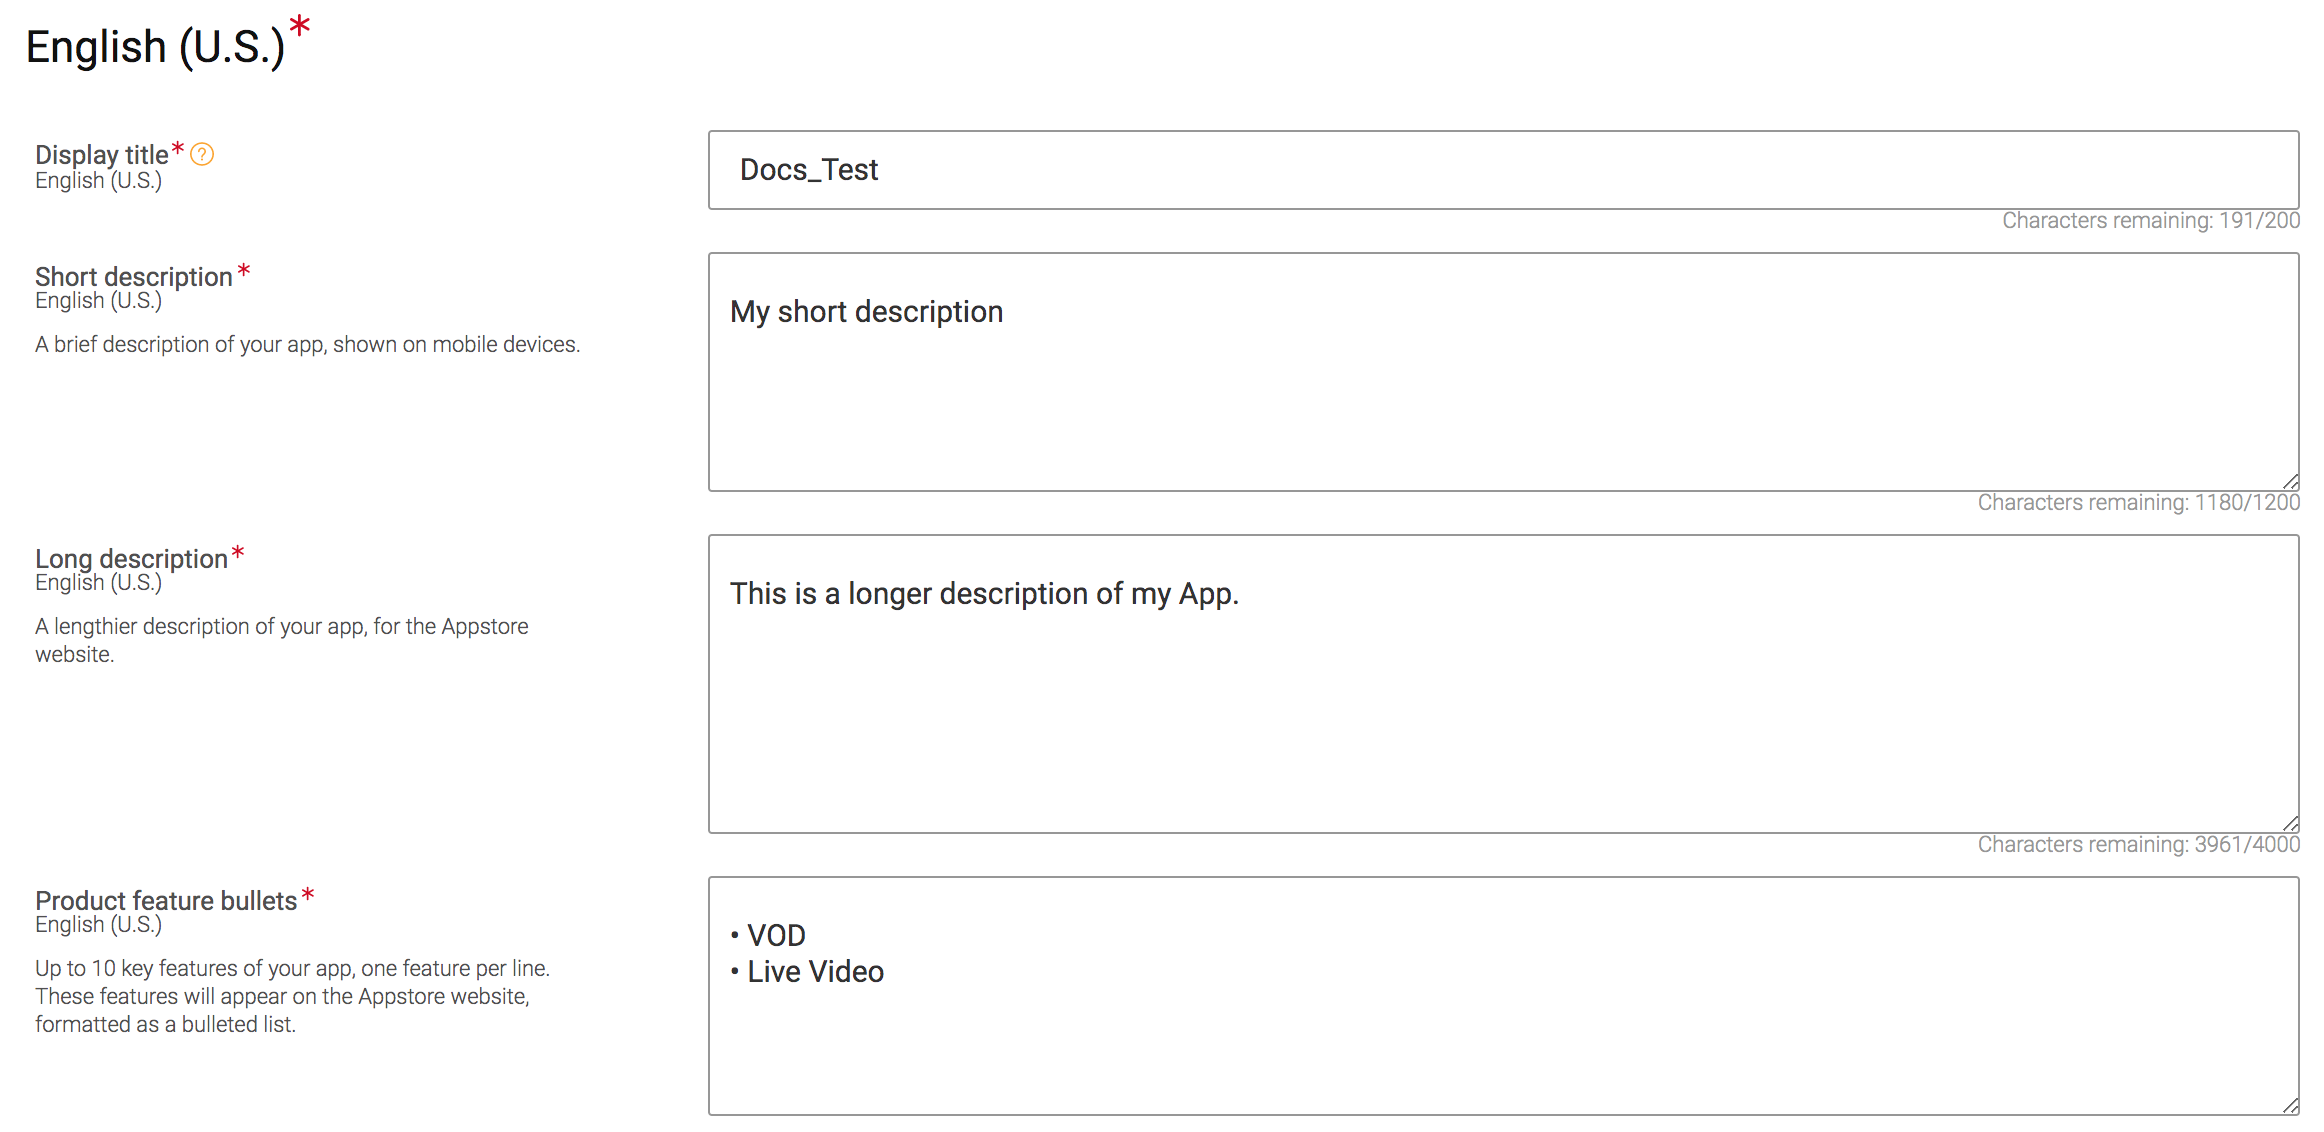
Complete the following in the form:
- Short description: A brief description of your app, shown on mobile devices.
- Long description: A lengthier description of your app, for the App Store website.
- Product feature bullets: Up to 10 key features of your app, one feature per line. These features will appear on the App Store website, formatted as a bulleted list.
- (Optional) Keywords: Search terms used to increase the discoverability of your app, Use a comma or white space to separate your terms.
-
By default, the description will be displayed in English but you can add translations by clicking on the
Add Localized Descriptions button.

-
A form will appear allowing you to select the translation languages you want to add.
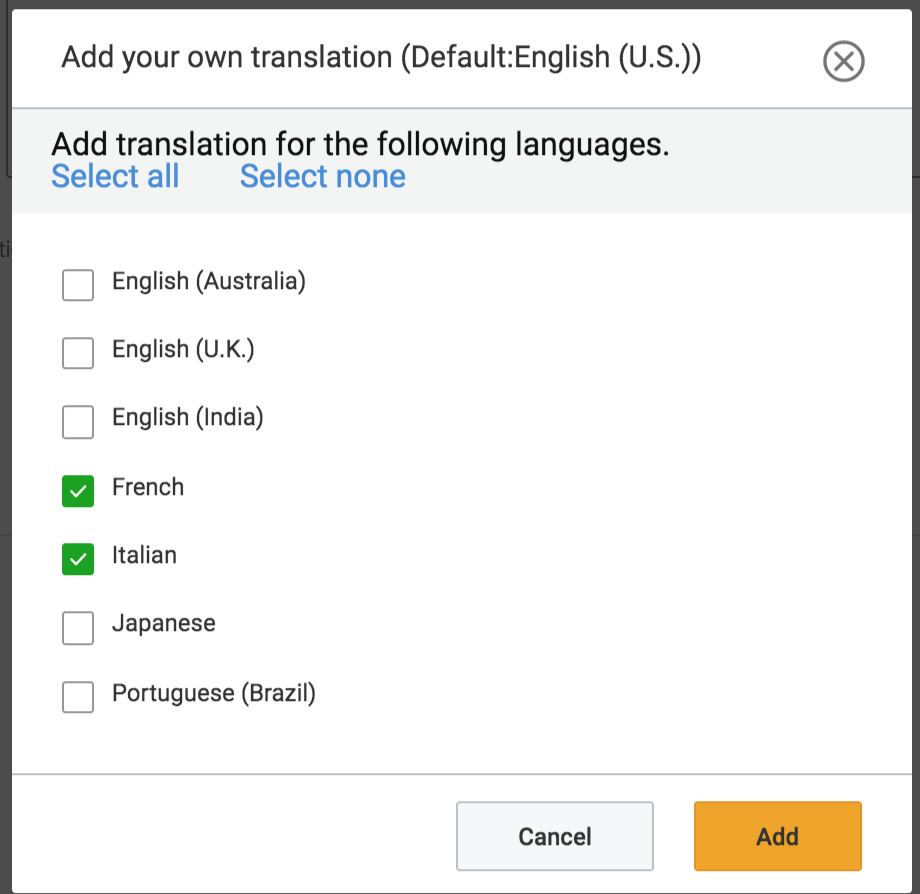
- Click the Add button.
-
At the top of the form, you will be able to select between the language forms and add each of the language descriptions.
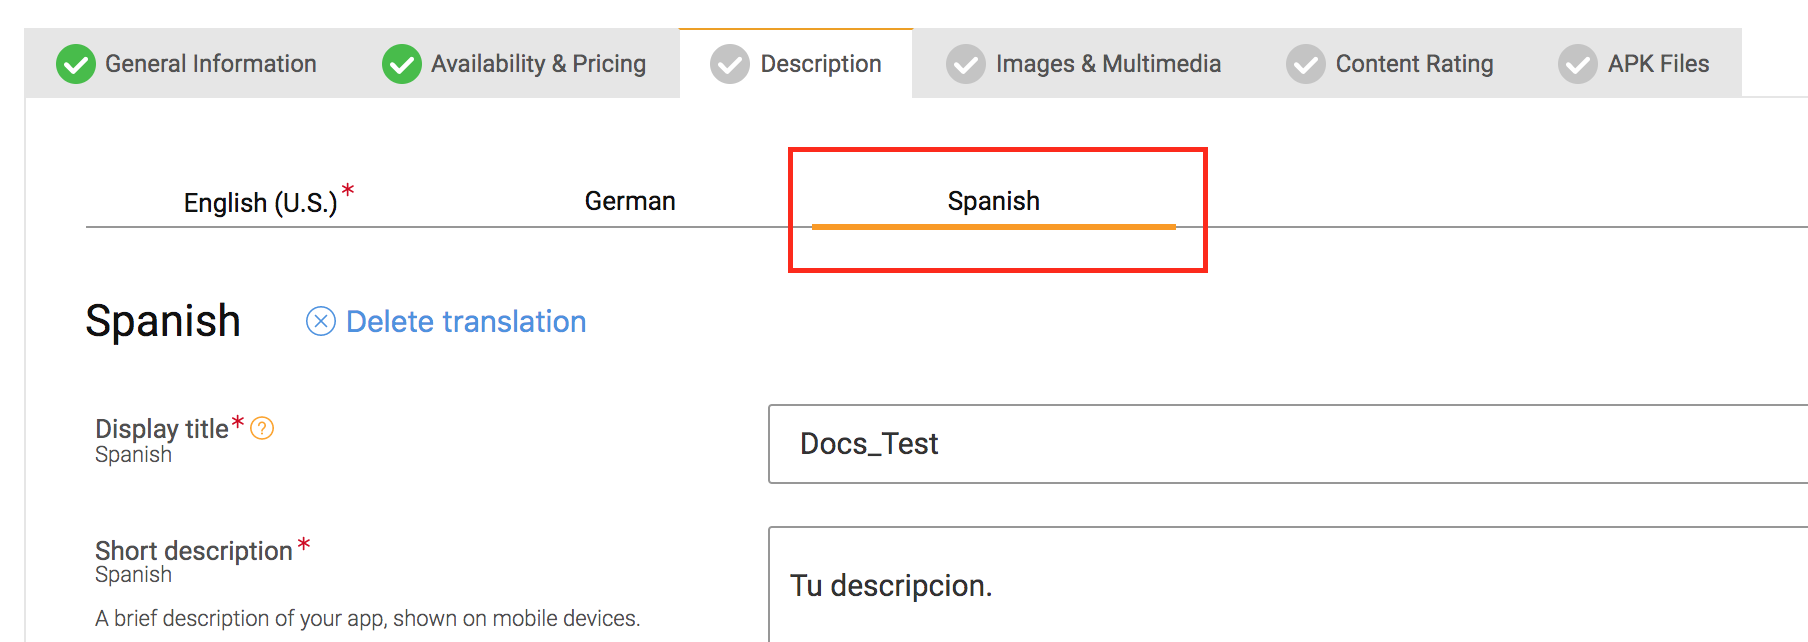
- Click the Save button.
Complete Images & Multimedia information
In this section you will learn how to upload the images for your Fire TV app.
-
Click in the Images & Multimedia tab.
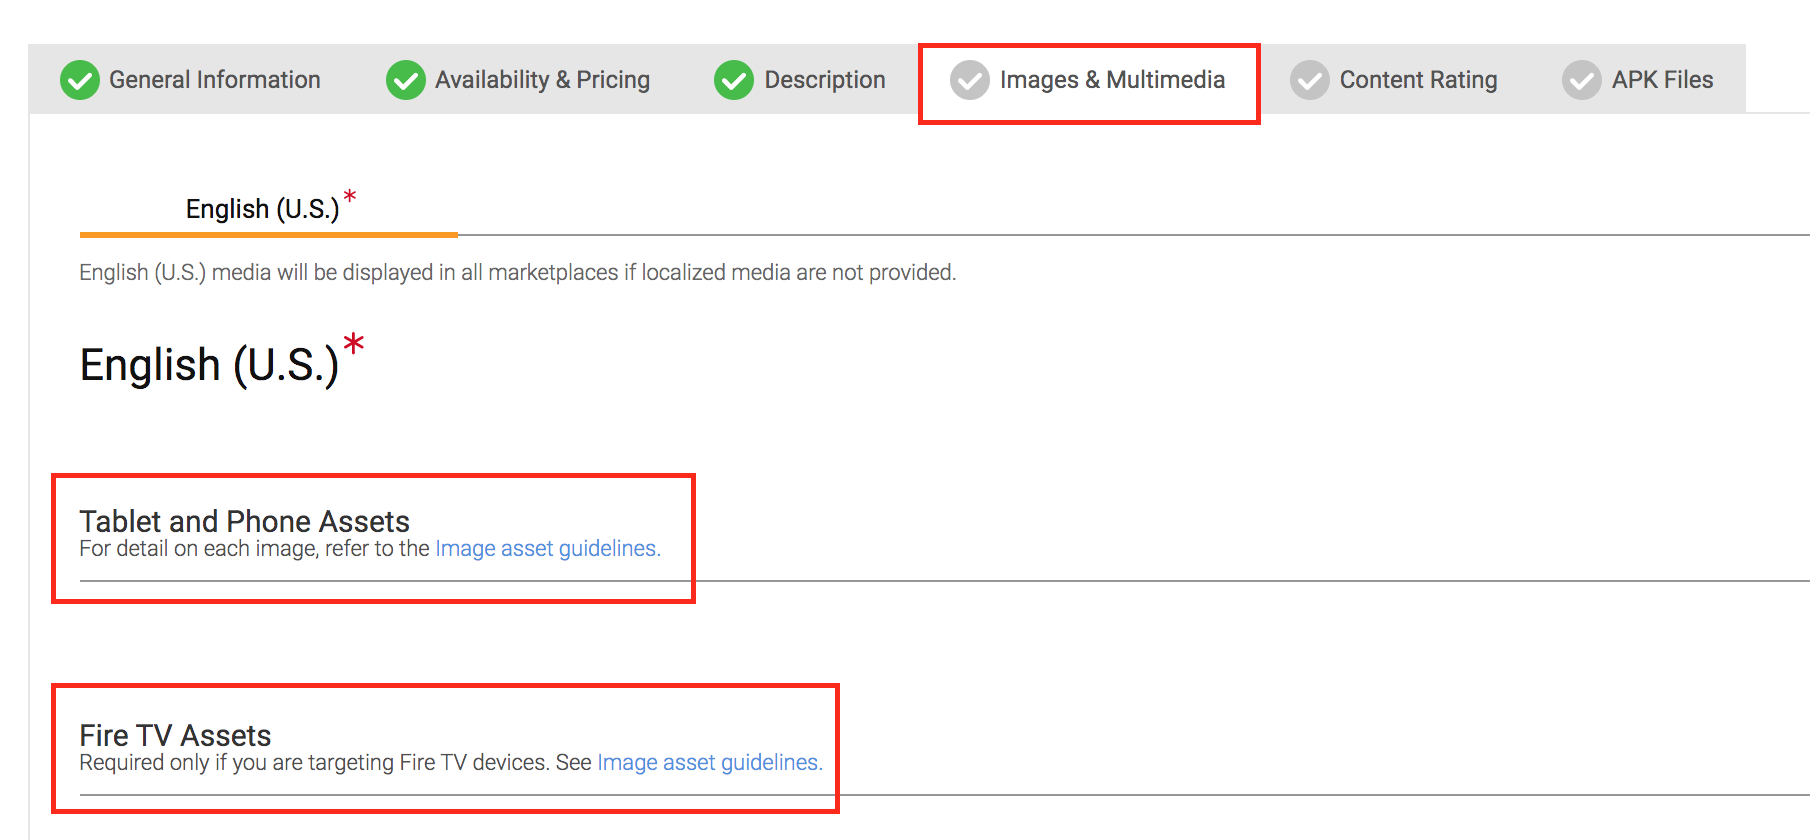
-
Click in the Table and Phone Assets section. Although your app is aimed for Fire TV and not tablets and phones, Amazon requires these images be supplied. You can use the same image sizes that you will use for your Fire TV app.
Image Requirements Mandatory/Optional Icons PNG (no transparency) Width:1280px Height:720px Mandatory Screenshots Between 3 and 10 JPG or PNG (no transparency, landscape) Width:1920px Height:1080px Mandatory Background Image JPG or PNG (no transparency, landscape) Width:1920px Height:1080px Mandatory Featured Content Logo PNG (transparency optional) Width:640px Height:260px Optional Featured Content Background JPG or PNG (no transparency) Width:1920px Height:720px Optional -
Upload an image for the Icons by clicking in the box on the right.
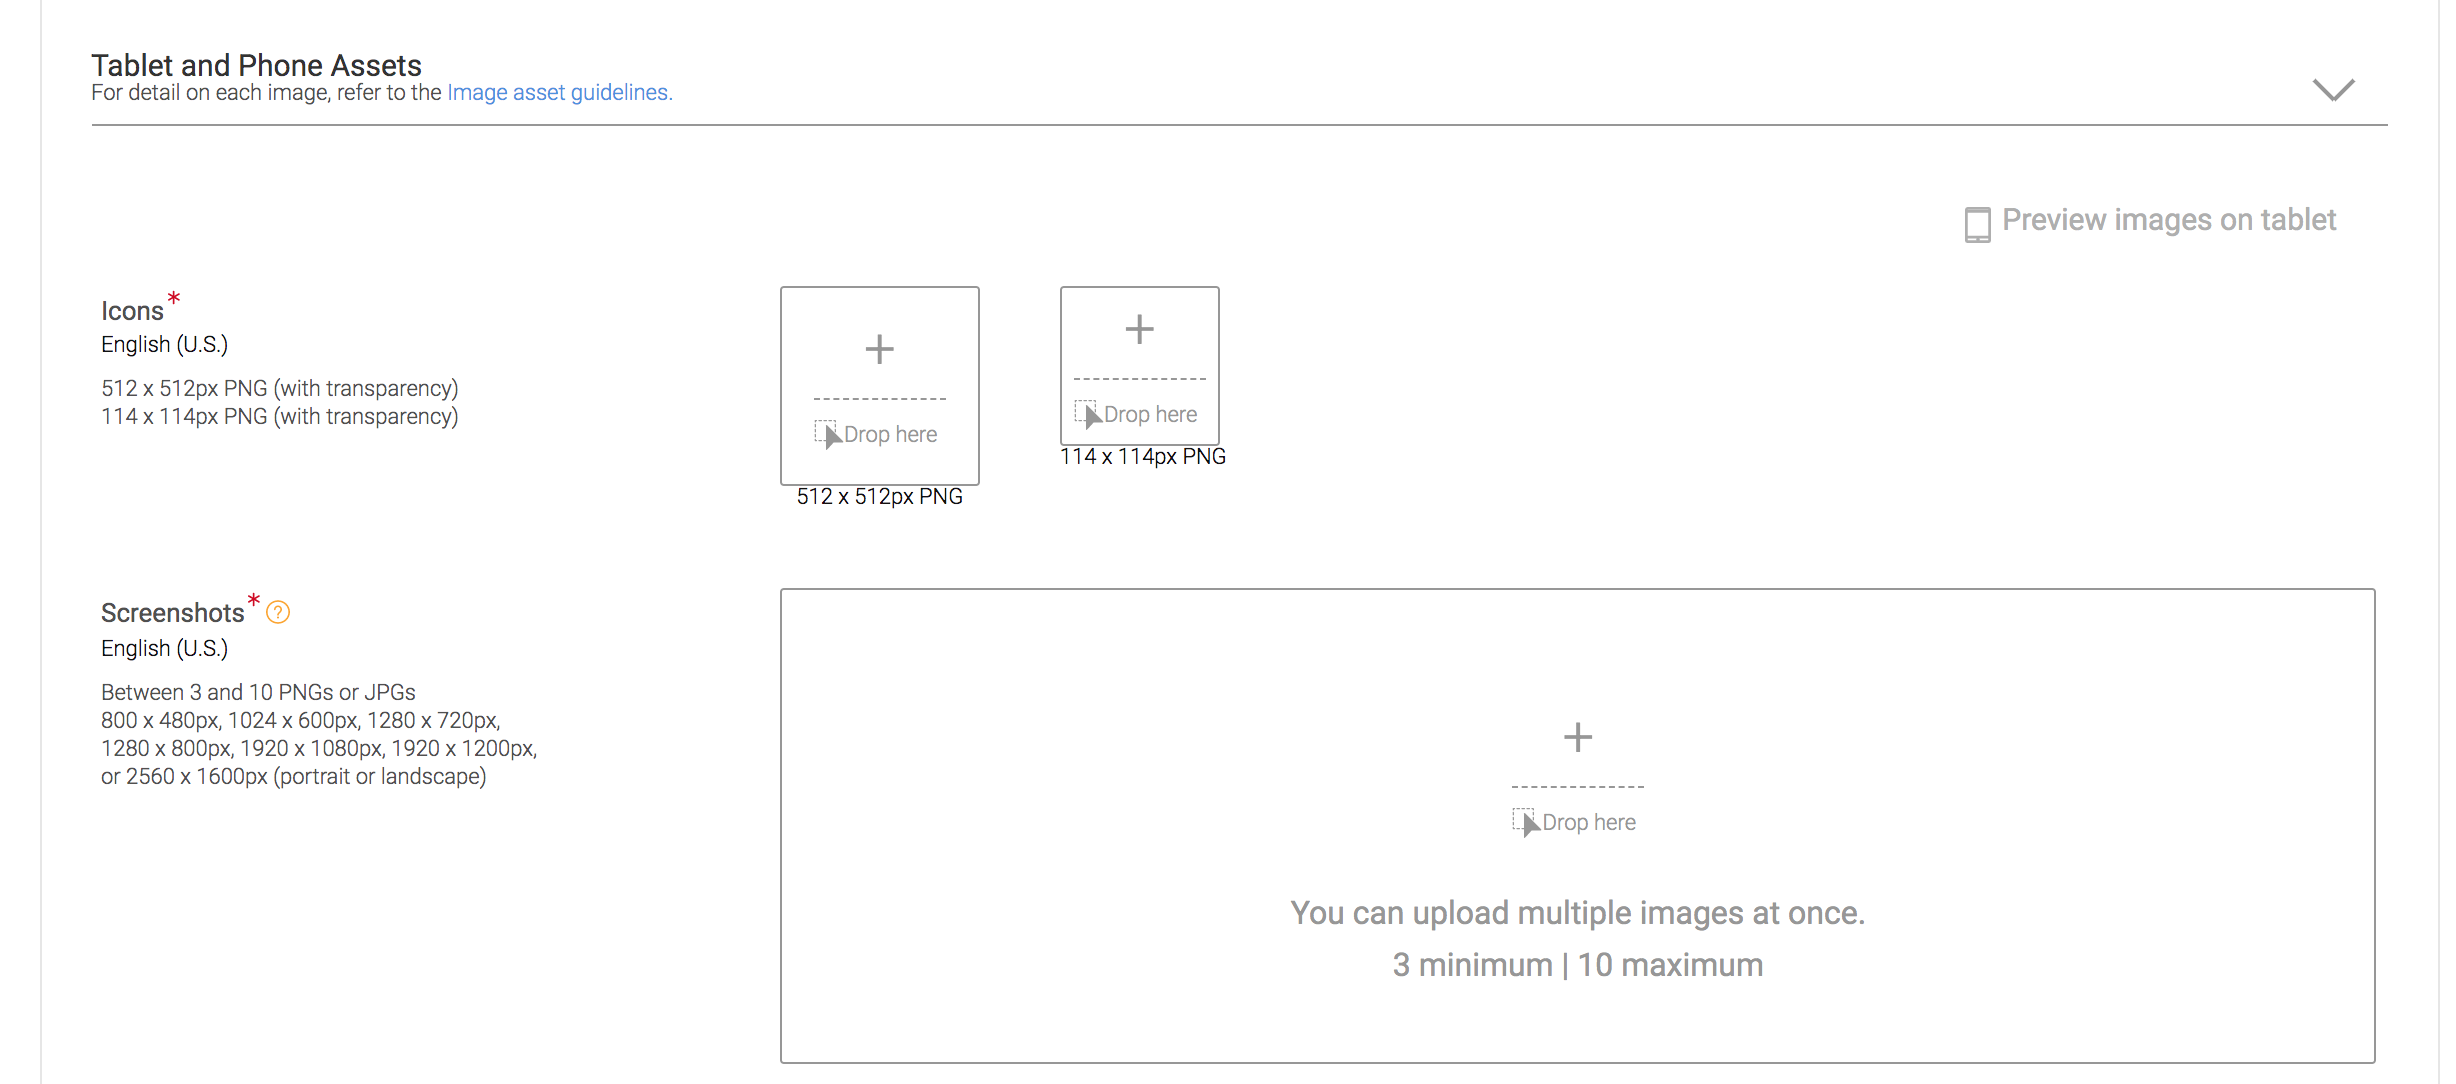
- Upload an image for the Screenshots by clicking in the box on the right.
-
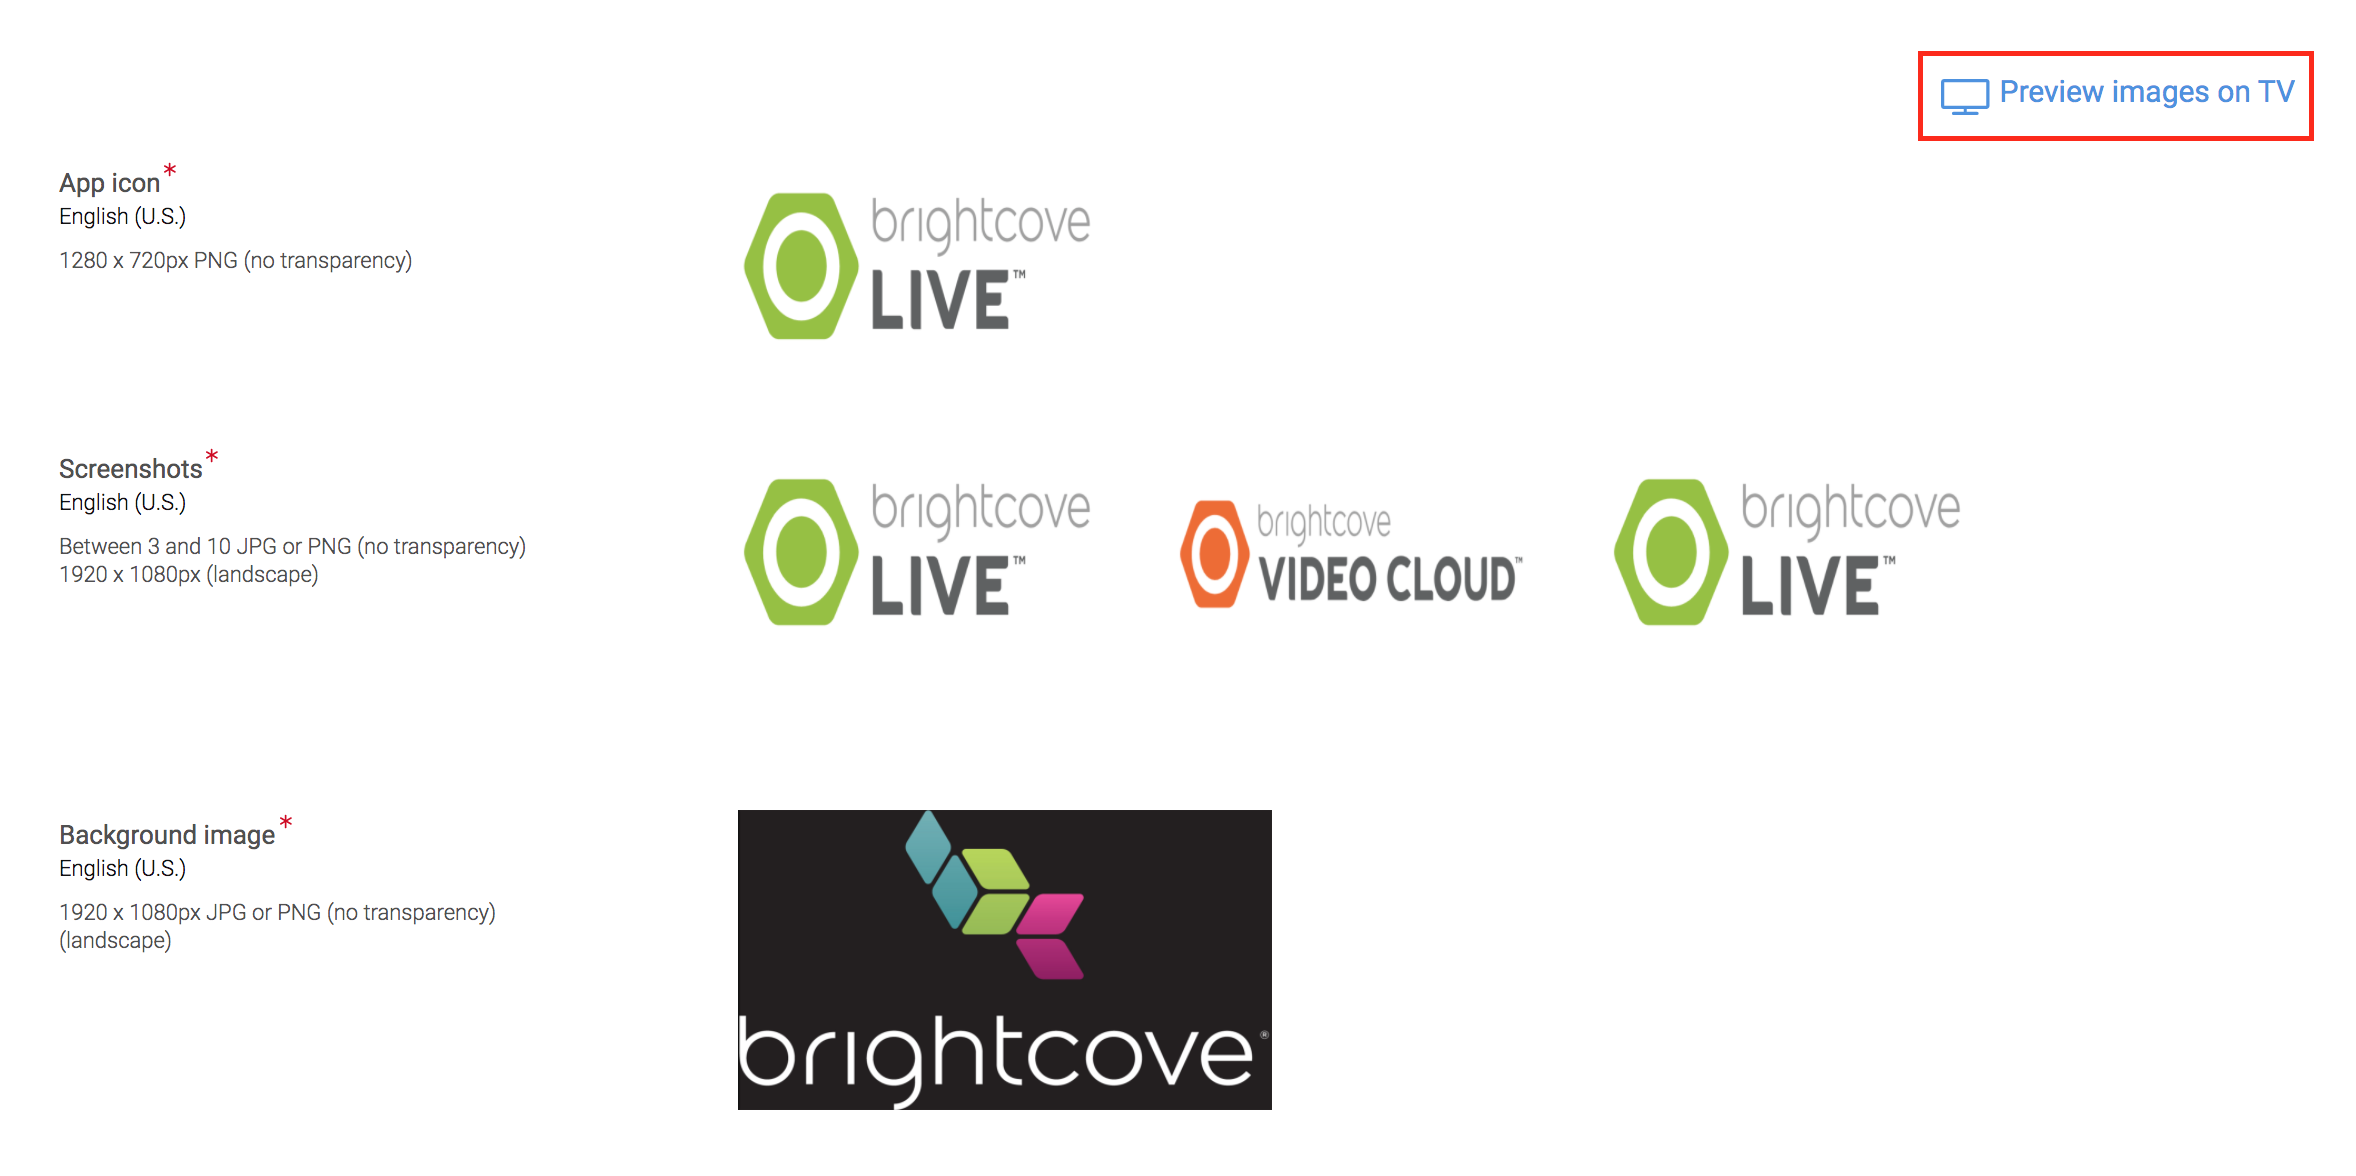
Click in the Fire TV Assets section.
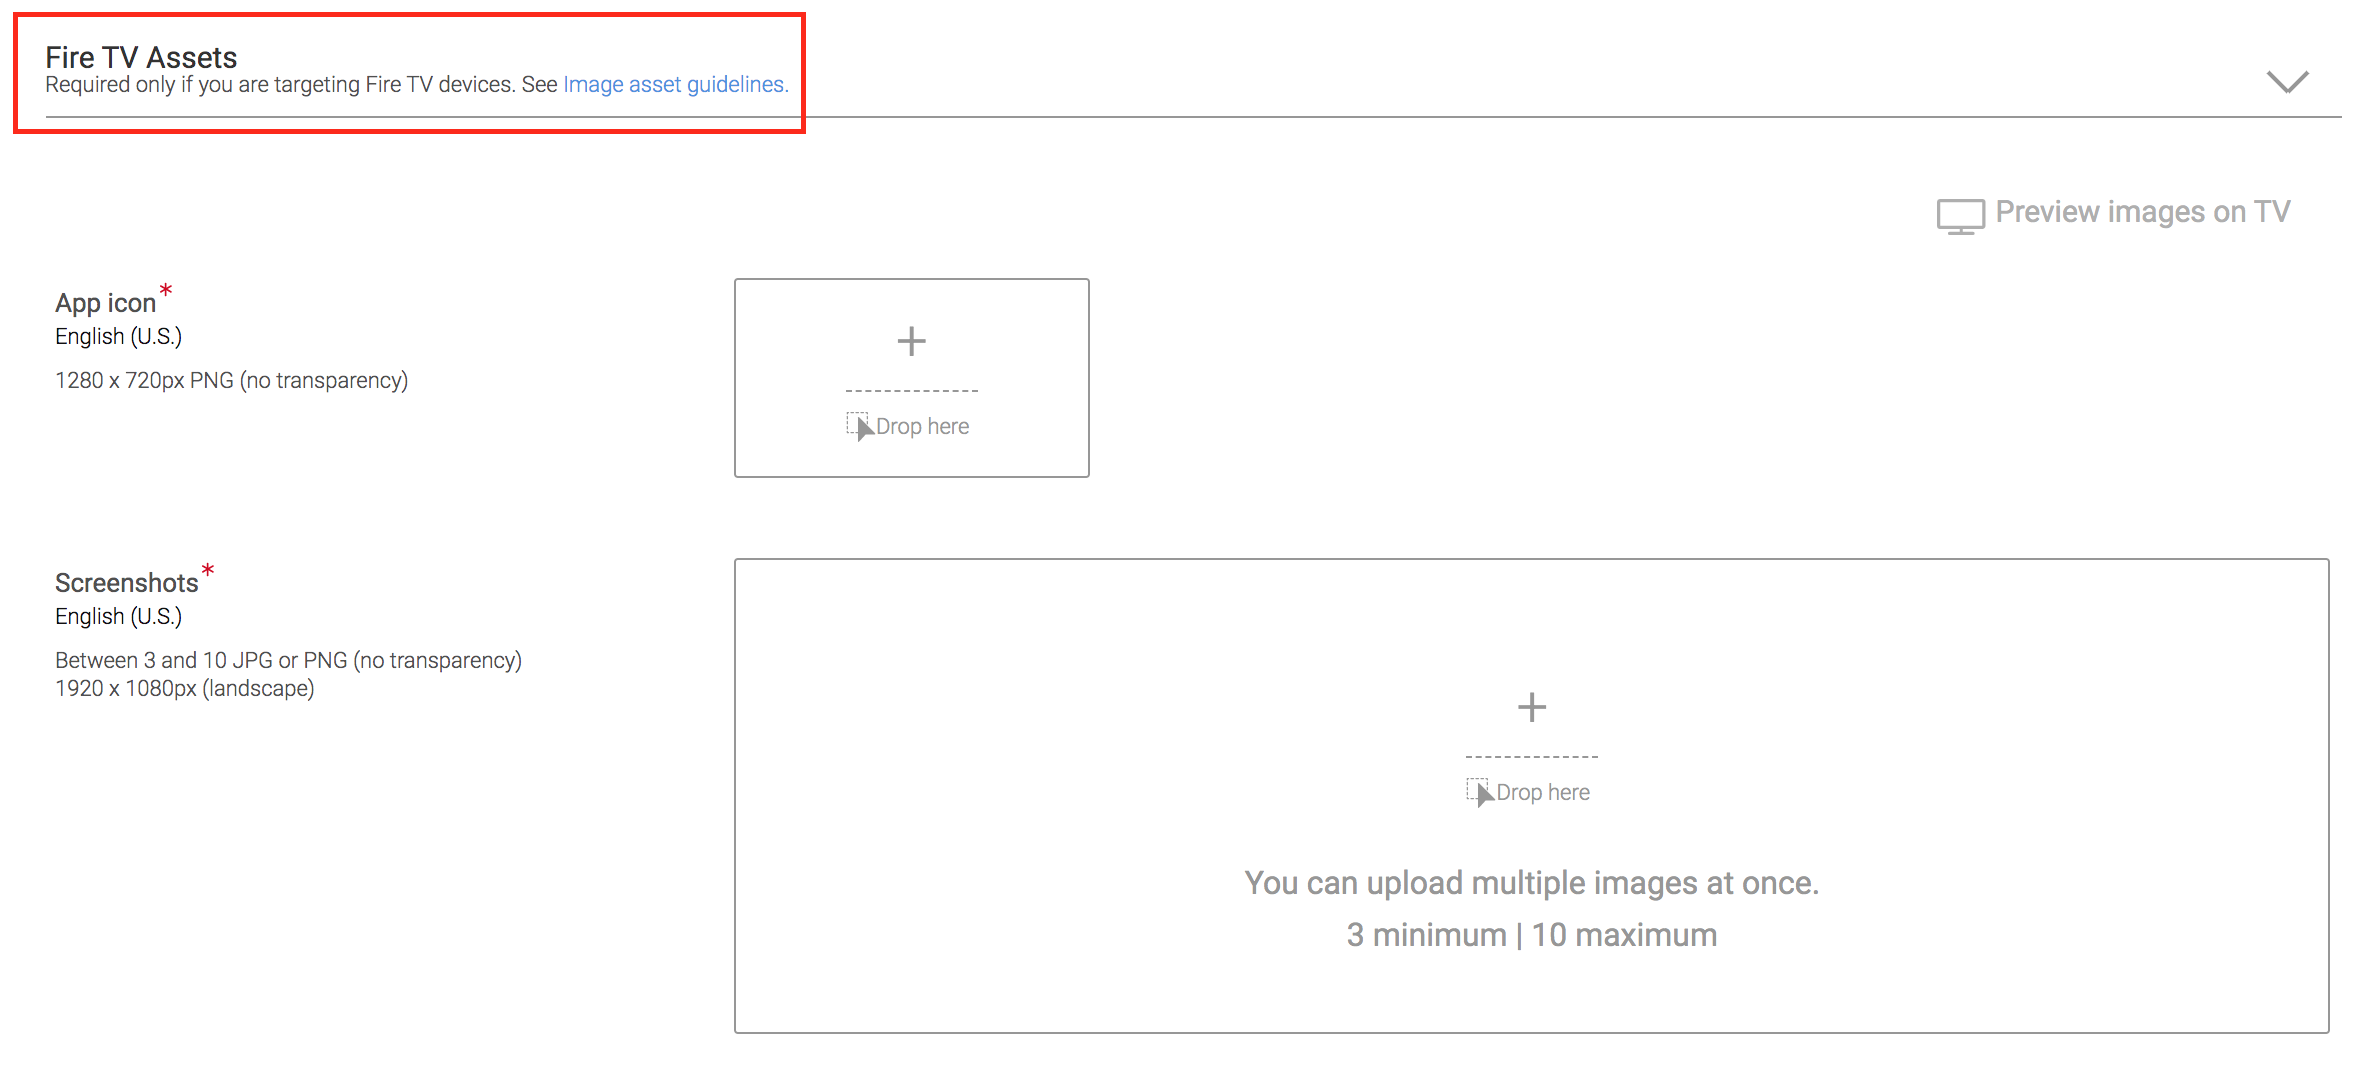
- Upload an image for the App Icon by clicking in the box on the right.
- Upload an image for the Screenshots by clicking in the box on the right.
- Upload an image for the Background Image by clicking in the box on the right.
- (Optional) Upload an image for the Featured Content Logo by clicking in the box on the right.
- (Optional) Upload an image for the Featured Content Background by clicking in the box on the right.
-
Once all your images are uploaded you will be able to click on the Preview Images on TV button to have a visualization of how your Fire TV app will look like in the Appstore.
- Click the Save button.
Complete Content Rating information
The content rating section requests that you categorize the types of content that you will be presenting in your Fire TV app. The Amazon categorization divides content into these three types:
- Moderate: Occurs once or rarely and is not fundamental to the overall purpose and/or intent of the app.
- Strong: Occurs regularly and is fundamental to the overall purpose and/or intent of the app.
- None: Does not occur in the app.
Types of the subjects are violence, academic, cartoon violence.
-
Click in the Content Rating tab.

-
Select a category type for each of the subjects. All this information corresponds to the content types of your Fire TV app. If you are not sure what to answer, please contact your Brightcove account representative.

-
In the Additional Information section, respond Yes or No depending on the features that your Fire TV app contains. All this information corresponds to the additional information and features that your Fire TV app may or may not hold. If you are not sure what to answer, please contact your Brightcove account representative.

-
If your Fire TV app collects personal information, you should add a Privacy policy URL to review your privacy policy statements for users.

- Click on the Save button.
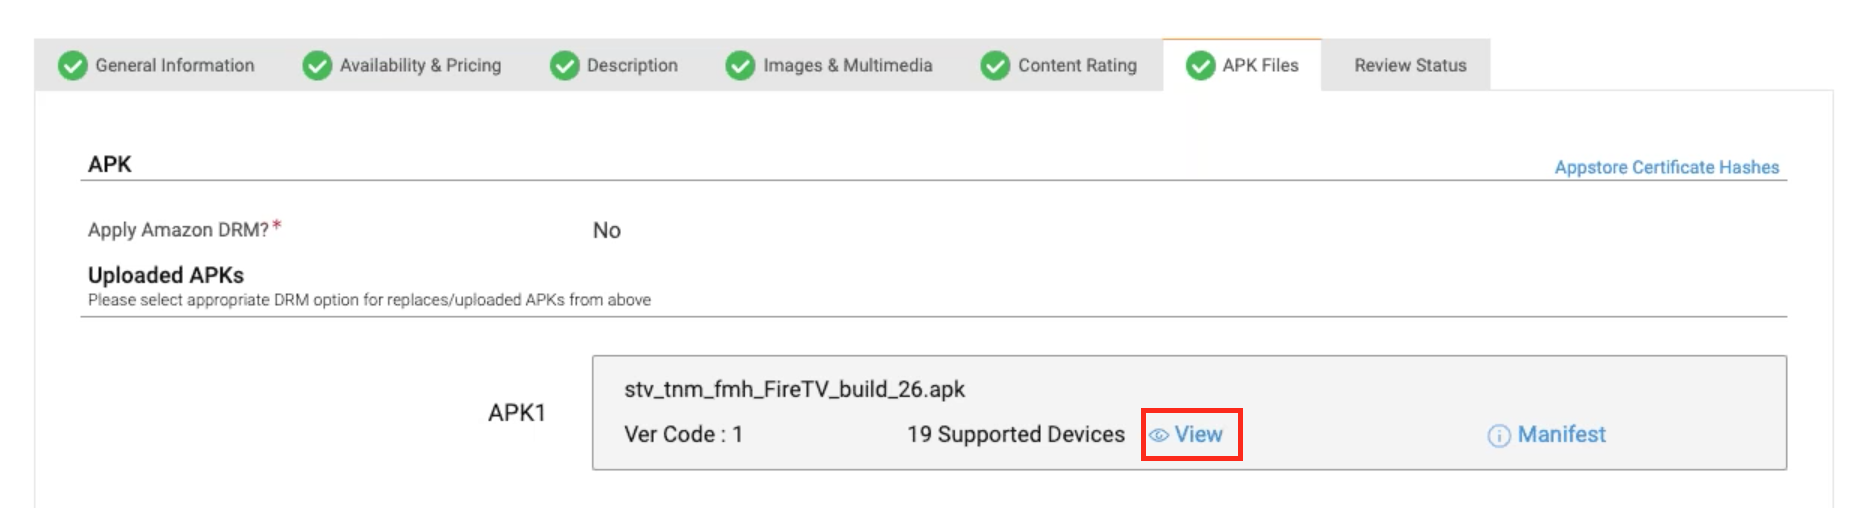
Complete Android Package Kit (APK) Files information
The APK Files section is where the Android app file should be uploaded. The APK is supplied to you from Brightcove.
-
Click in the APK Files tab.

-
In the Apply Amazon DRM? option, select No.

- In the APK File section, click on the box of the right and upload the APK file supplied to you from Brightcove.
-
Once the file is uploaded, you will be able to see your file on the screen. Click in the View button.
-
The Device Support window will open, on which you can select the devices on which your Fire TV app will be supported.
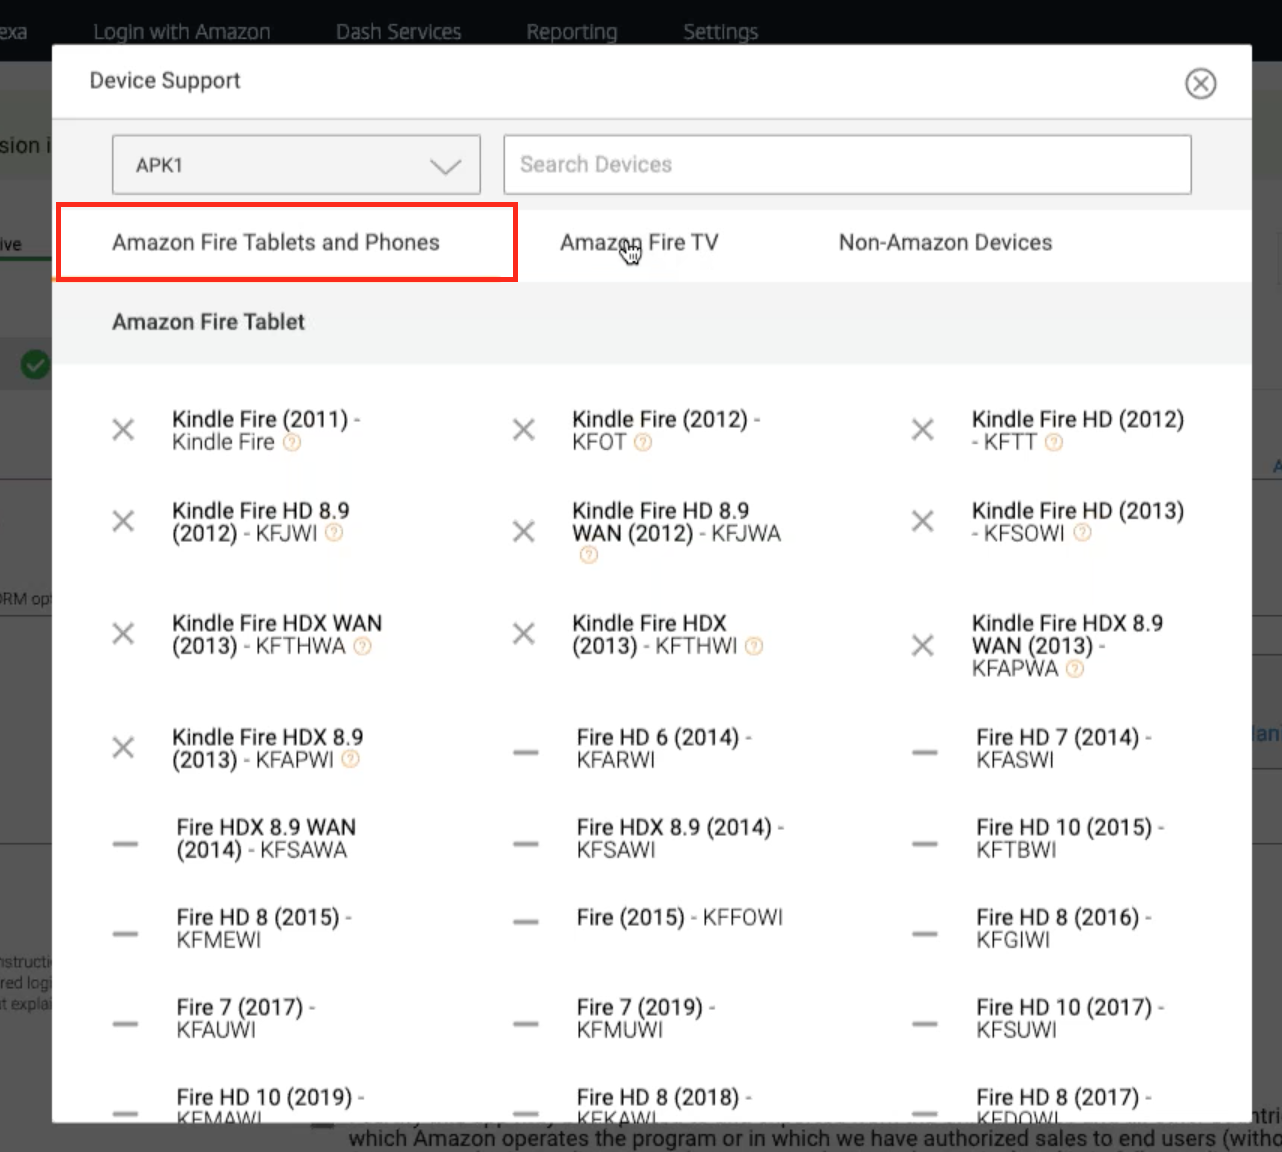
-
Click in the Amazon Fire TV tab and select all the devices. Brightcove is only available for Amazon Fire TV, so keep unselected the Amazon Fire Tablets and Phones and Non-Amazon Devices tabs.
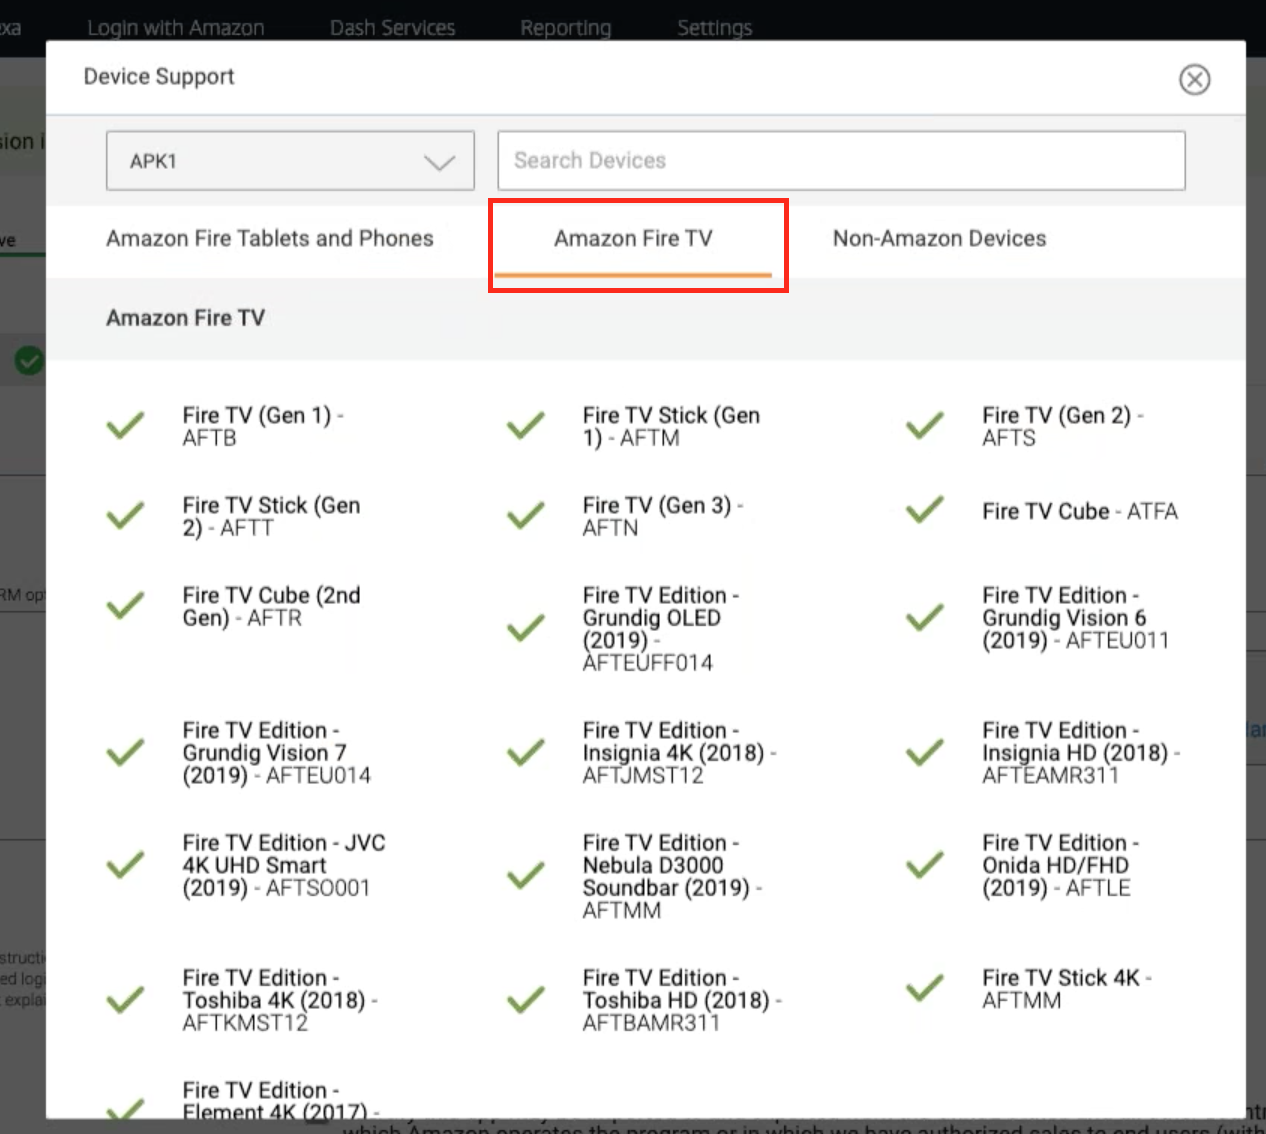
- Close the Device Support window.
-
In the Add Other Details section, select at least one language support from the list. This is the language in which users will communicate for support.

-
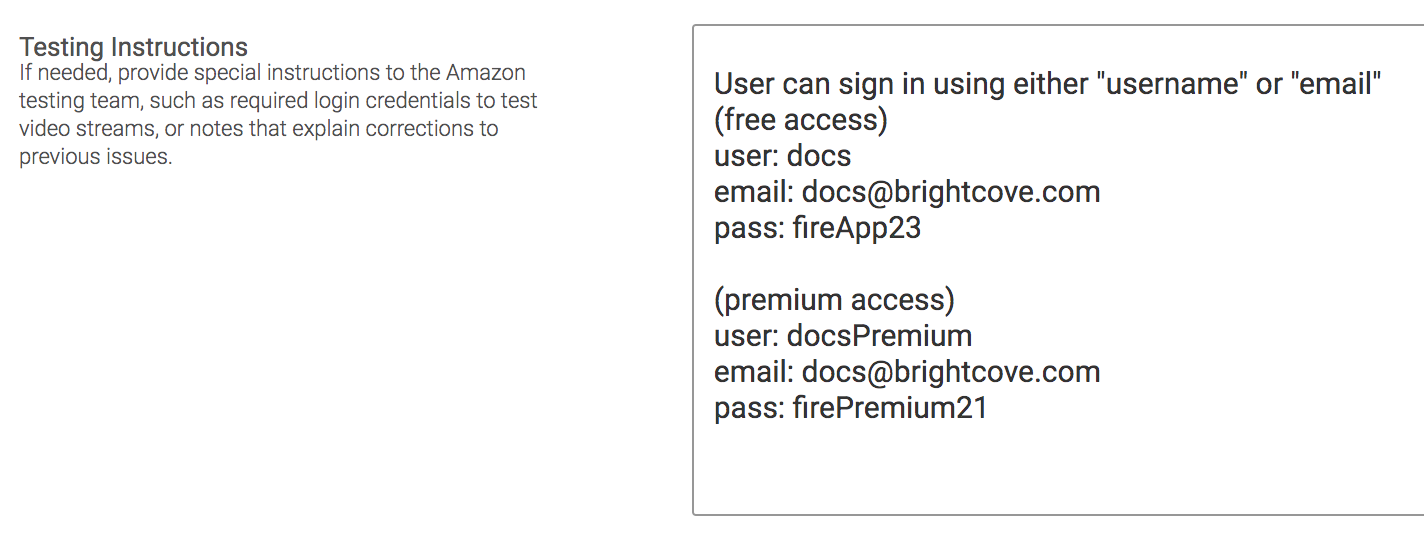
For the Testing Instructions field, provide special instructions to the Amazon testing team, such as required login credentials to test video streams, or notes that explain how to use different subscription levels.
-
Mark the Export Compliance and Use Amazon Maps Redirection checkboxes.
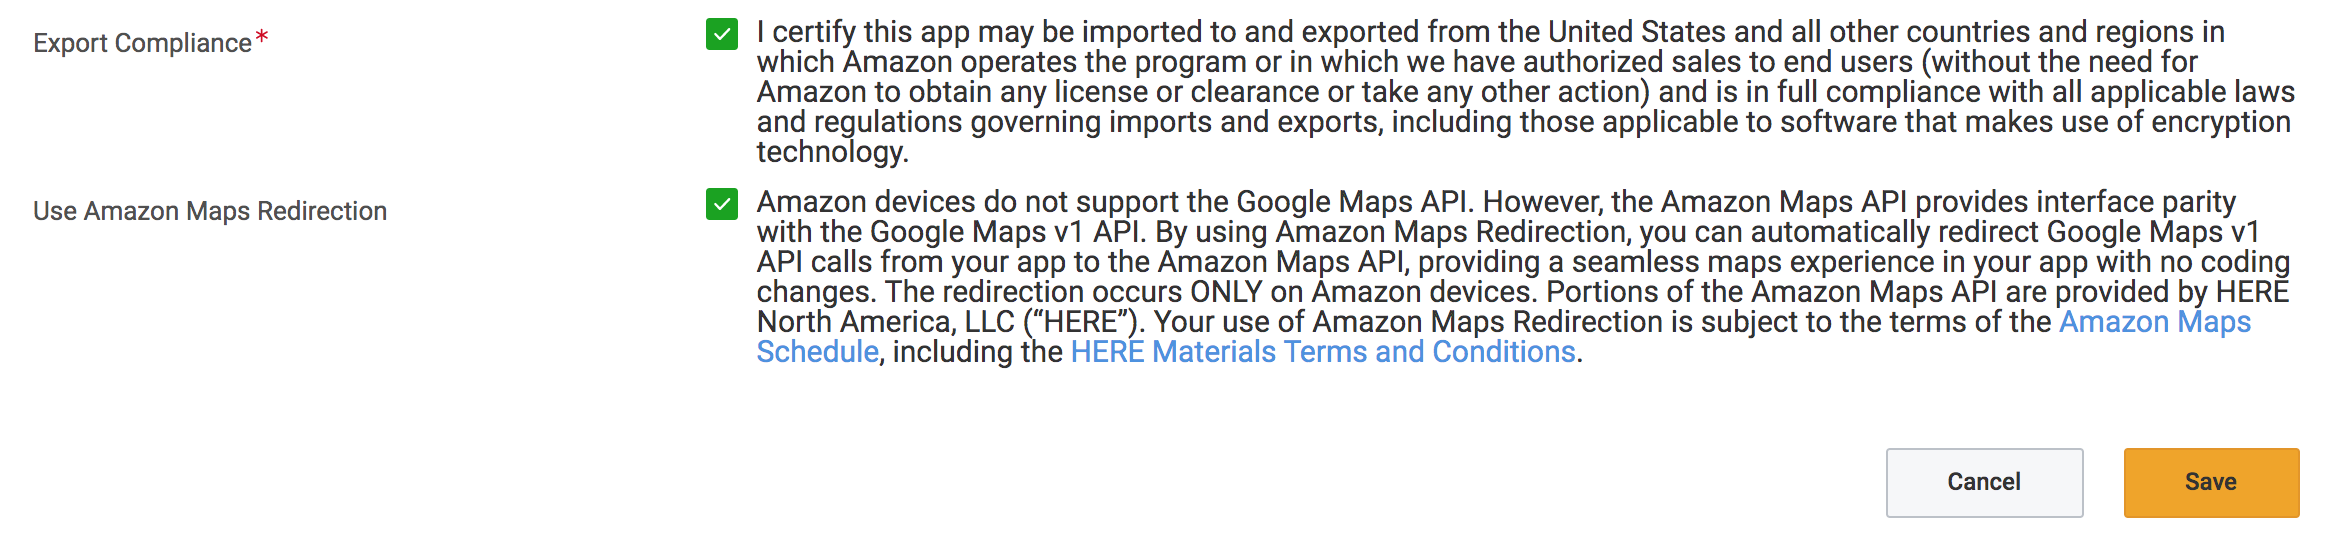
- Click the Save button.
-
After saving, the Review Status tab will appear in the menu.
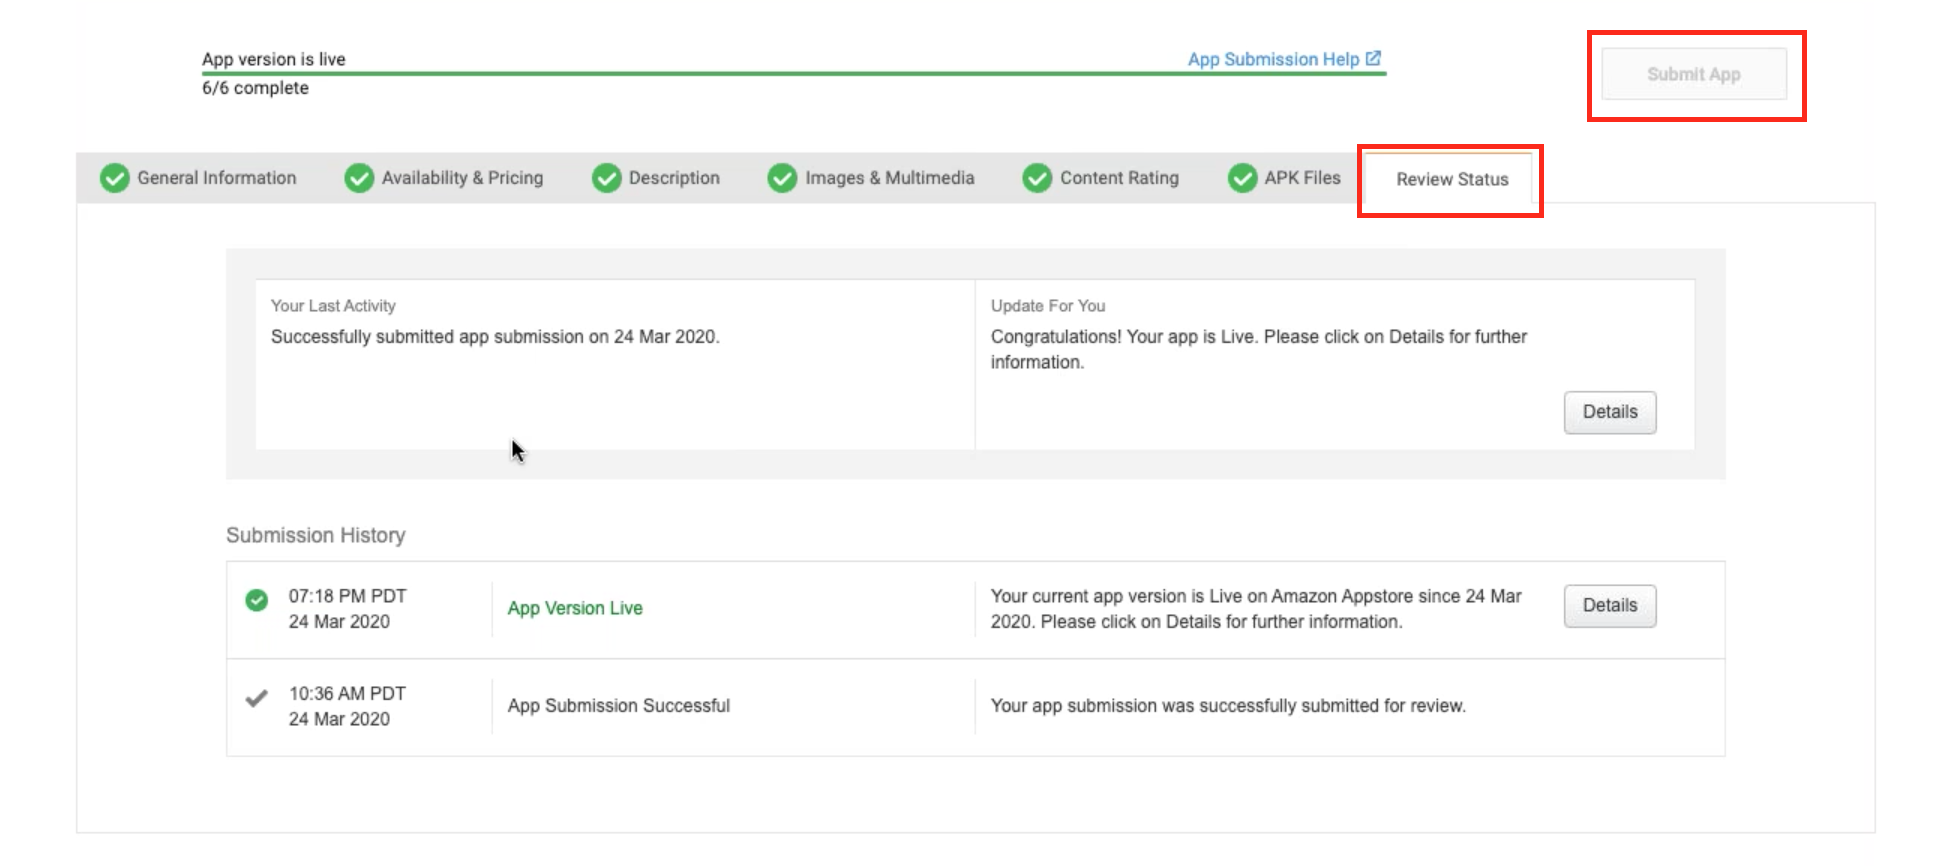
- You will be able to check information about your Fire TV app as your last activity and submission history. If there are not any errors, click the Submit App button at the top left corner of the screen to submit your Fire TV app.
Now you just have to wait for Amazon to approve your Fire TV app and publish it in the Amazon Appstore.