Introduction
This document focuses on two topics:
- Creating a subscription
- Creating a service account
Subscriptions need to be created in Brightcove , then referenced in the Google Play Console. Instructions for creating a subscription in Brightcove are detailed in the Creating an SVOD Plan document. This document details how to create the corresponding subscription for Android.
A service account allows you to update your Brightcove app on the Google Play Store, which is especially helpful when testing subscriptions. Later in this document you will find steps to create a service account and generate the file needed for Google Play server to server subscriptions.
Adding a subscription
Creating a subscription in Android requires you to have the information about the subscriptions you created in Brightcove . Follow these steps to create a subscription.
- Sign in to the Google Play Console and click on your app.
-
You need to move into the Subscriptions section in the Google Play Console. This process is slightly different depending on if you have created subscriptions previously. Choose ONE of the subsections of this step, depending upon previous subscription creation.
No previous subscriptions
-
From the left navigation select
In-app products > Subscriptions and you see the following page:
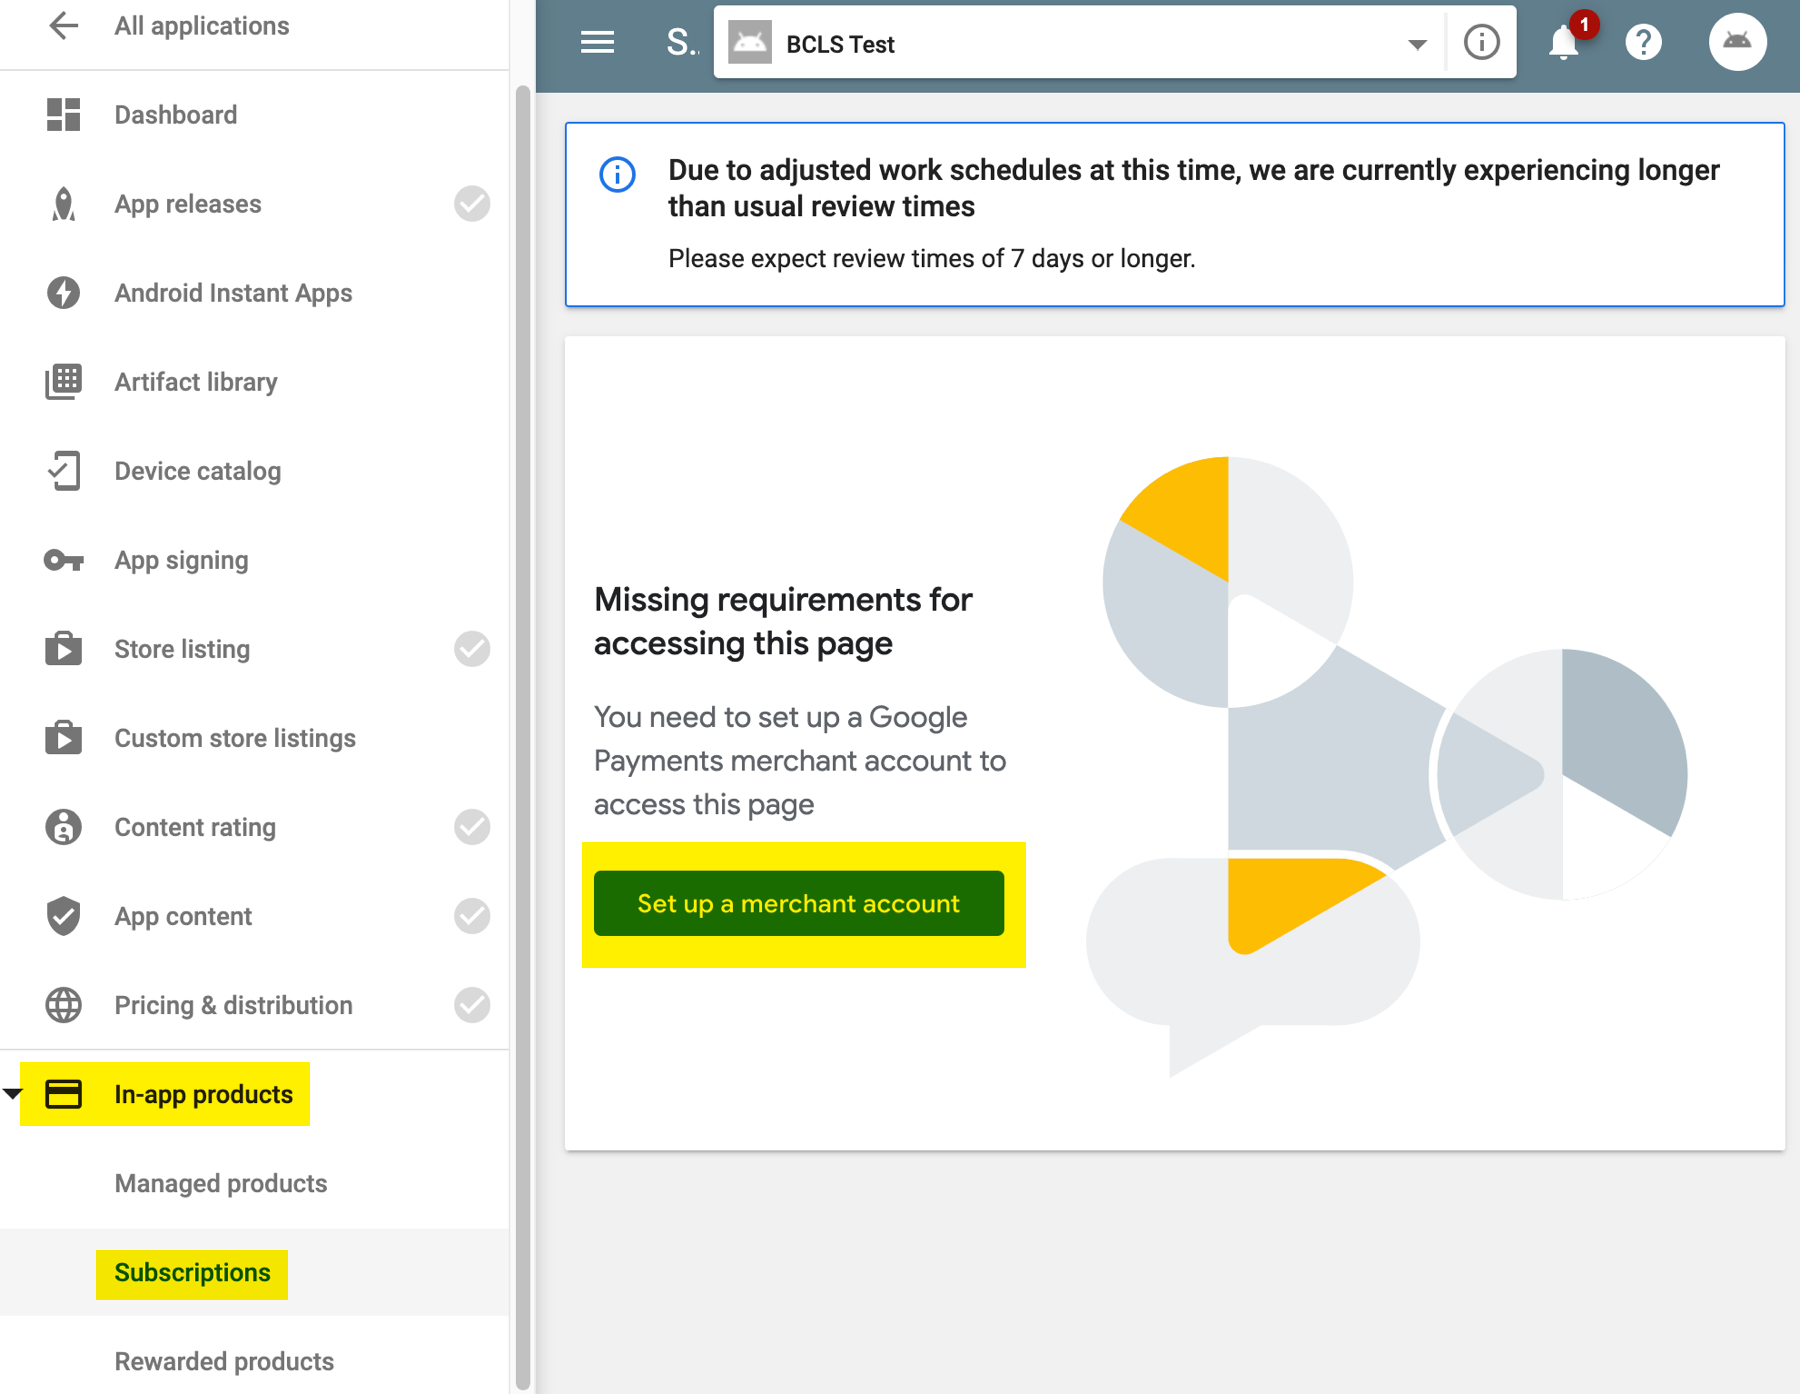
- Click the Set up a merchant account button.
-
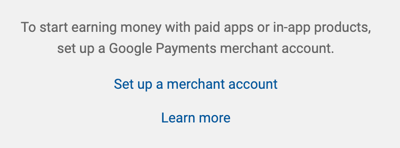
Click the Set up a merchant account link.
- After completing the form and clicking SUBMIT you will be placed in the subscriptions page where you can add a new subscription.
Subscriptions exist
-
From the left navigation select
In-app products > Subscriptions and you see the following page:
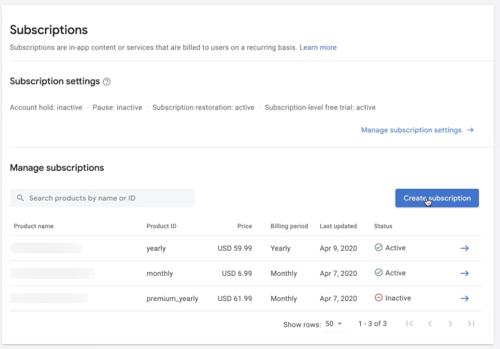
- Note that your previously created subscriptions will be displayed.
-
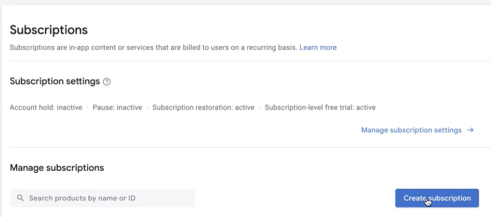
From the left navigation select
In-app products > Subscriptions and you see the following page:
-
Click the Create subscription button.
-
In the form, start by entering the Product ID. This value MUST match the Name provided when creating a subscription in Brightcove .
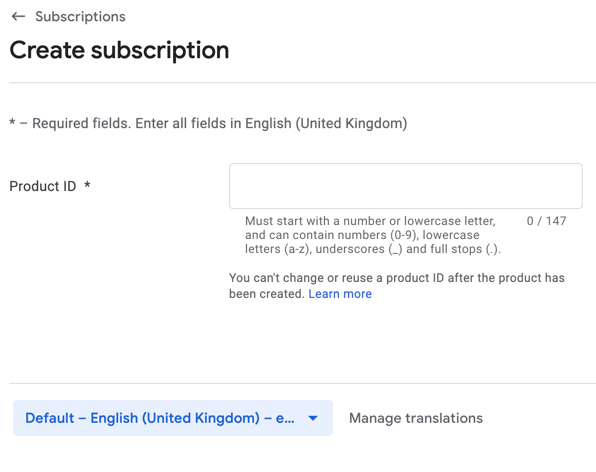
- Enter the default language.
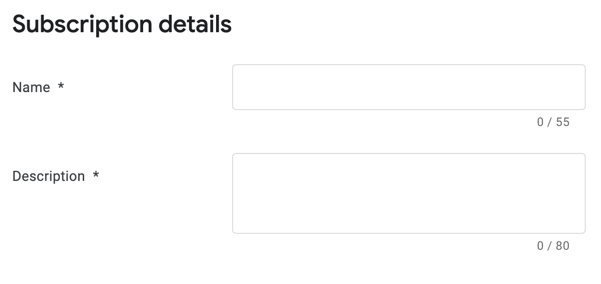
-
Enter the subscription details. Although not required, it is a best practice to match the Name and Description to the subscription definition in Brightcove .
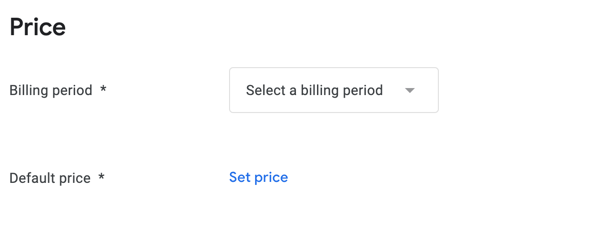
-
Enter the Billing period and Default price. These values MUST match the subscription created in Brightcove . If the values don't match, the subscriber will see one price in the Brightcove app, but be charged a different price in the Google Play Store.
-
Enter the values for the subscription options. Although not required, it is a best practice to match the corresponding values to the subscription definition in Brightcove .
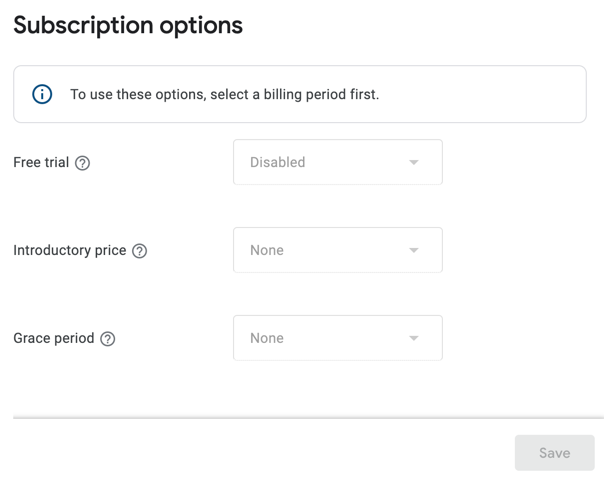
- Click the Save button to create the subscription.
Creating a service account
To create a Google Play server account, follow these steps:
-
Sign in to the Google Play Console.

Google Play Console -
In the left navigation, select Settings.
-
In the left navigation, under Developer account, select API access.
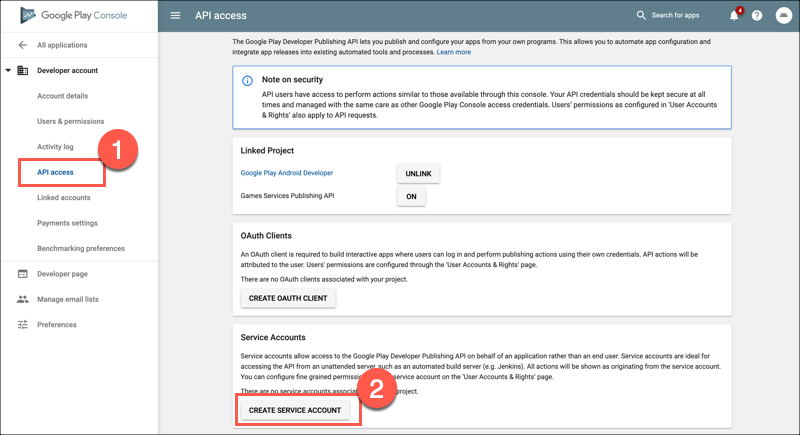
Create a service account - Select the +CREATE SERVICE ACCOUNT button.
-
In the Create Service Account dialog, select the Google API Console link in step 1.
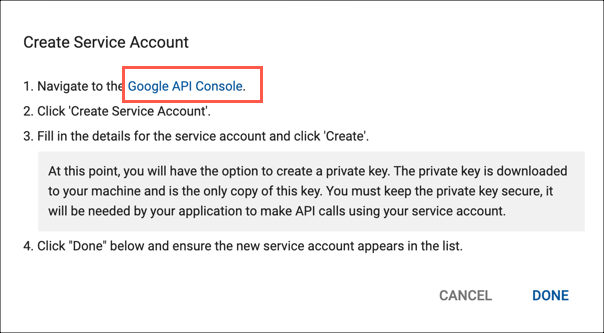
Account dialog - You will be directed to the Google API Console.
-
In the left navigation, Service Accounts will already be selected. Below the blue header bar, select the Create Service Account button.
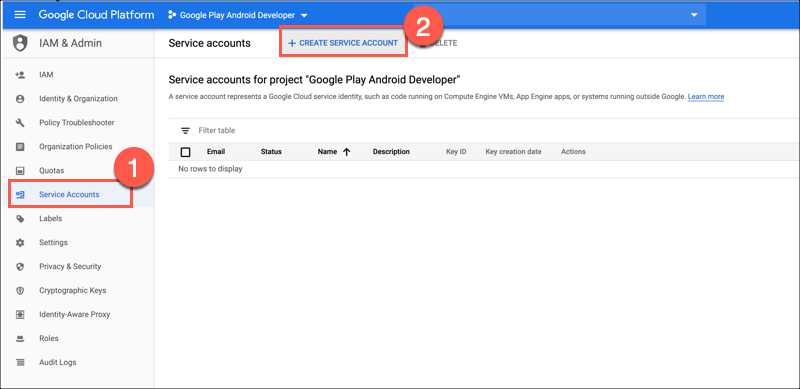
Google API Console - Enter a name for the service account. The Service account ID will be automatically populated. Add a description. Select the Create button.
-
In the Service account permissions screen, expand the Select a role dropdown menu and select Owner.
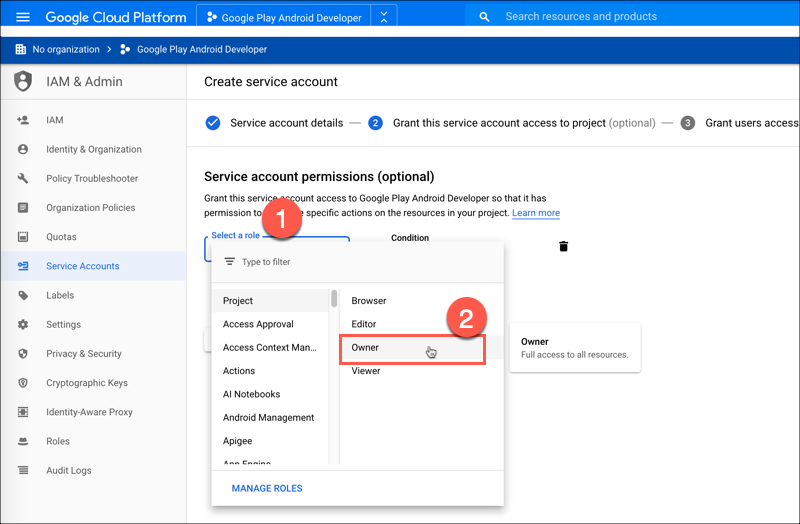
Owner role - Select Continue.
-
Next, you will create a key that can be used by Brightcove. Select the +CREATE KEY button.
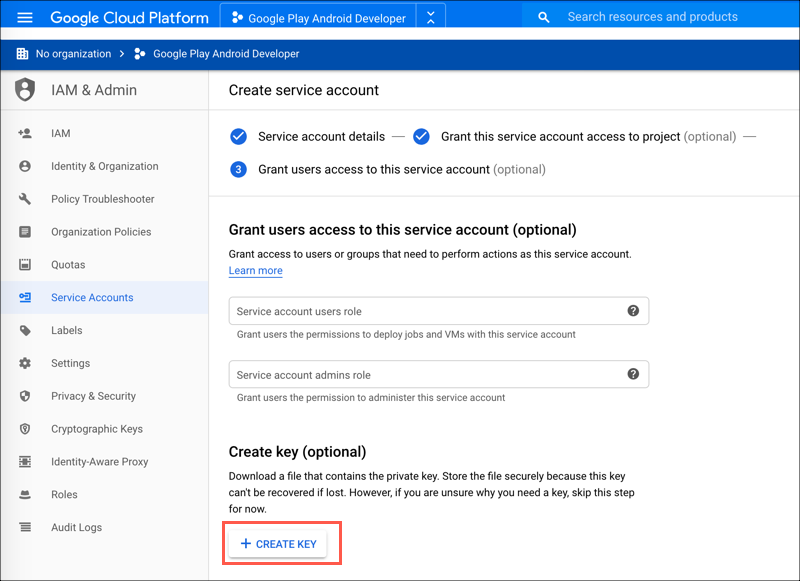
Create key -
In the side panel, leave the default Key type as JSON. Select the CREATE button.
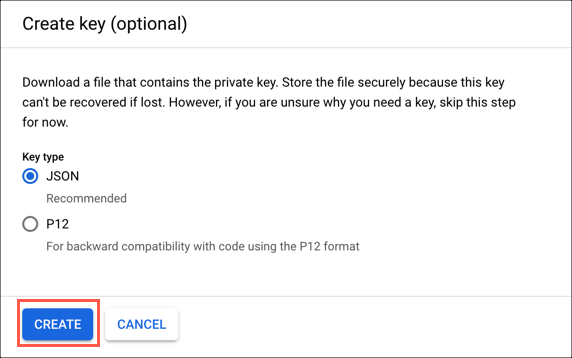
Key format -
Download the private key file to your computer and select the CLOSE button.
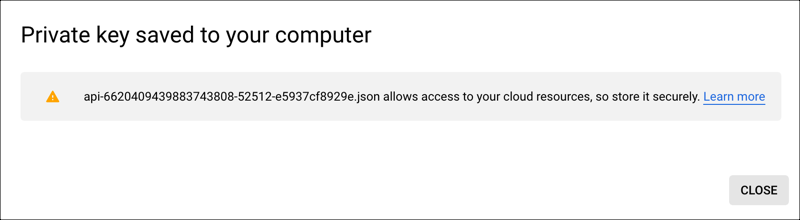
Download key - Send the downloaded private key file to Brightcove.
- Select DONE.
-
You should see the following screen with your own values. Close this browser tab and return to the Google Play Console.
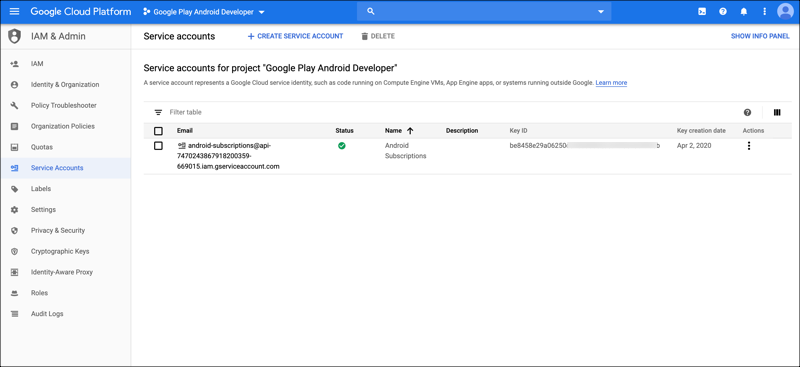
Service account created -
In the Google Play Console, select the GRANT ACCESS button.
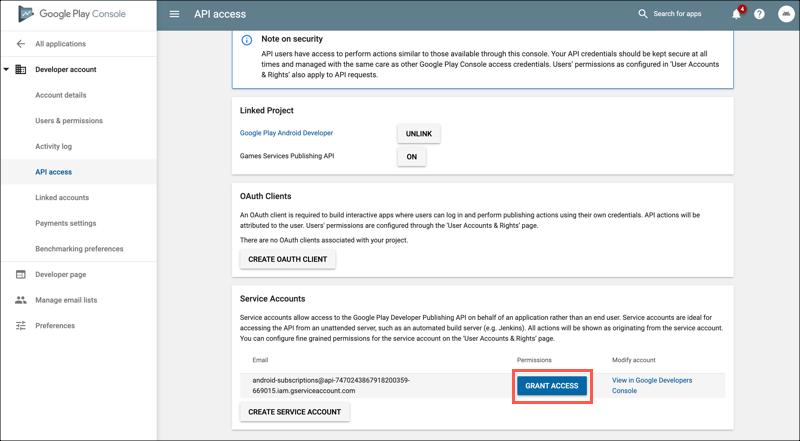
Grant access -
In the Add a new user dialog, make sure the FINANCIAL DATA buttons are checked. Select the ADD USER button.
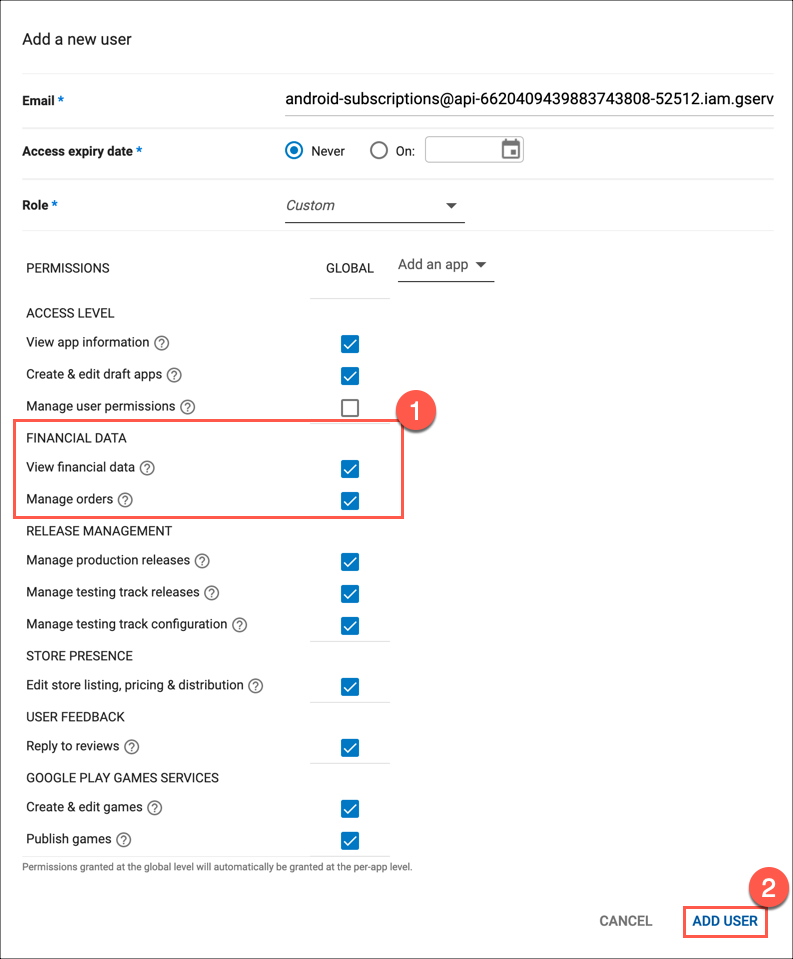
Add new user
You have successfully created a Google Play service account.