Page availability settings can be used to control:
- The dates a page is available
- The device(s) a page is available on which to be viewed
- The locations where a page can be viewed
- The viewer roles allowed to view pages
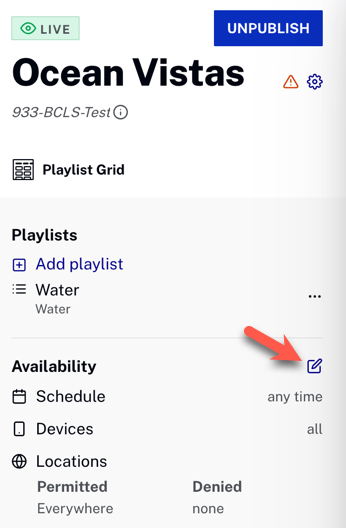
To configure the Availability settings for a page, follow these steps:
- Open the Layout module.
- Click on the page name to edit. The page details are be displayed.
- To the right of Availability, click
 .
.
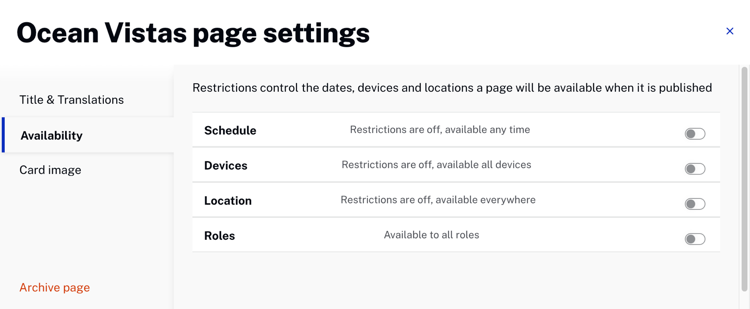
- The Page Settings dialog opens, where you can set availability for the page.
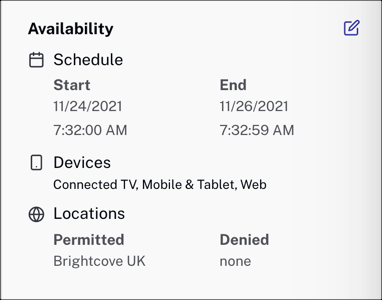
- After you configure Availability settings, they are displayed in the left margin.
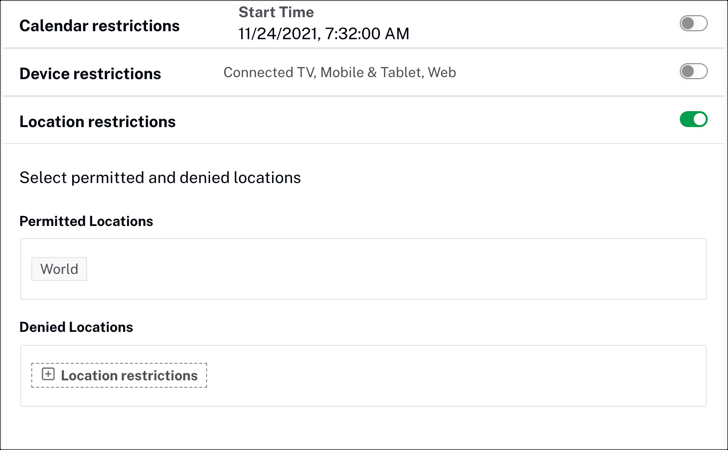
Configuring calendar restrictions
By default, when a page is created, it is always be available for viewing. Pages can be configured with calendar restrictions that define the start date and time that a page is available for viewing. Optionally, you can also configure an end date and time. To configure a schedule for a page, follow these steps:
- Return to the Page Settings dialog and the Availability section.
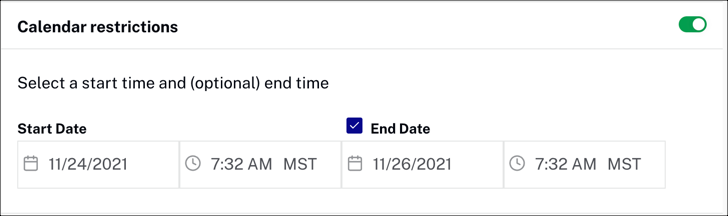
- For Calendar restrictions, turn on the toggle. Calendar restriction settings display.
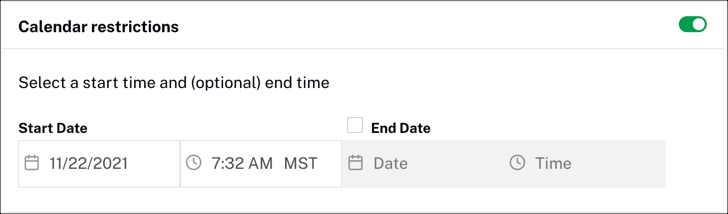
- Click the calendar icon (
 ) and pick a start date.

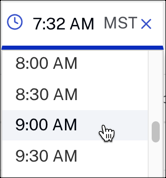
- Click the clock icon (
 ) and pick a start time.
- (Optional) Check the End Date checkbox and select an end date and time.
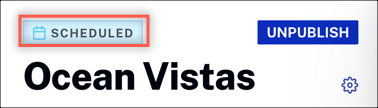
- After you schedule a published page to be available for a future date, the page status label displays Scheduled.
Configuring device restrictions
By default, when a page is created, it is available for viewing on all devices. Pages can be configured so they can only be viewed on specific devices. To configure the devices a page can be viewed on, follow these steps:
- Return to the Page Settings dialog and the Availability section.
- For Device restrictions, turn on the toggle. Device restriction settings display.
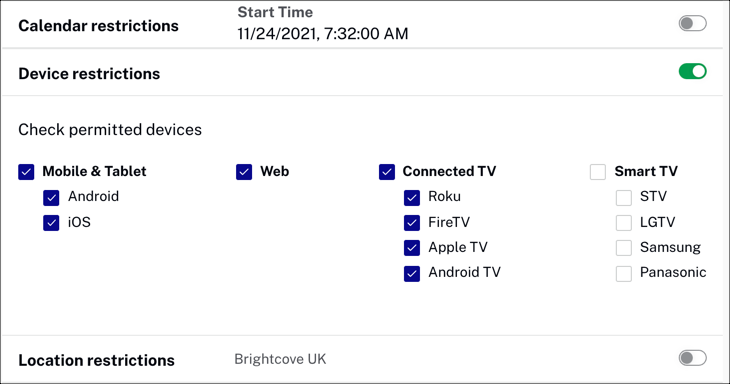
- Select/Unselect the devices that can view the page.
Configuring location restrictions
By default, when a page is created, it is available for viewing in all geographic locations. Pages can be configured so viewing is permitted or denied in specific locations. To configure the locations for a page, follow these steps:
- Return to the Page Settings dialog and the Availability section.
- For Location restrictions, turn on the toggle. The location settings display.
- In the Permitted Locations section, type the name of a country. As you begin typing, the list filters.
-
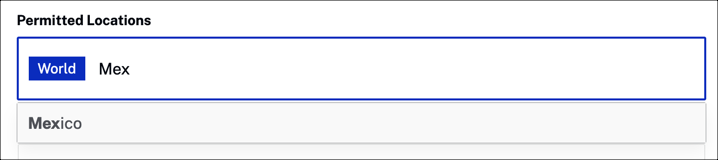
- Click on a country to select it.

- In the Denied Locations section, click + Location restrictions and add the countries where the page cannot be viewed.
To remove a country, click the X next to the country.
Configuring role restrictions
By default, when a page is created, it is be available for viewing by all viewer roles. Pages can be configured so viewing is permitted or denied based on viewer role. To configure the roles for a page, follow these steps:
- Return to the Page Settings dialog and the Availability section.
- For Roles restrictions, turn on the toggle. The roles settings display.
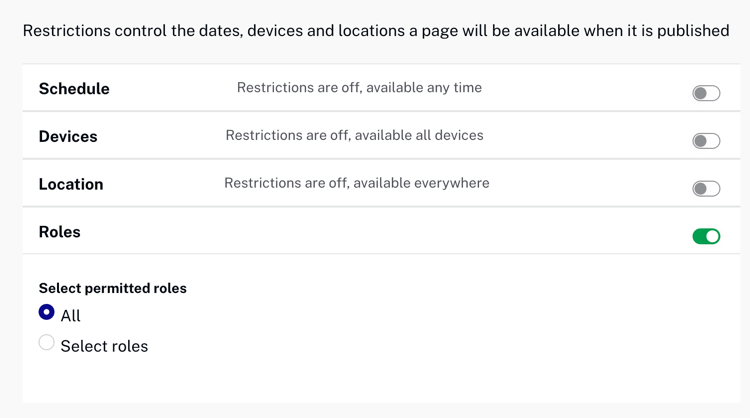
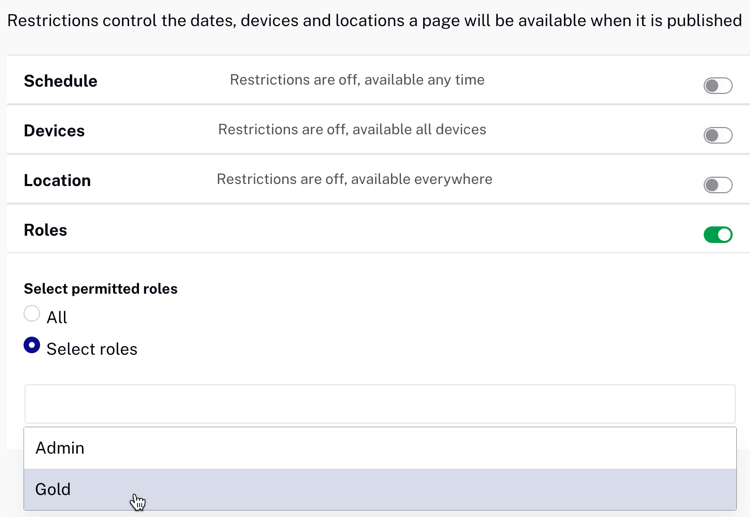
- Click Select roles.
- Click Add roles, then select the desired roles from the dropdown.
To remove a role, click the X next to the role.
For complete details on setting up roles, see the Controlling Viewer Access with Roles in Studio document.