Introduction
Brightcove allows you to send text or rich media push notifications to the viewers of your Brightcove Beacon apps. This gives you the ability to communicate and engage directly with your viewers that use iOS and Android mobile devices.
In Beacon Studio's Registered Users module, you can create, schedule, or send push notifications right away.
Creating a notification
Create a push notification to send now or to schedule it for a later time.
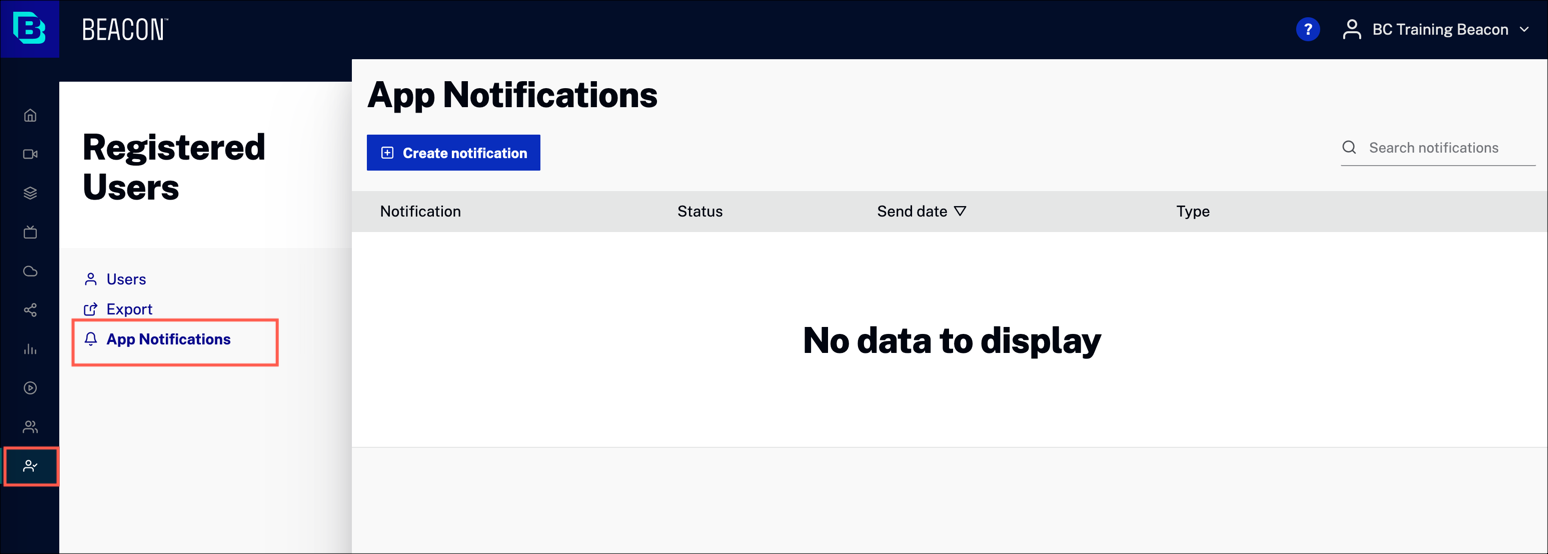
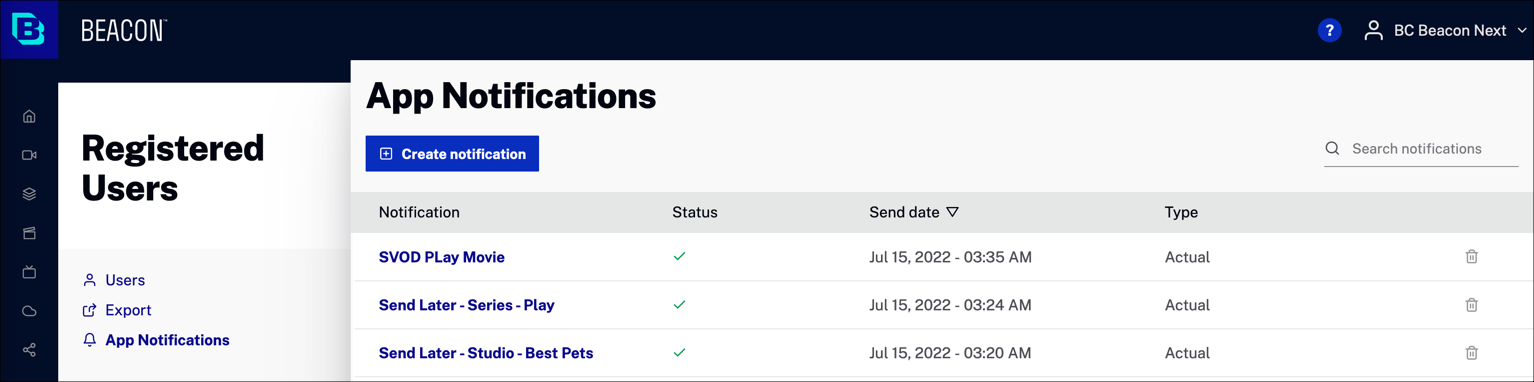
- In Beacon Studio, in the primary navigation, click Registered Users.
- Click App Notifications.
-
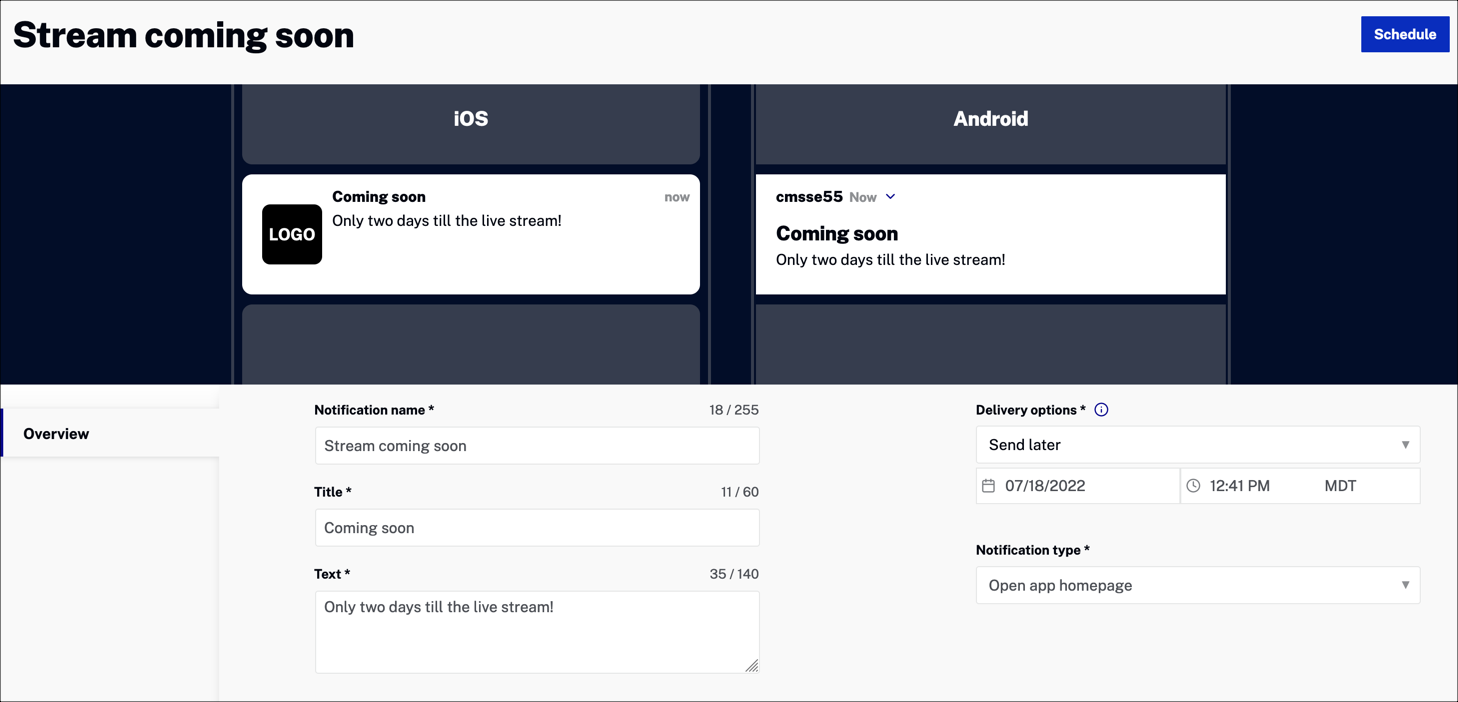
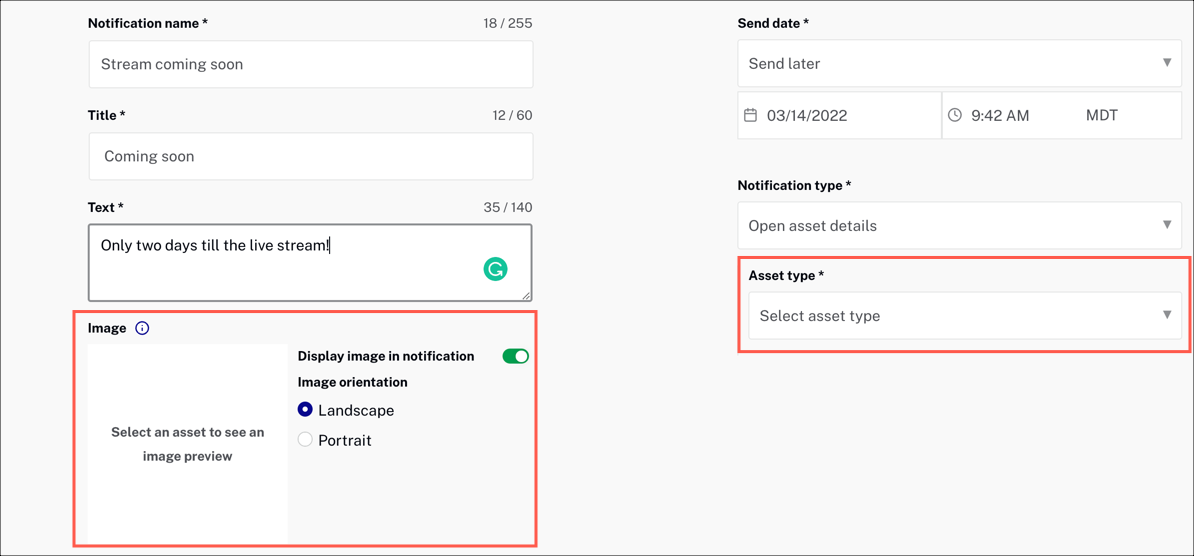
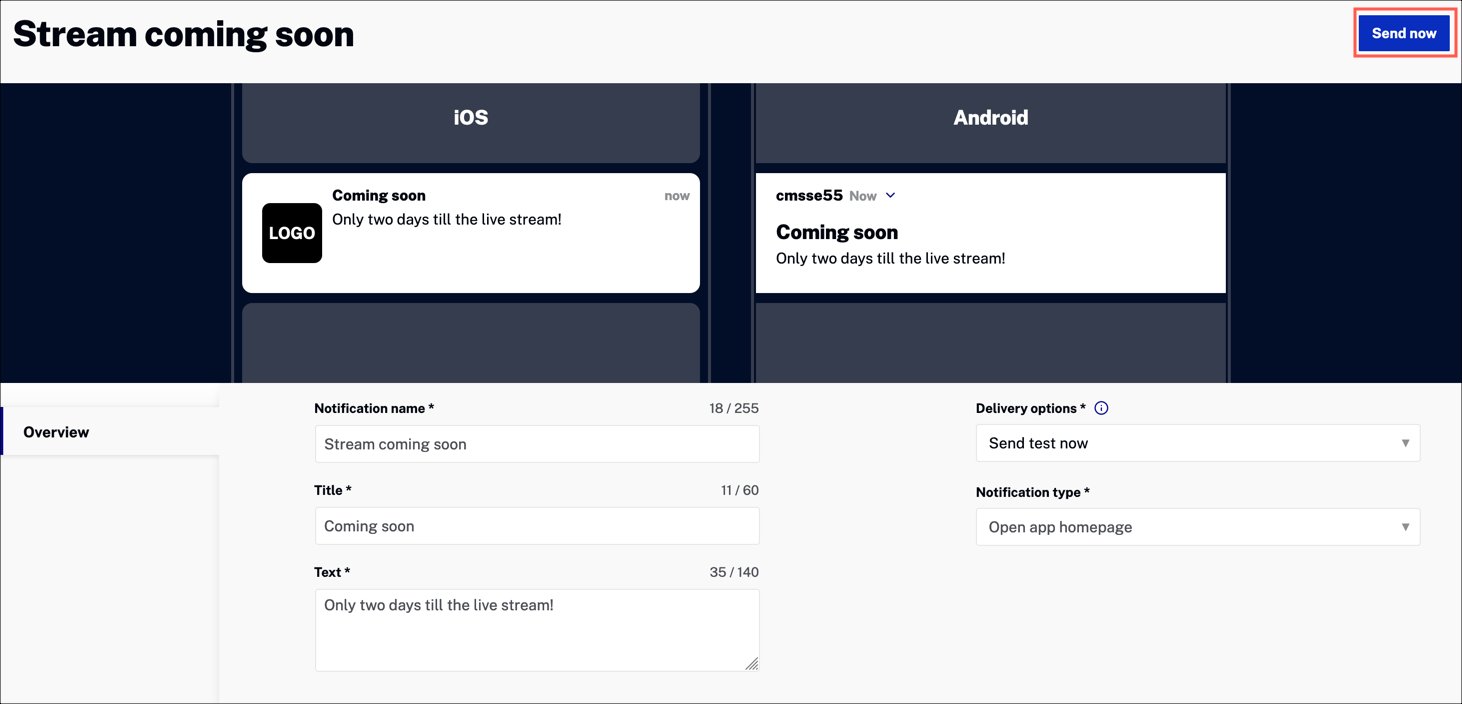
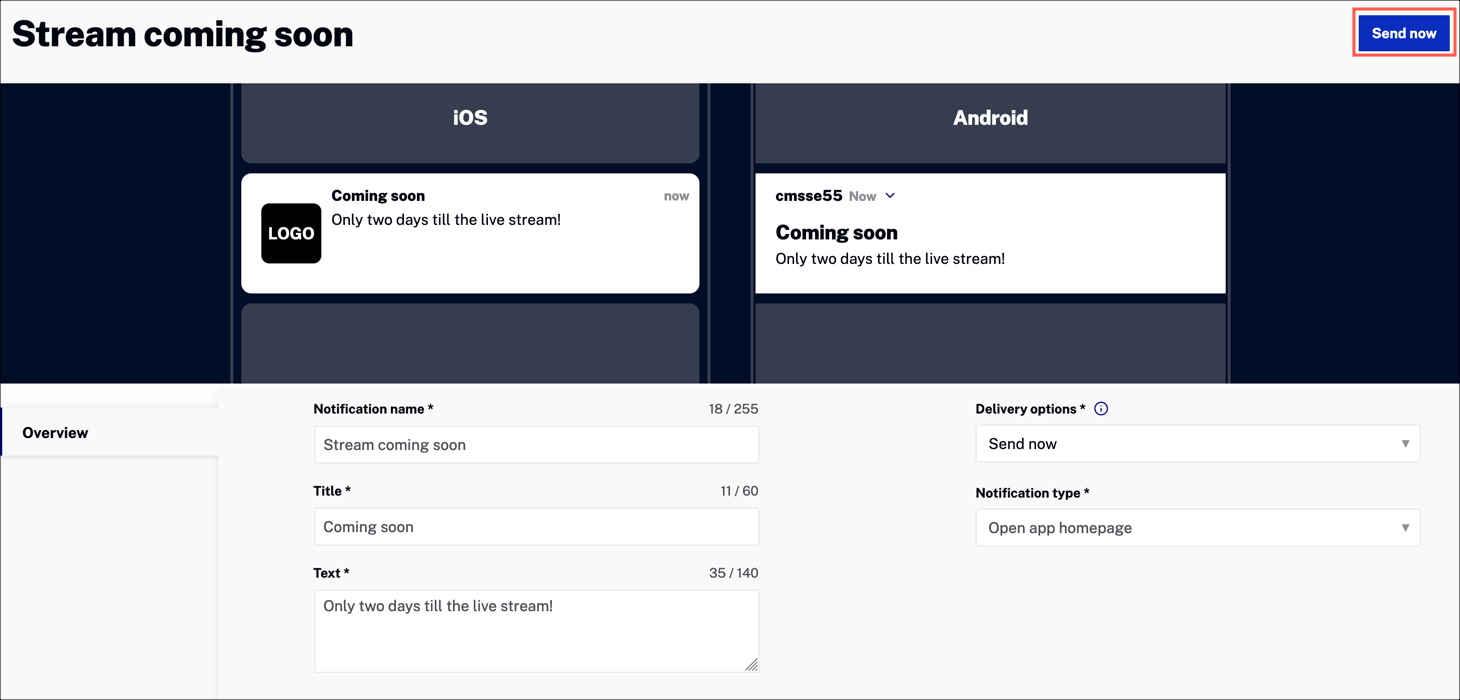
Add values for each input field.
Input fields
Enter values for the following fields:
- Notification name - Internal name for the notification
- Title - Display name for the notification
- Text - Your notification text
- Delivery options -
For details, see the Sending a notification section.
- Send test now - Send a test notification now
- Send now - Send the push notification now
-
Send later - Send later, by scheduling a date and time for notification delivery
-
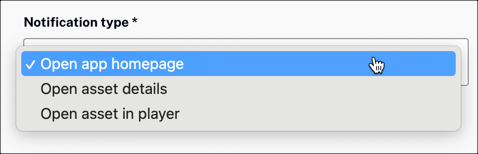
Notification type - Specifies the action when the user clicks on the notification
Additional input fields
When you select a Notification type of either:
- Open asset details
- Open asset in player
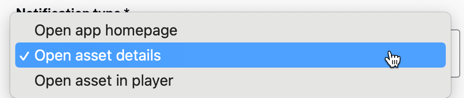
you will see the following additional input fields:
To fill in these additional fields, do the following:
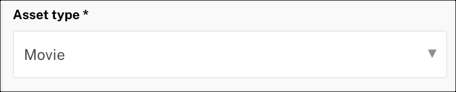
-
First, select an Asset type.
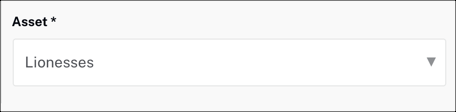
-
Then, select an Asset from your Beacon library.
-
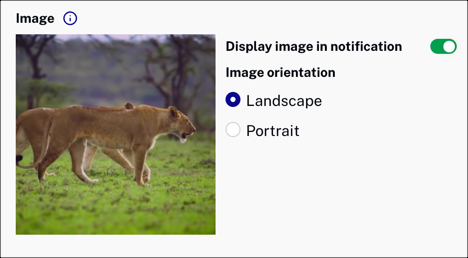
The landscape or poster image associated with your asset will be automatically populated here. In the notification, the image will be cropped into a square.
-
Select values for the following input fields:
- Display image in notification - Toggle to display the image in your notification
- Image orientation - Choose either the landscape or portrait image
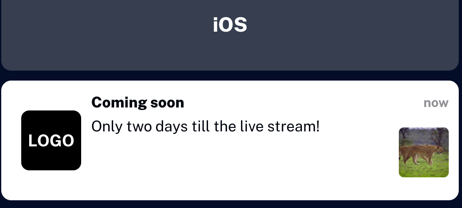
You will see a preview of the image in your notification.
Sending a notification
You can either send a test notification now, or you can send a push notification now or schedule it for a later time.
Send test notification
Send a test notification to your Beacon app now.
-
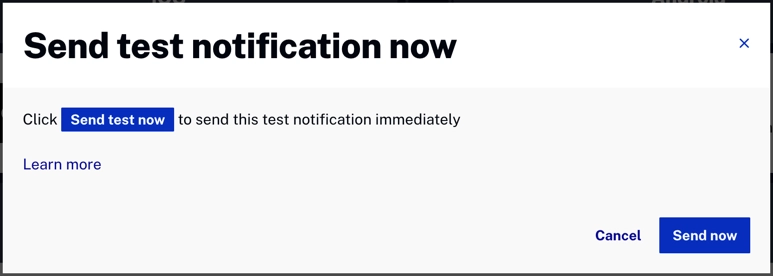
In the notifications screen, set the Delivery options field to Send test now.

-
Click Send now.
- Notice how a Send test notification Now label appears. Clicking the button sends a test notification. Clicking the sends the test notification and sends an actual notification.
Send notification now
Send a push notification to your Beacon app now.
-
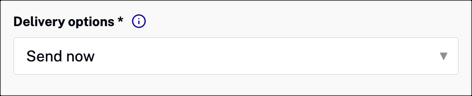
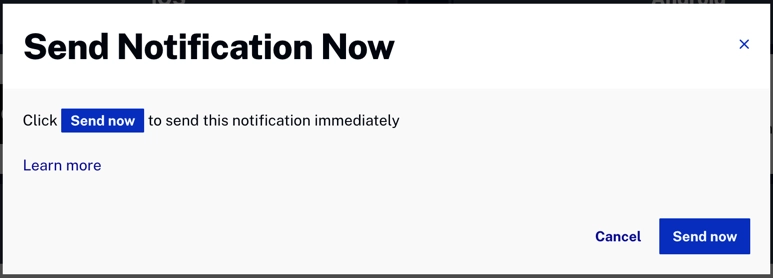
In the notifications screen, set the Delivery options field to Send now.
-
Click Send now.
- Notice how a Send Notification Now label appears. Confirm by clicking .
Send notification later
Schedule a date and time to send your push notification later.
-
In the notifications screen, set the Delivery options field to Send later.
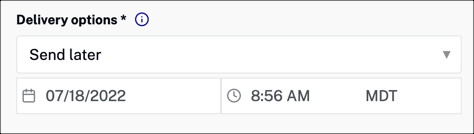
Set the date and time for your notification delivery.
-
Click Schedule.
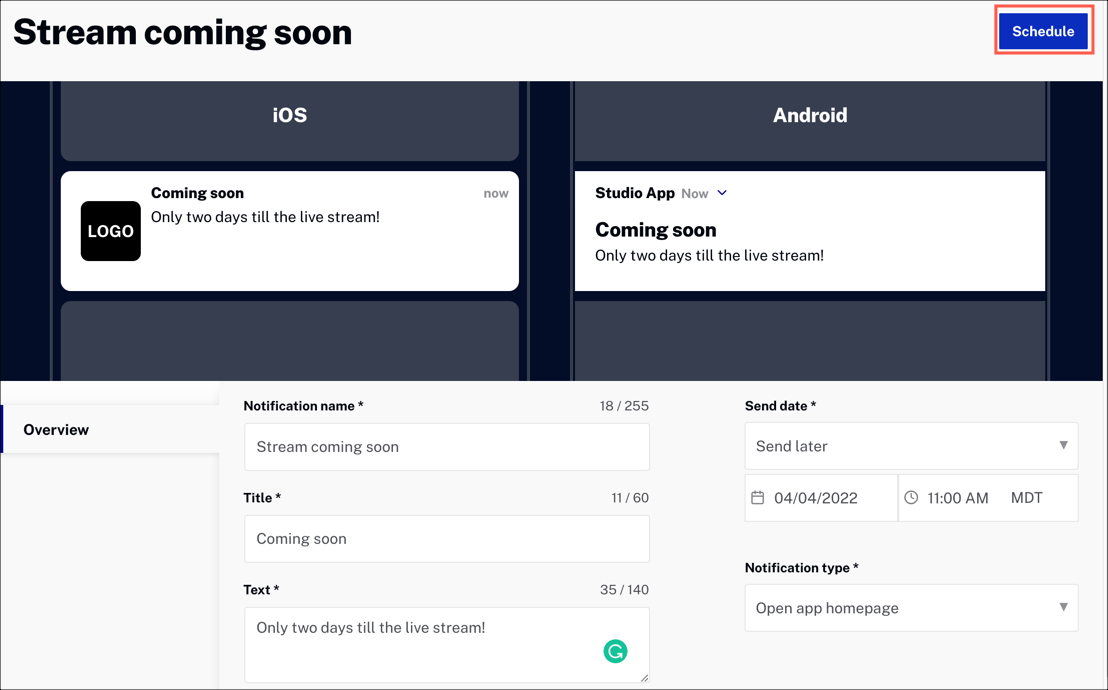
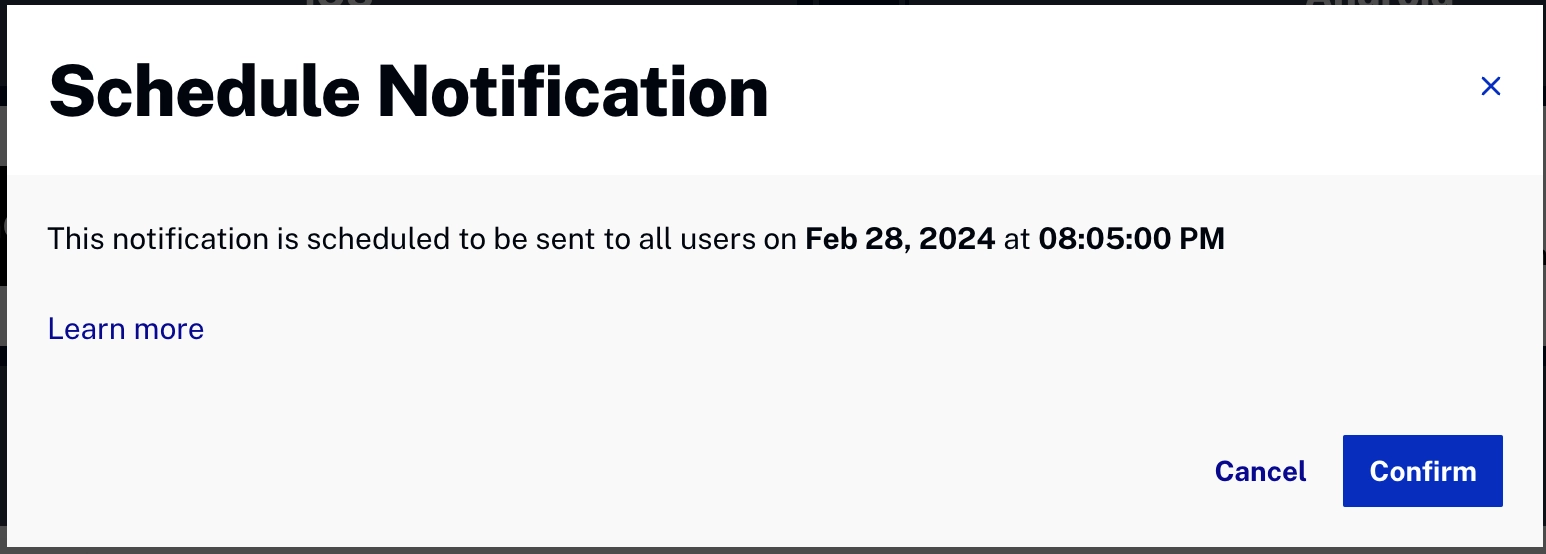
- Notice how a Schedule Notification label appears. Confirm by clicking .
Managing notifications
Once your notification has been scheduled, it will appear in the notification list.
Actions
- Click Create notification to send or schedule a push notification.
- Enter text in Search notifications to search the notifications list.
Columns
- Notification - Click the notification name to edit the notification
-
Status - The current status of the notification
 - Scheduled
 - Sent
 - Failed
- Send date - The date that the notification is scheduled to be sent
-
Type - Notification type
- Actual - Real notification sent to app users
Test - Test notification sent to app, viewable in test mode only
- Delete - Click
 to delete the notification