Animate.css is a library of ready-to-use, cross-browser animations for use in web projects. Animate.css was created by Daniel Eden ( @_dte, GitHub ). Animate.css can be used to enhance how annotations appear during video playback.
Follow these steps to add transitions to annotations.
- Login to Brightcove Interactivity Studio (https://www.hapyak.com/login).
- In the left navigation, click Manage.
- Click on a project to open it.
- Click .
- In the Custom Annotation CSS (URL) field, add this URL:
//hapyak_demos.s3.amazonaws.com/css/light-styles.css - Click .
- To add animations to annotations, click the Edit menu for the annotation.
- Click More...
- Click Add Class.
- In the Classes field, enter
animated <the name of the animation>, for exampleanimated zoomInLeft.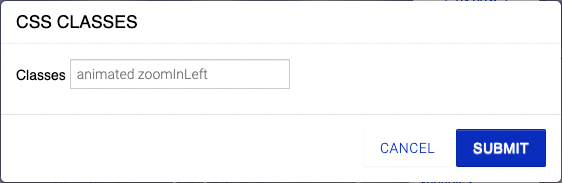
- Click .
The following animation names are valid in Brightcove Interactivity.
bounceflashpulsewobblerubberBandshakeswingtadafliphingebounceInbounceInUpbounceInDownbounceInLeftbounceInRightfadeInUpBigfadeInDownBigfadeInLeftBigfadeInRightBigfadeInRightflipInXflipInYlightSpeedInrotateInrotateInDownLeftrotateInDownRightrotateInUpLeftrotateInUpRightrollInzoomInzoomInLeftzoomInRightzoomInUpzoomInDown