Working with Remote Asset Videos
Typically, videos are uploaded to using the Upload module. These files are then maintained by Brightcove. With remote assets, you maintain your video files on your own or a third-party system and then provide with the URL of the video file.
Remote asset videos can also be created using the CMS API. For information, see the developer documentation. Remote asset videos created using the CMS API can then be managed using the Media module.
Accessing remote assets
All of your remote asset files must be available at a public URL without any requirements for authentication or access control. If your remote assets are hosted by a CDN, the URL of the remote assets should be the URL of the assets in the CDN and not the URL on the origin server.
Creating a remote asset video
To create a remote asset video, follow these steps.
- Open the Media module.
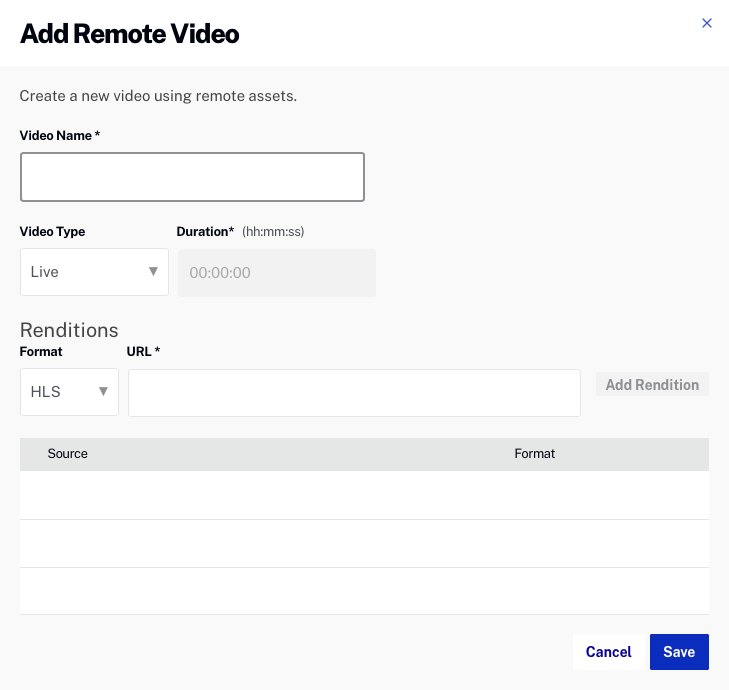
- Click Add remote video in the side navigation panel. The Add Remote Video dialog will open.

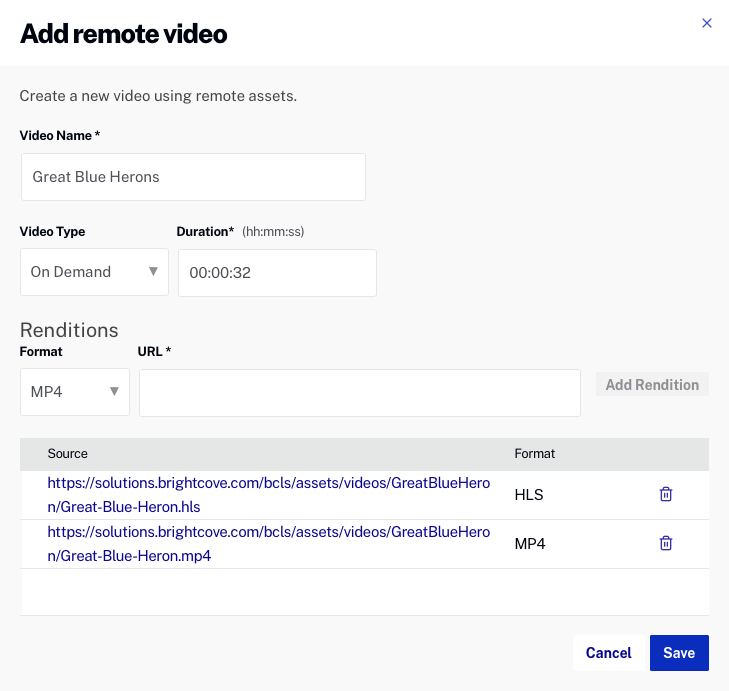
- Enter a Video Name. The video name will be displayed in the Media module and also in the player.
- Select the Video Type, Live or On Demand.
- For On Demand video types, enter the Duration in hh:mm:ss format.
- For each rendition, enter the Rendition URL and Format. Click .
- Click to save the remote asset. The remote asset video will be listed in the Media module after the page is refreshed.


Remote asset videos will not have poster or thumbnail images, however, images can be uploaded. For information on uploading poster and thumbnail images, see Uploading Poster and Thumbnail Images.
Editing a remote asset video
To edit a remote asset video, follow these steps.
- Open the Media module.
- Click the remote asset video title to open the video properties.
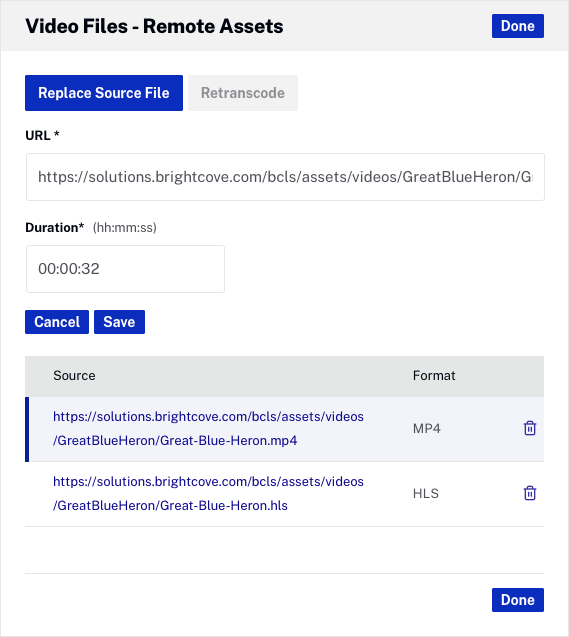
- Locate the Video Files - Remote Assets section and click .
- Click on a Source row to select it. Clicking on the source URL will open it in another browser tab.

- Update the URL and Duration as needed. Click to save the changes.
Limitations
- You cannot use the image capture feature to create video still and thumbnail images for remote asset videos, however, video still and thumbnail images can be uploaded for remote asset videos
- Remote asset videos created in Basic accounts cannot be edited after they are created
- SSAI is not supported for remote assets
- DRM is supported only if you can customize the player to communicate with the DRM license server. This is possible with the Brightcove Player through a plugin. For other players, you will need to consult the player documentation.
- Analytics: the Brightcove Analytics system depends on system-generated video metadata, such as the video duration. Analytics data for remote assets will be less rich unless you can provide this metadata for the remote asset.
- Playback guarantee: all videos ingested into can be played back in the Brightcove Player. This is true for almost all remote assets, but there are some edge cases where videos may not play. There are a few advanced features of DASH and HLS that we do not yet support for example. For non-Brightcove players, you will need to verify that the video format is fully supported by that player.
- Viewers may not be able play remote asset videos if their computer's clock time is set ahead of the actual time
- Cue points cannot be added to live remote asset videos
- It is not possible to convert an existing normal VOD asset to a remote asset
