Links are the most commonly used annotation, and the foundation of all interactions. Follow these steps to configure a link for an annotation:
- Login to Brightcove Interactivity Studio (https://www.hapyak.com/login).
- In the left navigation, click Manage.
- Click on a project to open it.
- Hover over an annotation and click Edit.
- Click Link.
Configuring actions
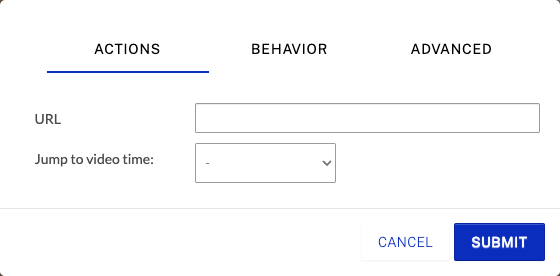
To configure the actions settings, click ACTIONS.
Just like you would add a link in a web page, you can now add links in a video. You can load a web page, PDF, document, another video, email program, etc. Enter the URL to open in the URL field.
Ensuring external URLs open in the same window/tab
You can set all links clicked on your videos to open in the same window/tab rather than a new one. This is analogous to setting target="_self" or "open in same window" in a CMS for example.
The limitations are:
- The target domain must be on the same domain that the video is hosted on
- Every link on every project will load in the same window.
- Must be using native player embed code (not the HapYak player which is an iframe embed code)
If you would like this set simply contact Brightcove Support and ask for localLinks to be provisioned on your group.
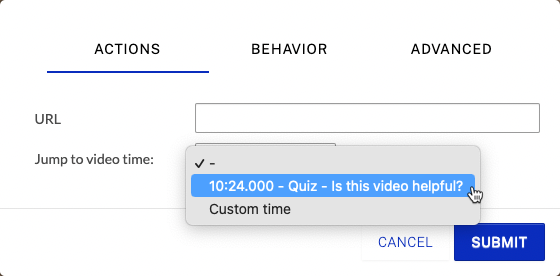
Jump to video time can be used to select another annotation you would like to jump to. Select another annotation using the dropdown list. You can also select Custom time and then enter a time to jump to.
Pro Tip: Jump to Chapters
Because you can link to a specific annotation, adding chapter markers to every video is a great idea. Without also adding a Chapter Menu, they are invisible to the viewer and allow you to quickly select times in the video to jump to via this Link to Annotation feature.
Also, if you change the start time of the chapter annotation that you are linked to (maybe because a new version of the video has been uploaded as the video source), it will automatically adjust.
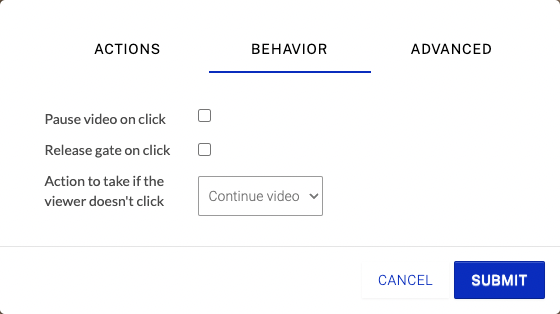
Configuring behavior settings
To configure the behavior settings, click BEHAVIOR.
Pause on video click - When checked, will pause the video when the link is clicked.
Release gate on click - When checked, will release the gate when clicked.
Action to take if the viewer doesn't click - The video can continue playing if the viewer doesn't click or can be looped to the beginning of the annotation to ensure they click. This is helpful for branching video menus.
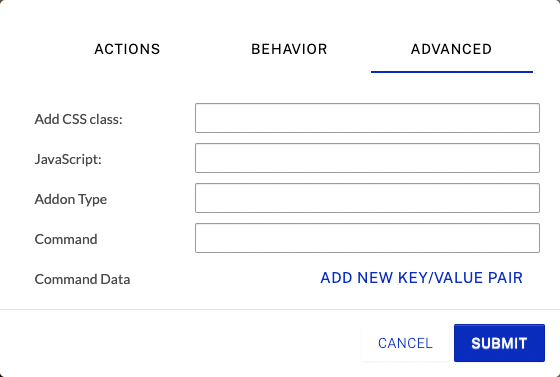
Configuring advanced settings
To configure the advanced settings, click ADVANCED.
Add CSS class - Used to add a class name and it will activate it if you click/interact with the annotation.
JavaScript - Used to enter a new JavaScript variable name or variable assignment code. When the annotation is clicked by a viewer, the variable assignment code that was entered will be executed. Typically used to change back end variables for dynamic annotations.
Addon Type - Allows you to use the Addon API.
Command - Allows you to use the Addon API.
Command Data - Allows you to pass data to the Addon API.