Introduction
This document will assist you in submitting your Brightcove app to the Google Play Store. The first three sections of this document, not including this one, list information/assets you will need when you begin to complete the submission process.
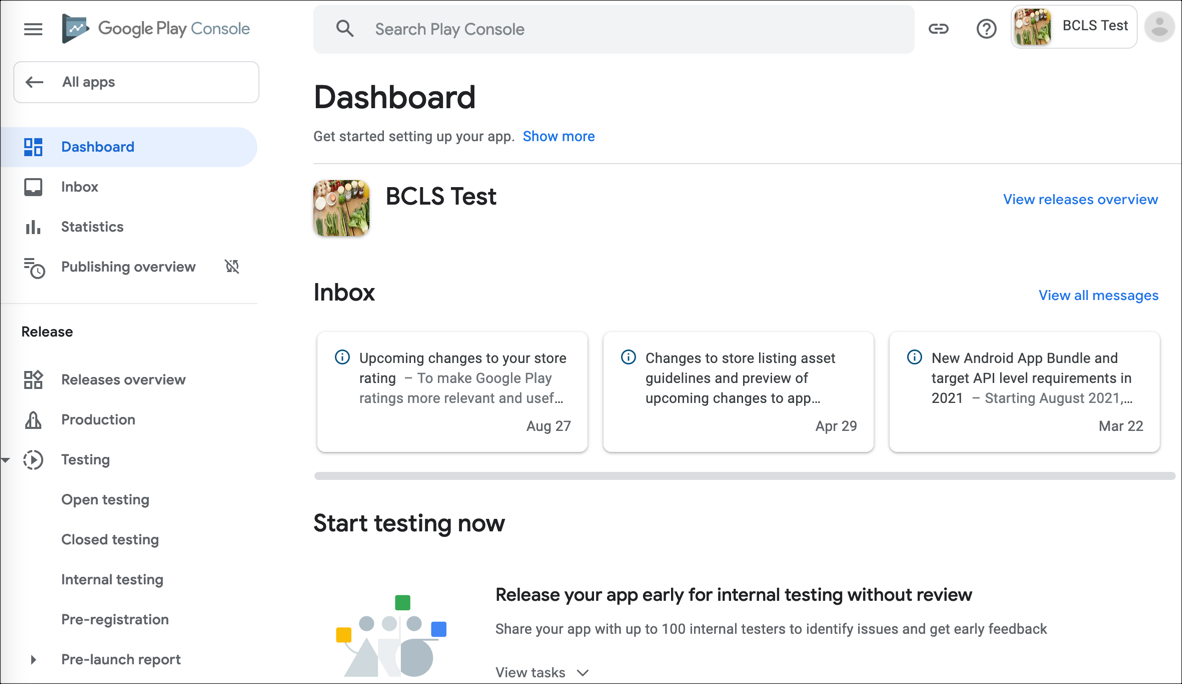
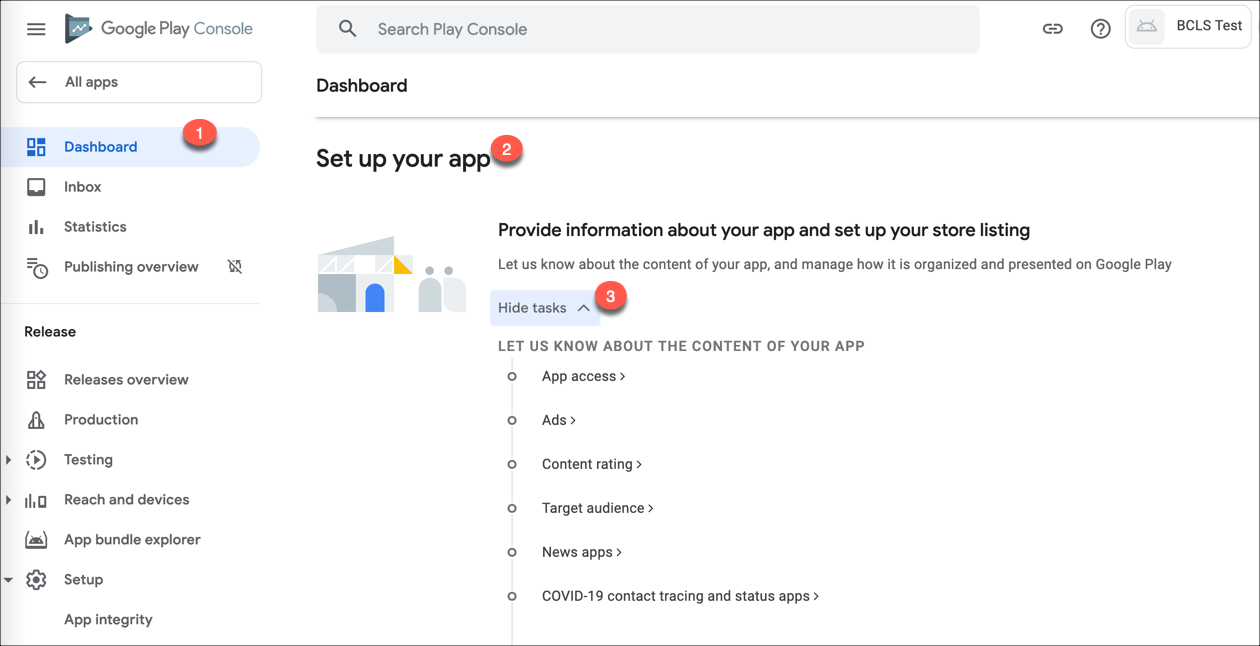
Following those lists is step-by-step guidance in the submission process. After you create your account you will proceed to the dashboard where you will supply information for the submission. The dashboard appears as follows:
Android Mobile & Android TV
The following information/assets will be required whether you are submitting for Android Mobile or Android TV.
- Store Overview: https://developer.android.com/distribute
- Developer Program Overview: https://developers.google.com/
- Familiarize yourself with the extensive To Do list: Launch checklist
- Store details: https://play.google.com/apps/publish/signup/ (requires Google Play Developer Program - Membership, $25 one time)
- Suggested lead time for approval: One week
- You need to setup device app logins for QA in store
- Be sure your TV app meets Google's TV app quality standards.
-
A signing key must be created which will be used to sign the app. The following information is required to create the signing key:
- Password
- First and Last name
- Name of Organizational unit
- Name of Organization
- Name of City / Locality
- Name of State / Province
- Two-letter country code for this unit
Required information for Android Mobile
These are specific requirements for Android Mobile on top of the joint requirements listed above.
- App Title - 50 characters
- Short Description - 80 characters
- Full description - 4000 characters
- Note : All of this metadata should be translated to all languages if available.
- App ID - example - com.myco.tvcable
- Keystore to sign the package
- Application type
- Category
-
Screenshots (see Google's
Graphic assets, screenshots, & video document for more info)
- Standard - English (UK) - en-GB
- JPEG or 24-bit PNG (no alpha). Minimum page length: 320px. Maximum page length: 3840px.
- You must upload at least one 7-inch screenshot and one 10-inch screenshot to allow your app to appear in the Developed to tablets list in the Play Store. If you have previously uploaded screenshots, move them to the appropriate area below.
-
High resolution icon
- Standard - English (UK) - en-GB
- 512 x 512
- 32-bit PNG (with alpha)
-
Feature Graphic
- Standard - English (UK) - en-GB
- 1024b x 500h
- JPG or 24-bit PNG (no alpha)
-
Logo Icon
- 192 x192 app icon (one square and one round)
- Client to set up App logins for QA in store
Required information for Android TV
These are specific requirements for Android TV on top of the joint requirements listed above.
- APK package created with a generated signature
- Title
- Short Description
- Full Description
-
Screenshots
- JPEG or 24-bit PNG (no alpha). Up to 8 can be uploaded
- 1280x720
-
Hi-res icon
- 512 x 512
- 32-bit PNG (with alpha)
-
Banner
- 320 x 180
- 24-bit PNG
-
IC_launcher
- 256 x256
- 24-bit PNG
-
Feature Graphic
- 1024w x 500h
- JPG or 24-bit PNG (no alpha)
- Client to set up App logins for QA in store
Get started in the dashboard
-
Browse to the Google Play Console sign up page and create your account. This will include paying a $25 fee. After completing the sign up process you will see the Google Play Console:
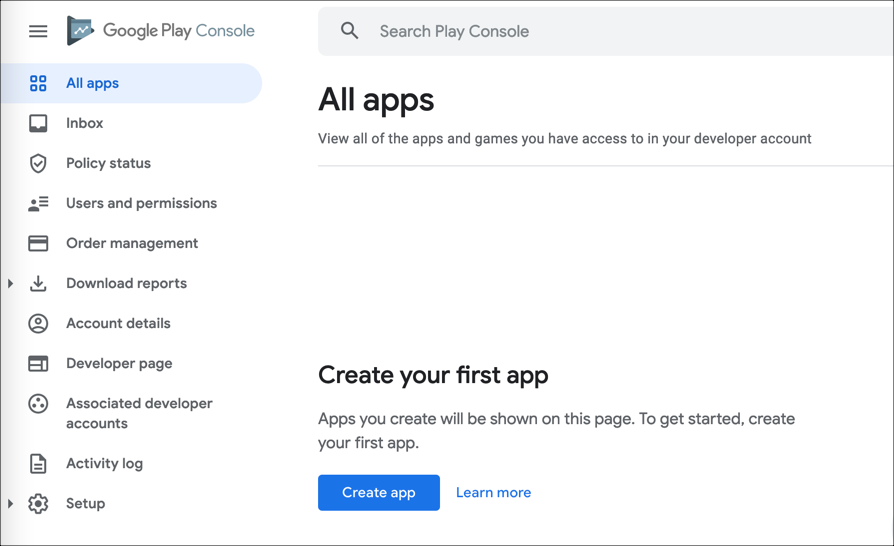
- Click the Create app button.
-
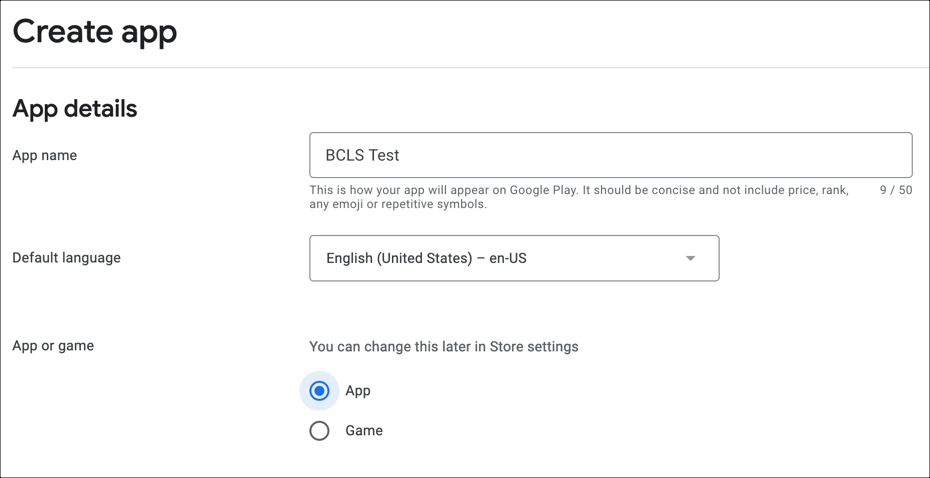
Provide the App name and select a Default language.
-
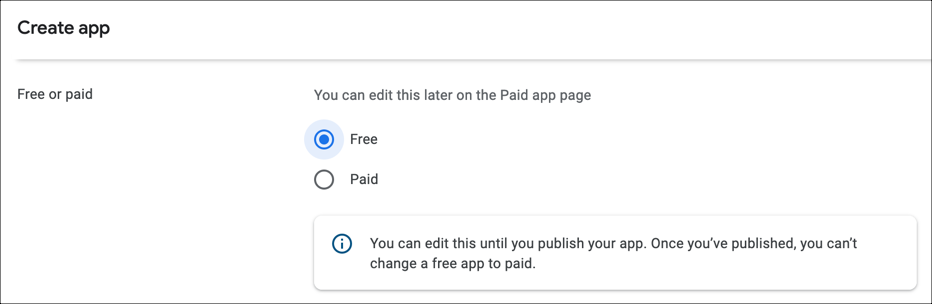
Select whether the app will be Free or Paid. You can edit this option until you publish the app.
Note that this is free to install the app or not. If you are going to gain revenue by advertisements or subscriptions, and not a per install fee, click Free.
- Check the Declarations associated with developer policies, terms of service, and export laws.
- Click the Create app button. You will be moved into the Dashboard section.
Set up your app
-
In the Dashboard, scroll down to the Set up your app section and expand View tasks.
Work through the list of tasks.
App Access
-
Move into the App Access section and provide information about:
- If there are restricted parts of your app
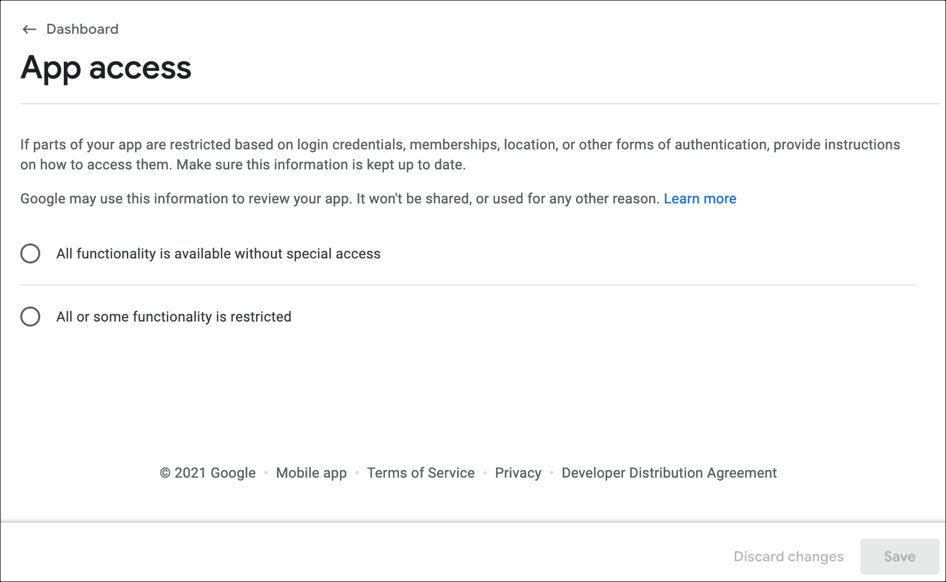
- Click Save.
- Navigate back to the dashboard.
Ads
-
Move into the Ads section and provide information about:
- If advertisements will be used in your content
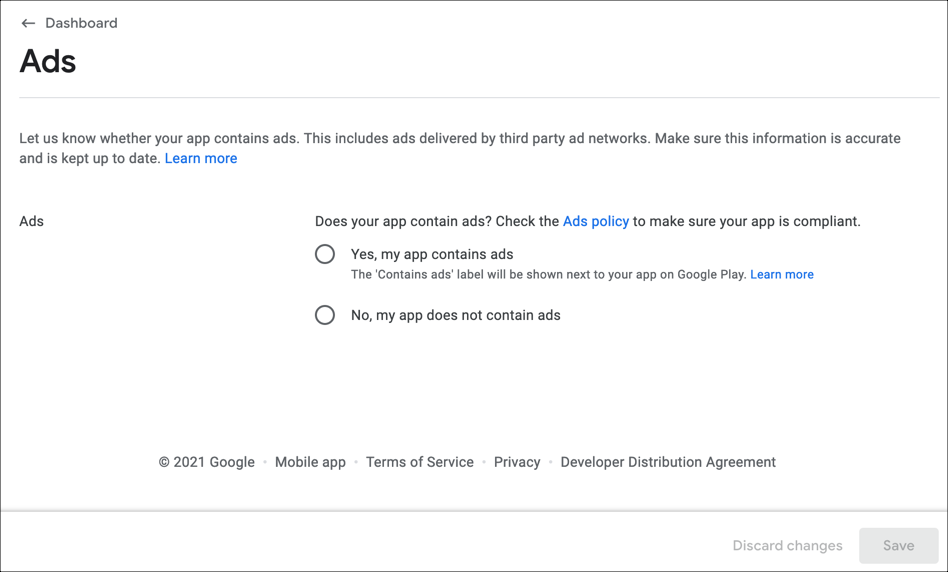
- Click Save.
- Navigate back to the dashboard.
Content ratings
-
Move into the Content ratings section. In this section you complete a questionnaire, and based on your responses a rating will be assigned to your app and its content. For complete information see the Content ratings for apps & games document.
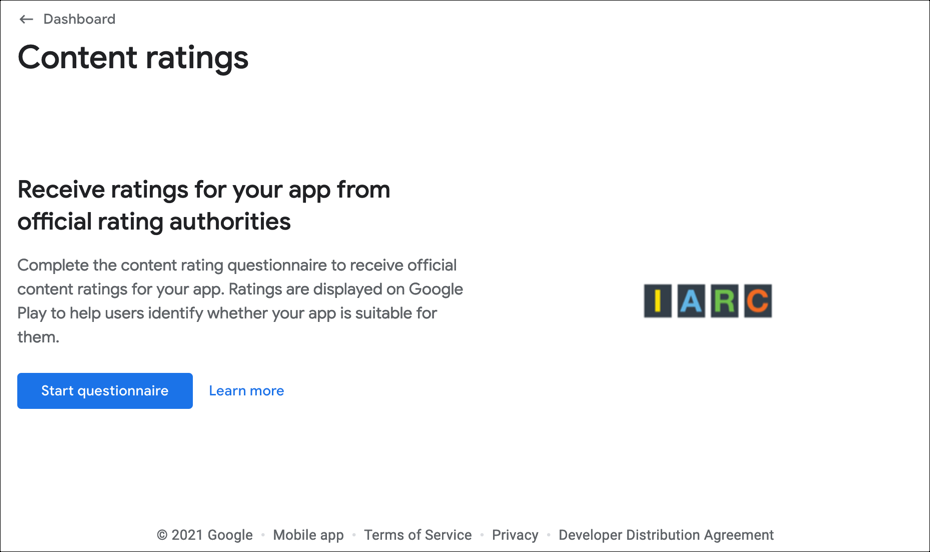
- Work through the sections, clicking Next to advance.
- Review the information that you entered on the Summary page and click Submit.
- Navigate back to the dashboard.
Target audience
-
Move into the Target audience section and provide information about:
- The target audience of your app
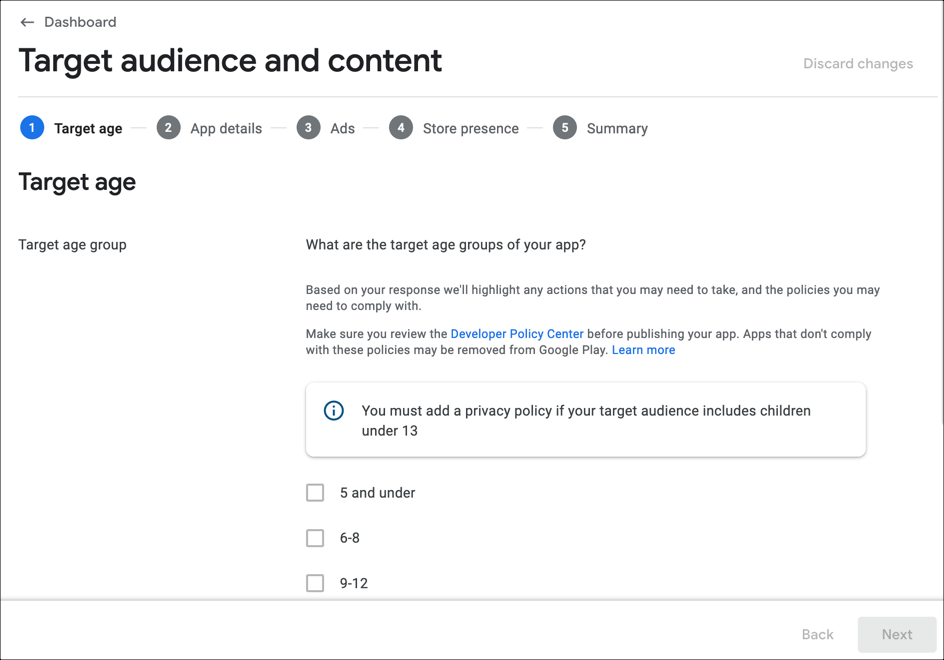
- Work through the sections, clicking Next to advance.
- Click Save.
- Navigate back to the dashboard.
News apps
-
Move into the News apps section and provide information about:
- Whether your app is a news app
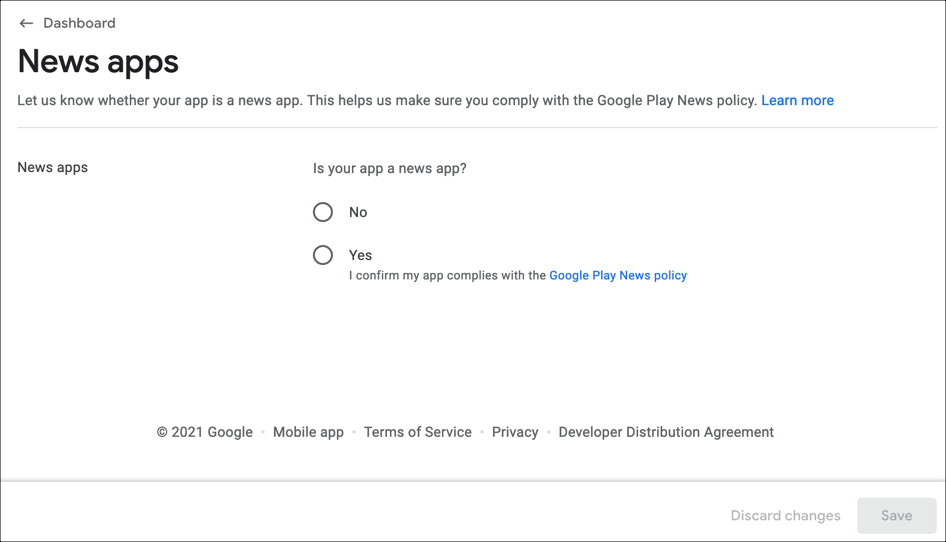
- Click Save.
- Navigate back to the dashboard.
COVID-19 apps
-
Move into the COVID-19 apps section and provide information about:
- Whether your app is used for COVID-19 contact tracing and status

- Click Save.
- Navigate back to the dashboard.
Configure store settings
- From the Dashboard, select click Select an app category and provide contact details.
-
Here, you'll provide information about:
- Your app type and category
- Whether your app uses tags
- Store listing contact details
- External marketing
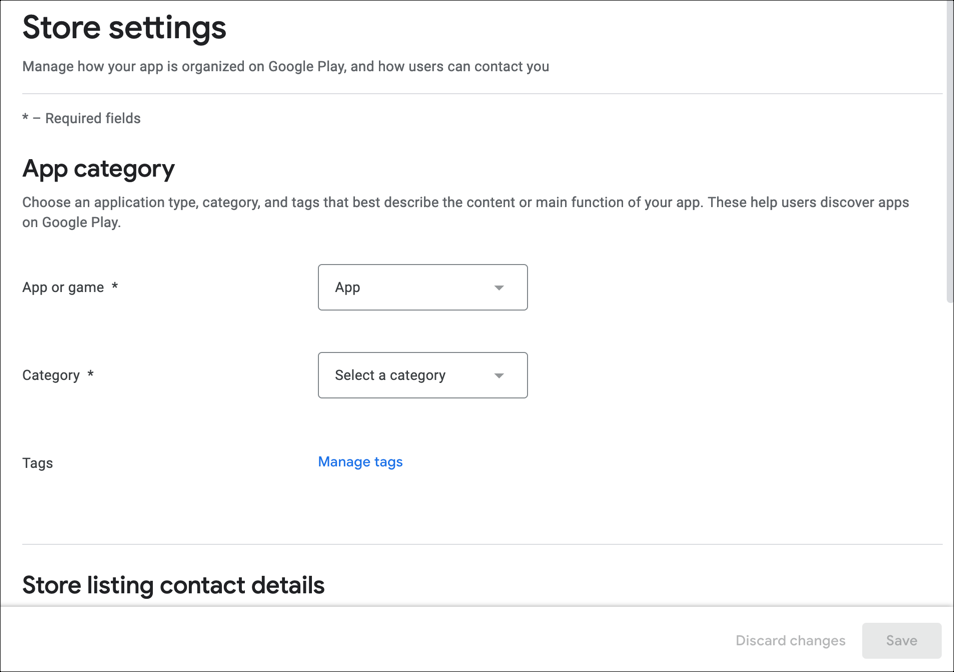
- Click Save.
- Navigate back to the dashboard.
Main store listing
- From the Dashboard, select click Set up your store listing.
-
In the App details section, enter the Short description and Full description.

-
In the Graphics section, supply the graphic assets as requested in the form.
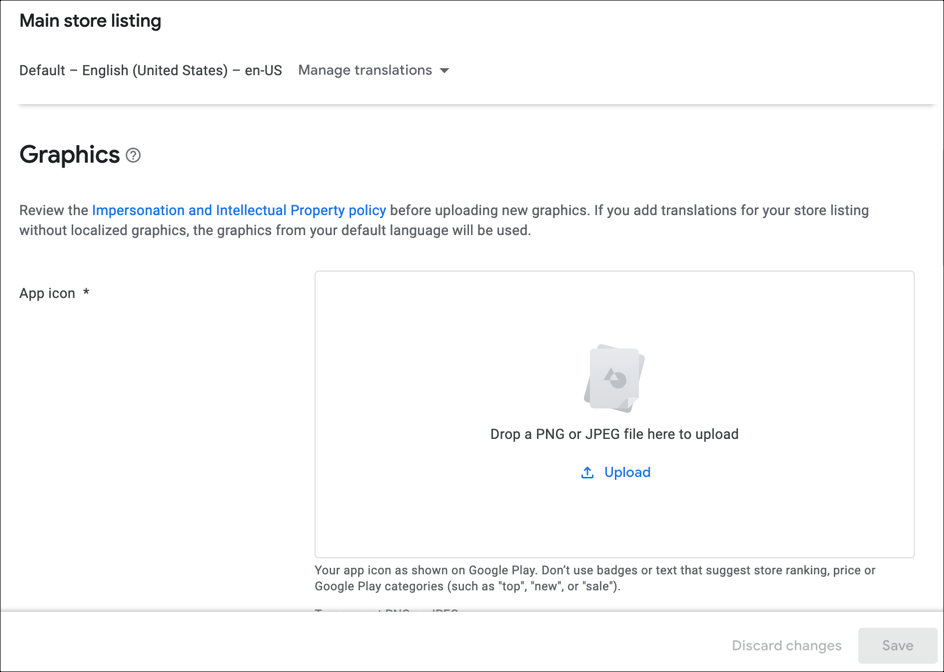
- Click Save.
- Navigate back to the dashboard.
Test your App
-
From the Dashboard, scroll down to the Release your app section and expand the tasks.
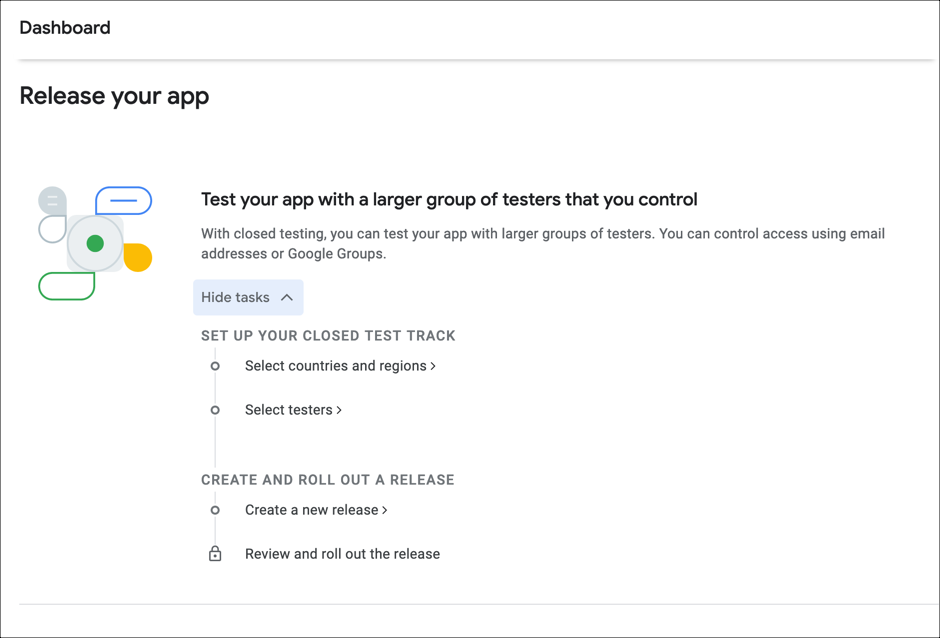
Set up your closed test track
Here, you will create a Closed track to allow testing of your app before it goes live. The closed track lets you choose a number of people to test your app.
- Click Select countries and regions.
-
Add countries or regions to this track to select country availability that's different from your production track.

-
Select the Testers tab.

-
Choose who can access your test. You can create an email list of use a Google Group.
- Click Save changes.
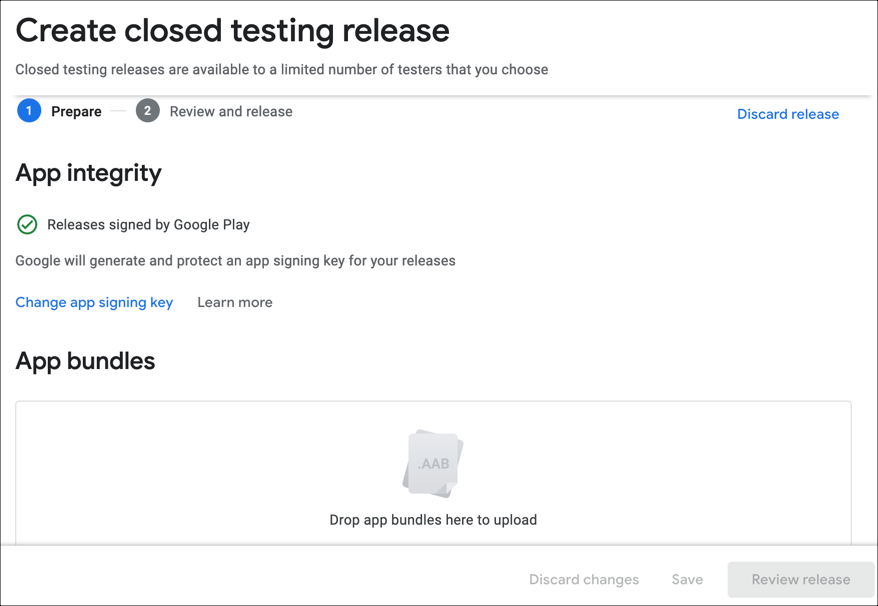
Create a new release
Create and rollout a new release within the closed testing track.
-
Upload the Android App Bundle (AAB format) This is provided to you by Brightcove.
-
Provide a release name (for example 2.1), along with release notes, in as many languages that you are supporting.
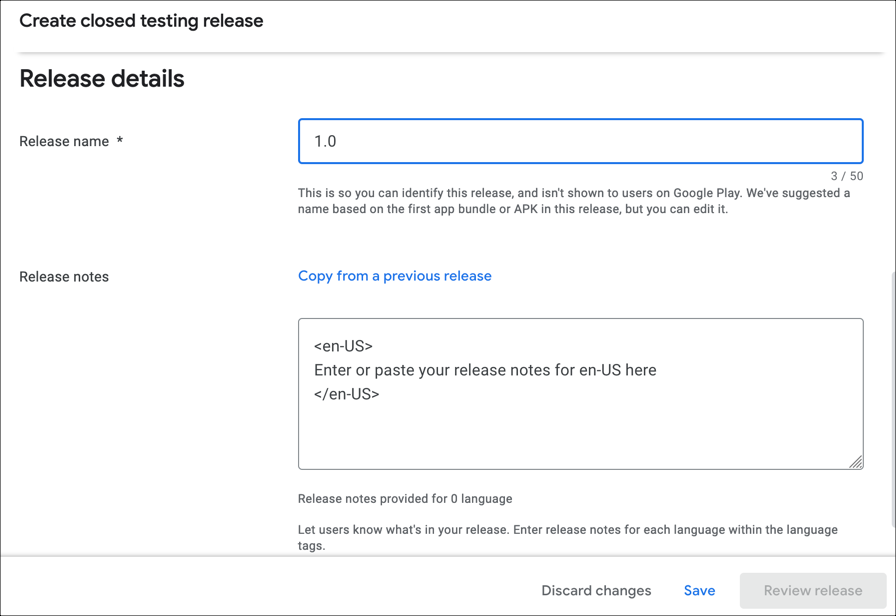
- Save or review the supplied information
Manage releases
- In the left navigation, select Production.
-
Select Countries / regions. Add the Countries /regions where you want to make your app available.
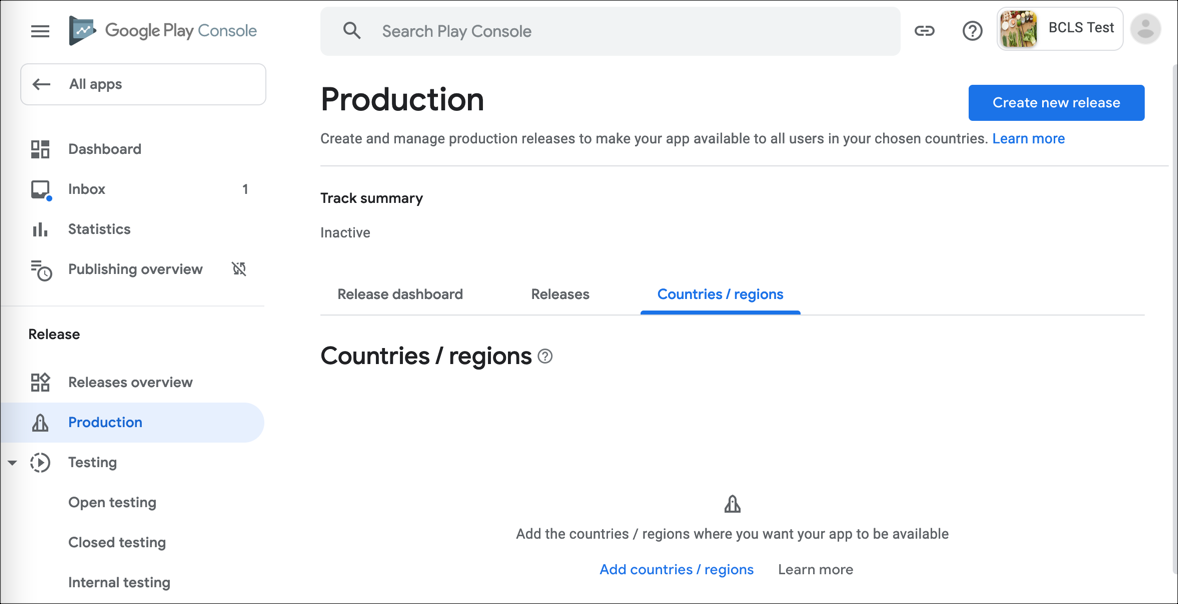
- Click Add countries / regions.
- When you are ready, click Create new release.
Adding subscriptions
If you are adding subscriptions to your Android app, please see the Adding Subscriptions to Android document for complete instructions.