


Managing Account Settings
To access the Studio account settings, open the Admin module in the primary navigation.
The following account settings are available:
Account Information
The Account Information option allows you to edit the account name and mailing address and can be used to clone accounts. For more information, see Managing Account Information.
User Management
The User Management option allows you to manage the users who are authorized to use Studio. For more information on managing users, see Managing Users.
Account Settings
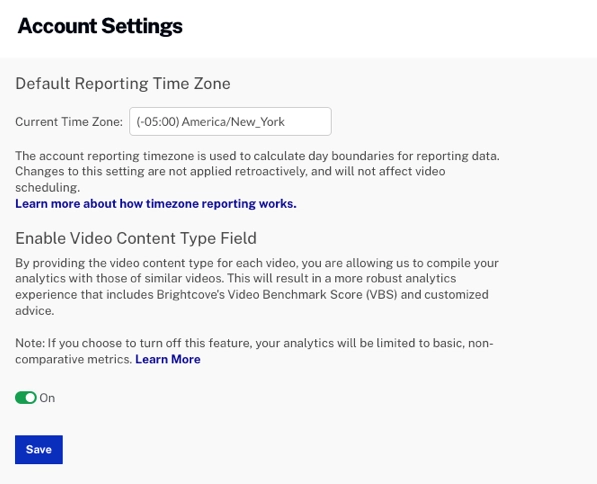
The Analytics Settings provide access to account-related settings. The Default Reporting Time Zone is used to calculate day boundaries for reporting data. Changing the reporting time zone setting only affects data going forward, and changes are not applied retroactively. If you change this setting, you may see a flat spot or a spike in your analytics data when looking at day boundaries where the change was applied. Updates to this setting may not take effect immediately and analytics data may continue to refer to the old setting until the system processes the changes.
If Enable Video Content Type Field is enabled, the Video Content Type field will be displayed on the Media module homepage. It also allows a Video Content Type to be assigned to videos on the video properties page. For more information on managing users, see Overview of Video Content Types.
Upload Settings
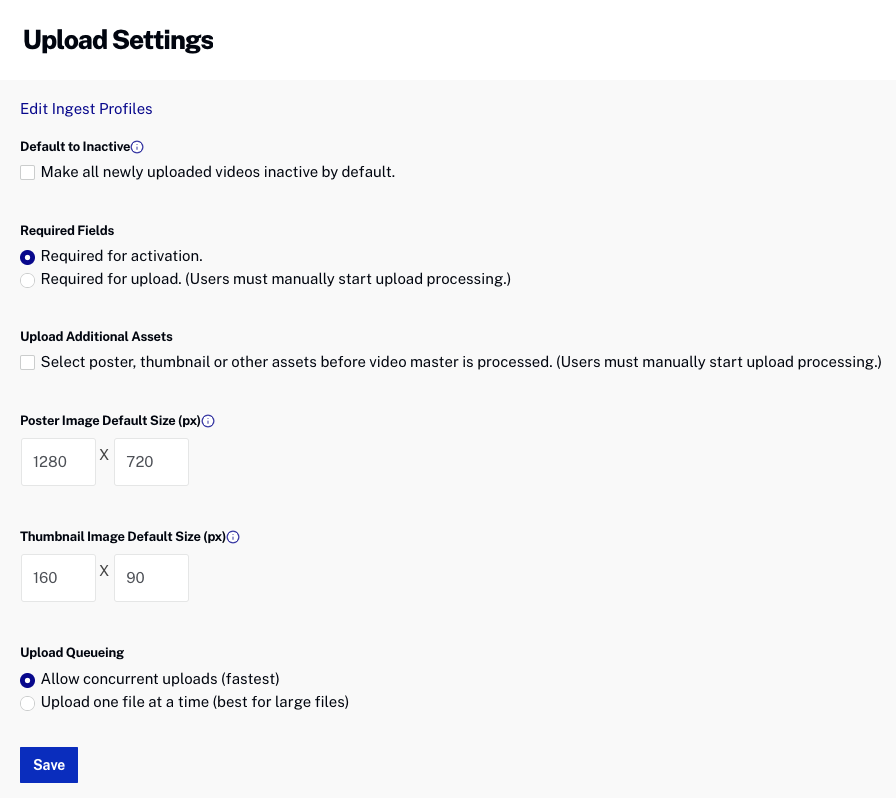
Default to Inactive - When checked, sets all uploaded videos to be inactive. This option is ignored if the user has access to the Media module. This could be used to let a set of users upload videos but they will remain inactive until someone else approves them and then makes them active.
Required Fields - Select an option for how required fields are handled:
- Required for activation - Required fields must have values before the video can be activated.
- Required for upload - Required fields must have values before the video can be processed and uploaded using the Upload module.
Upload Additional Assets - When checked, allows poster and thumbnail images to be uploaded when videos are uploaded using the Upload module. The upload status dialog will display and provide the ability to select poster and thumbnail images to upload. For more information, see Uploading Videos Using the Upload Module.
Default Image Dimensions - These values can be used to set default image sizes for poster and thumbnail images. By configuring sizes as part of the Upload Settings, you can avoid having to set image dimensions in your ingest profiles. When these values are configured and your ingest profiles have image sizes as well, Beacon will use the following process to determine what dimensions to use for various types of image ingests:
- When you upload a video using the Upload module, Beacon will first look to see if there are image dimensions defined in the selected ingest profile. If the ingest profile has image dimensions, those dimensions will be used. If not, Beacon will check for dimensions in the following order:
- Use image dimensions specified in the default ingest profile for the account
- Use image dimensions specified in the Upload settings
- Use global default image dimensions specified by Beacon
- If you upload a poster or thumbnail image from the video details page, or capture an image from the video details page, the image dimensions specified as part of the default ingest profile for the account will be used. If the default ingest profile does not have image dimensions, Beacon will check for dimensions in the following order:
- Use image dimensions specified in the Upload settings
- Use global default image dimensions specified by Beacon
If you want to always use the image dimensions specified as part of the Upload Settings, Brightcove recommends you set these values appropriately and then remove all image sizing from your ingest profiles.
Upload Queueing - Select an option for how file uploads are handled:
- Allow concurrent uploads - Multiple files are uploaded concurrently
- Upload one file at a time - Files are uploaded one at a time; this is recommended when large files are being uploaded
Ingest Profiles
The Ingest Profiles option allows you to manage the ingest profiles your Beacon account. For more information on managing ingest profiles, see Managing Ingest Profiles.
Video Fields
The Video Fields option allows you to mark standard video fields as required and also allows you to view, create, and modify custom metadata fields for your account. For more information on configuring video fields, see Creating Custom Metadata Fields.
Language Settings
The Language Settings is where you define a Primary Language and then add and manage additional metadata languages. For more information on configuring language settings, see Configuring Language Settings.
Media Sharing
The Media Sharing option allows you to upload videos once and then share the videos to other Beacon accounts. For more information on media sharing, see Managing Media Sharing Settings.
Server-Side Ad Settings
The Server-Side Ad Settings allow you to manage both Live and VOD server-side ad configurations. For more information, see Configuring Server-Side Ad Settings.
Player Settings
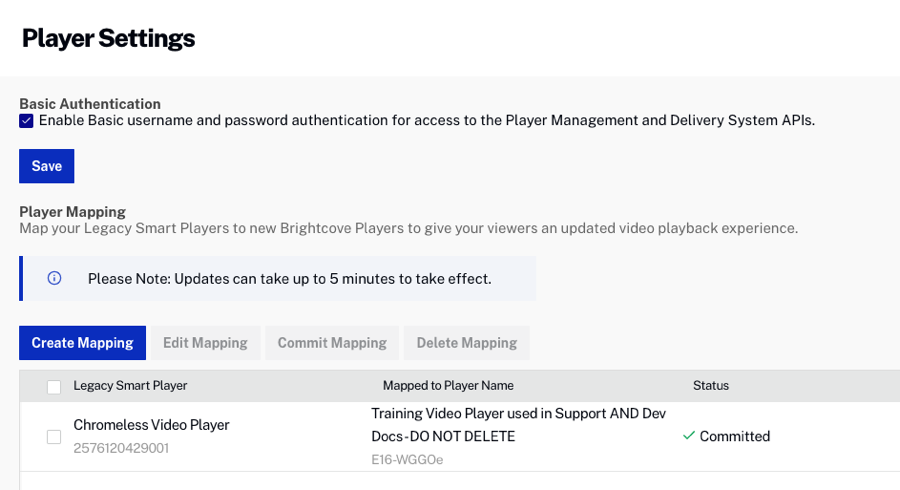
Basic Authentication - Provides the option of using basic username and password authentication for access to the Player Management and Delivery System APIs. If this option is not enabled, API authentication must be used.
Player Mapping - Provides the ability to create player mapping for use in the Directed Migration Tool. The Directed Migration Tool provides a way to specify that a Brightcove Player should be loaded instead of a Smart Player.
Live Settings
The Live Settings allow you to manage the settings for Brightcove Live. For more information, see Managing Live Settings.
Integrations
Integrations allows you to integrate with Zoom and broadcast a Zoom meeting using Brightcove Live. For more information, see Integrating a Zoom meeting into Brightcove Live.
API Authentication
The API Authentication option allows you to create and manage API credentials. For more information on managing API credentials, see Managing API Authentication Credentials.
Billing
The Billing option allows you to view billing information for the account. For more information on billing, see Viewing Billing Information.