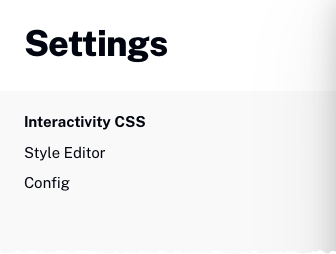
The Interactivity settings can be used to style annotations using CSS and configure other annotation styling properties.
Follow these steps to configure the Interactivity settings:
- Login to Video Cloud Studio.
- Open the Interactivity module.
- Click the settings icon (
 ) at the top of the page.

Configuring Interactivity CSS
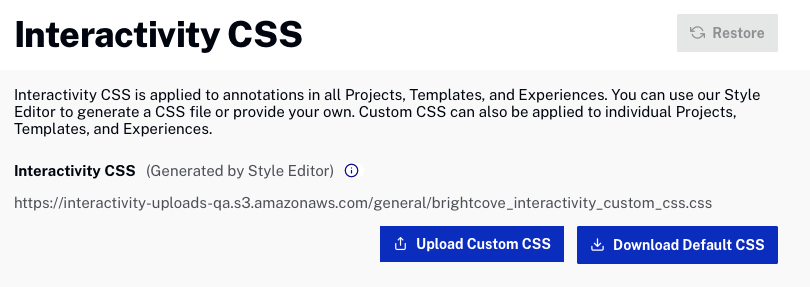
The Interactivity CSS file is an account-level CSS file that will be used to style all annotations in projects, templates and experiences. You can use your own CSS file. The URL of the CSS file being used will be displayed in the body of the page.

Uploading a CSS file
To upload a new CSS file, click and then browse and select a CSS file to use.
Downloading the default CSS file
To download the default CSS file, click . After downloading the CSS, you can edit it as needed and then upload it.
Restoring the default CSS file
To restore the default CSS file, click
Configuring styling defaults
To configure styling defaults, follow these steps.
- Open the Interactivity module.
- Click the settings (
 ) icon.
 - In the left navigation click Config.
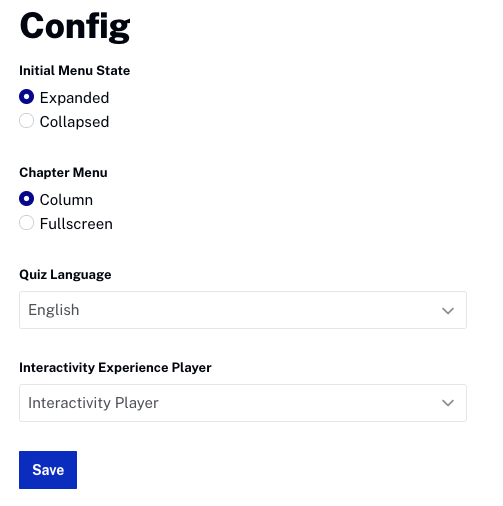
The following settings can be configured.
- Initial Menu State - Controls if the chapter menu displayed Expanded or Collapsed
- Chapter Menu - Sets the default style for how chapter menu annotations will appear
- Column - Chapter menu will appear as a column on left side of player
- Fullscreen - Chapter menu will expand to width of player
- Quiz Language - Sets the default language for quizzes
- Interactivity Experience Player - This is the Brightcove Player that will be used when previewing and generating embed code for experiences

When done, click to save the changes.
